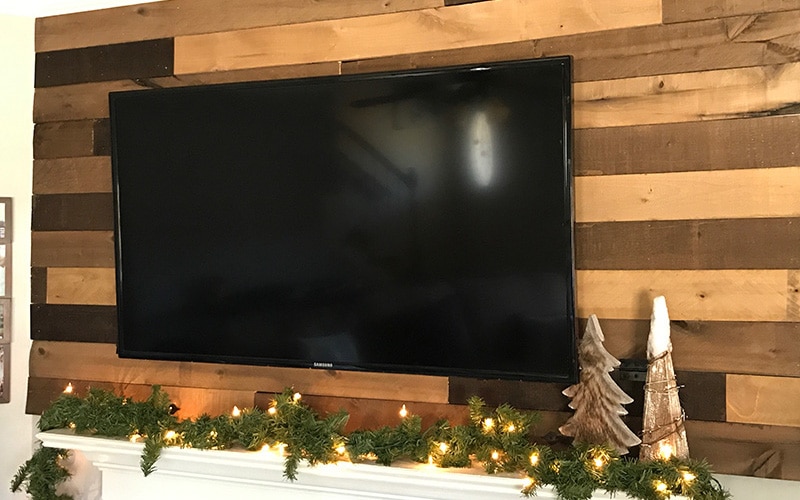
A beautiful wood planked wall using Weaber Weathered Wall Boards that add a simple rustic feel to our living room.
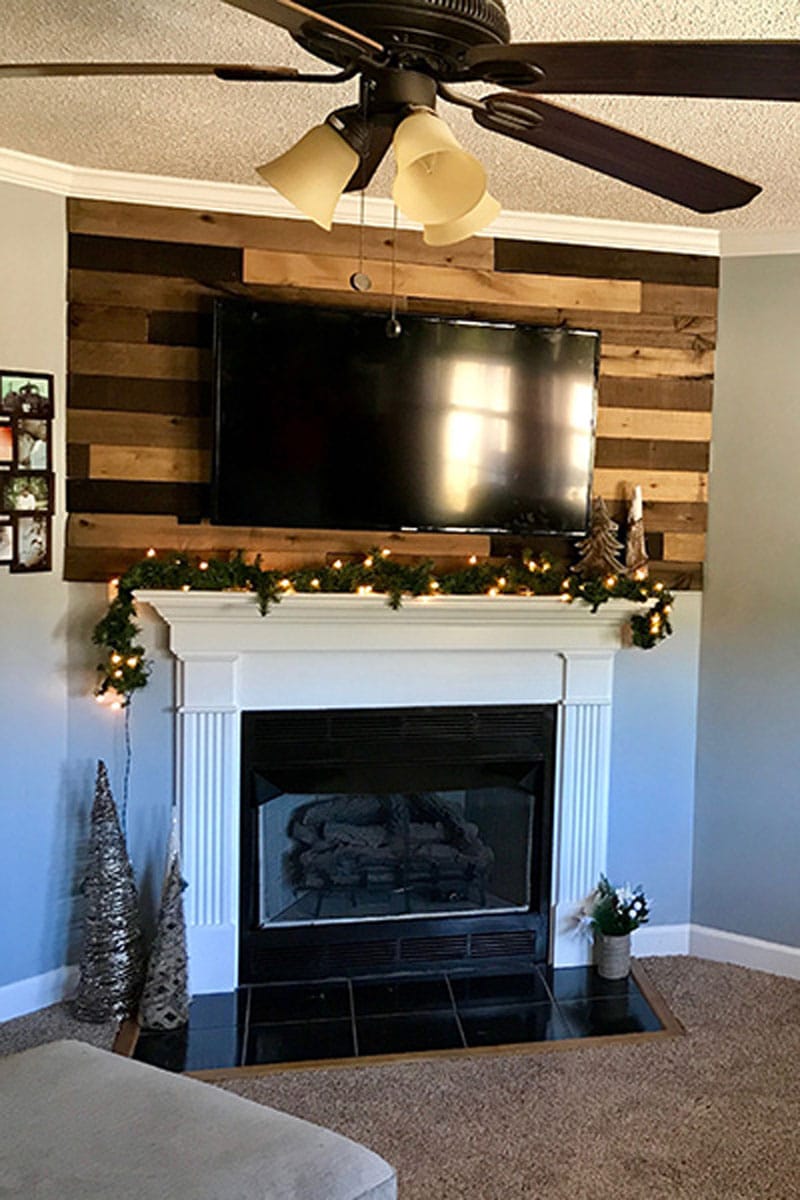
I have been smoozing over wood walls for a couple years now. And when we moved back in June, I made a vow to myself….
My desire for a wood wall would be fulfilled. Plain and simple.
I don’t care if the wood wall was in the laundry room friends. I wanted a wooden wall and what momma wants, momma gets…. Most of the time.
So a few months ago when we were strolling the aisles of Home Depot, which may or may not have been a date night for me and the hubs (Hey it happens…), I stumbled on these weather wood plank boards.
One of the things that had been holding me back from entertaining a wood wall was all of the layers of work it would take.
- Cutting the boards
- Sanding the boards
- Staining the boards
- Cutting the boards again
- And hanging the boards
That could have taken, the way my life is set up, another lifetime.
Why I Chose to Use Weaber Weathered Wall Boards
These boards, to me, meant I could have my wood wall. In all its glory. With only half the work.
Yeeeeeeessssss! I WIN!
While I had a few places in mind, I knew that the space over my fireplace mantle would be perfect because not only would it give me what I wanted. But it would fix a design aspect I could not fully appreciate. The open space over the wood mantle.
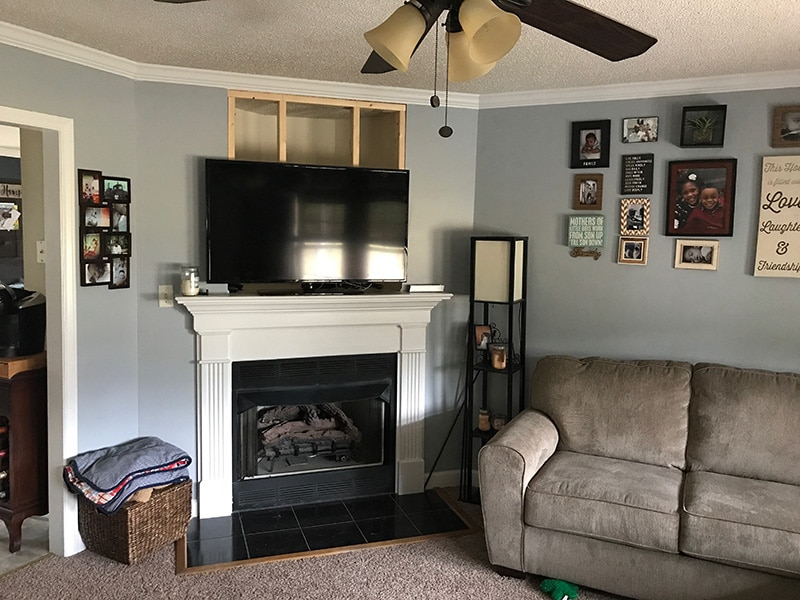
While I can see how it could be used. It is not how I wanted to use it. And therefore, it had to be fixed.
You see, these wood boards are solving all kinds of problems for me.
So for under $100 dollars, I have a wood planked accent wall, and that beautiful farmhouse vibe I adore.
I am sitting here typing this message in front of it and feeling all kinds of good about myself, and this project.
Call me weird, but after I finish a project, I love to just sit and be in the space. To marvel at what we were able to accomplish.
We did the project using Weaber Weathered Wood Boards that we purchased at Home Depot.
Maybe you just skimmed this, and missed the part where I said it was under ONE HUNDRED DOLLARS!
I love a DIY where I don’t break the bank.
If you too desire to have a wood accented mantle, I am gonna tell you how I did it!
About Weaber Weathered Boards
Weaber weathered boards are a type of wood product that is intentionally distressed to give it a weathered, aged, or rustic appearance. Users commonly incorporate them in interior and exterior home design, furniture making, and other woodworking projects to achieve a vintage, reclaimed, or farmhouse-style appearance.
Weaber weathered boards are typically made from high-quality, kiln-dried hardwoods, such as oak, maple, or poplar. They are processed to create the appearance of aged wood, with characteristic features such as knots, cracks, nail holes, and saw marks. The distressed texture and natural color variations in the wood create a unique, weathered look that adds character and warmth to a space.
Weaber weathered boards are typically available in various widths, lengths, and thicknesses, and can be used for a wide range of applications, such as wall paneling, ceiling treatments, flooring, trim, furniture, and more. Users often utilize them in DIY home improvement projects to achieve a rustic or vintage aesthetic in interior design, and they are popular in farmhouse, cottage, coastal, and other rustic or country-style homes.
One of the advantages of Weaber weathered boards is that they offer the look of reclaimed wood without the challenges of sourcing and working with actual reclaimed wood, which can be expensive and difficult to find. Weaber typically finishes the weathered boards with a clear coat or stain to protect the wood and enhance its appearance, making them ready for installation and use in a range of woodworking projects.

FAQs about Weaber Weathered Boards
Steps To Install Wood Planked Wall Using Weaber Weathered Boards
Preparation
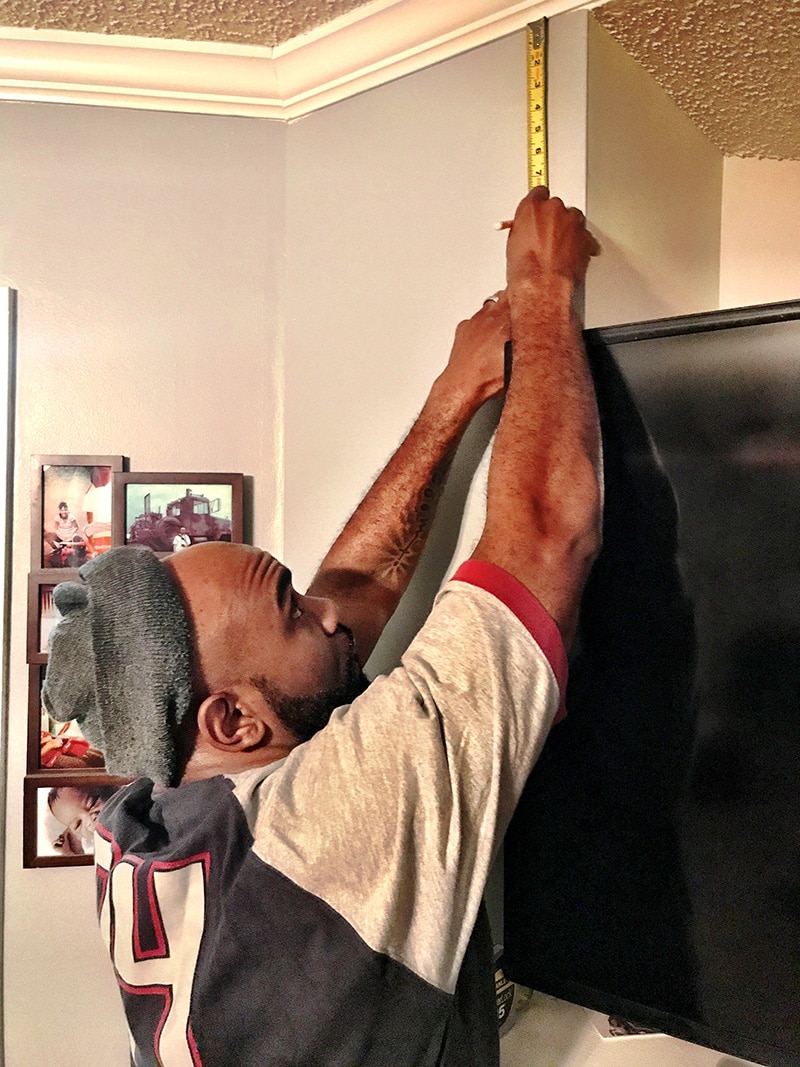
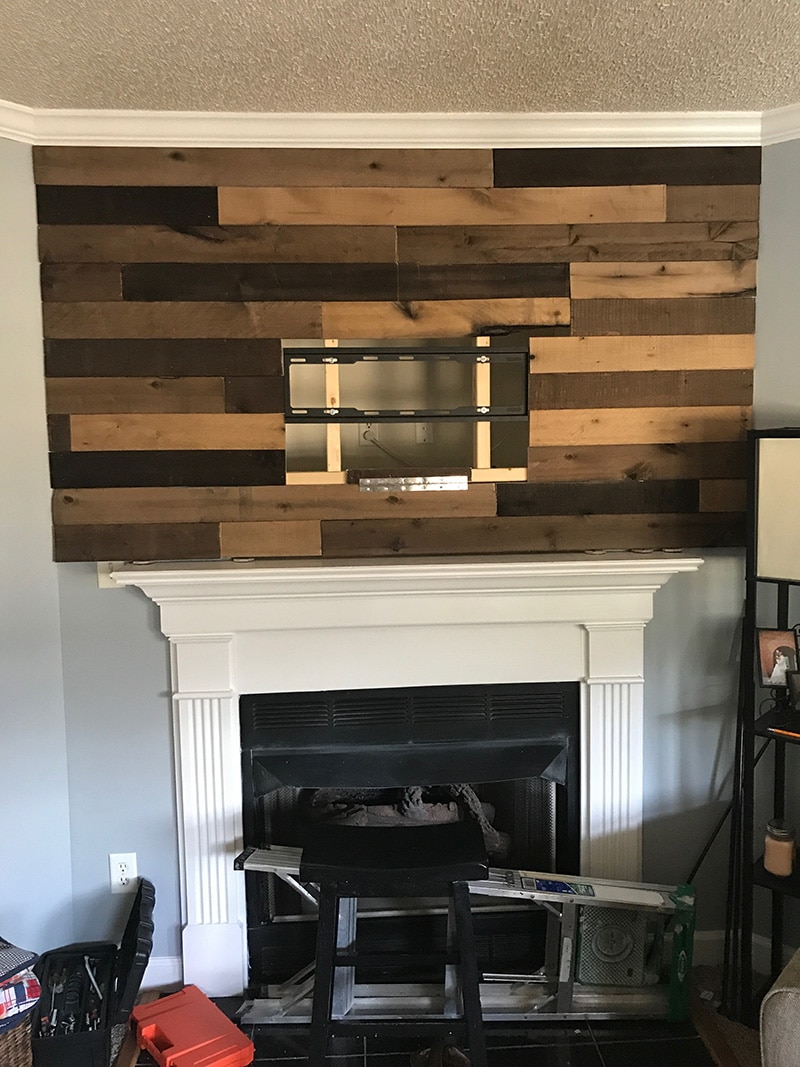
Measured and cut 2×4’s to frame the open space. We had to start by measuring the open space to allow us to install the framework for installing the wood boards.
If your working with a flat wall without an opening, you wouldn't need to worry about this step. Instead, you would need to find and mark studs so you know where to nail the boards.
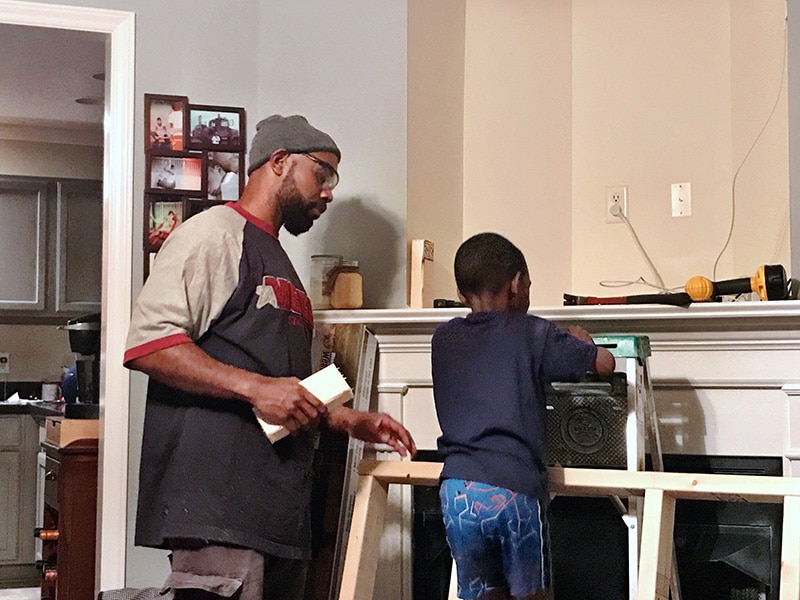
Framed open space for support and create access space. After taking measurements we then had to install 2×4″s to frame out the open space.
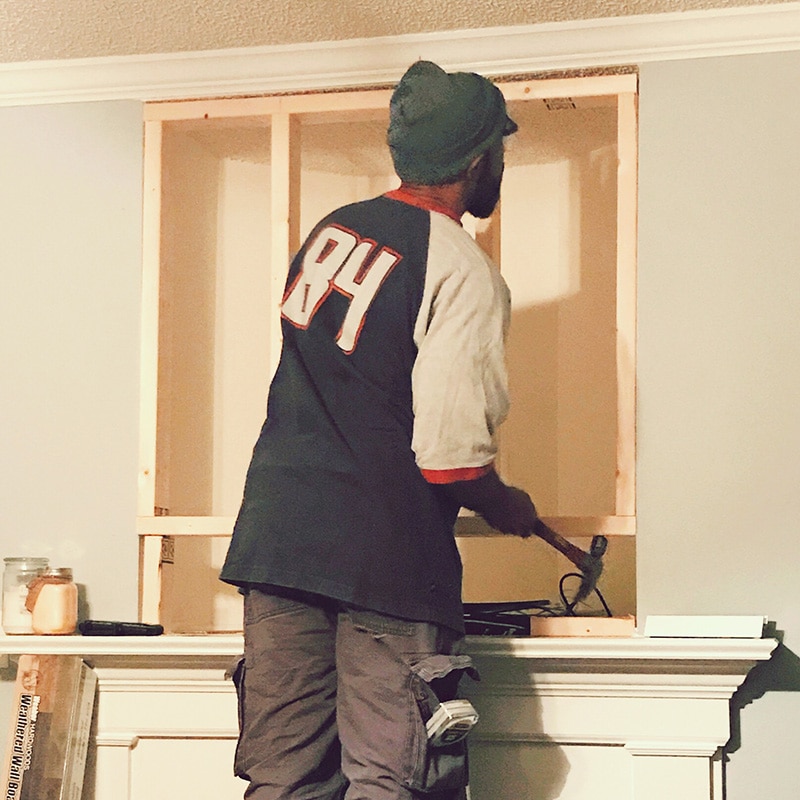
Again, you may not need to take this step if you don’t have open space or the need to have a place to adhere the panels to.
In addition, to support for the wood planks, the frame also gave us space to mount the TV mount and support the weight of the TV.
Installation of Wood Boards
Installed wood planked boards. After the framework was up, we began installing the Weaber Wood Boards. Starting by coating lightly with liquid nails (a little goes a long way), and then nailing the boards into the wall and frame.
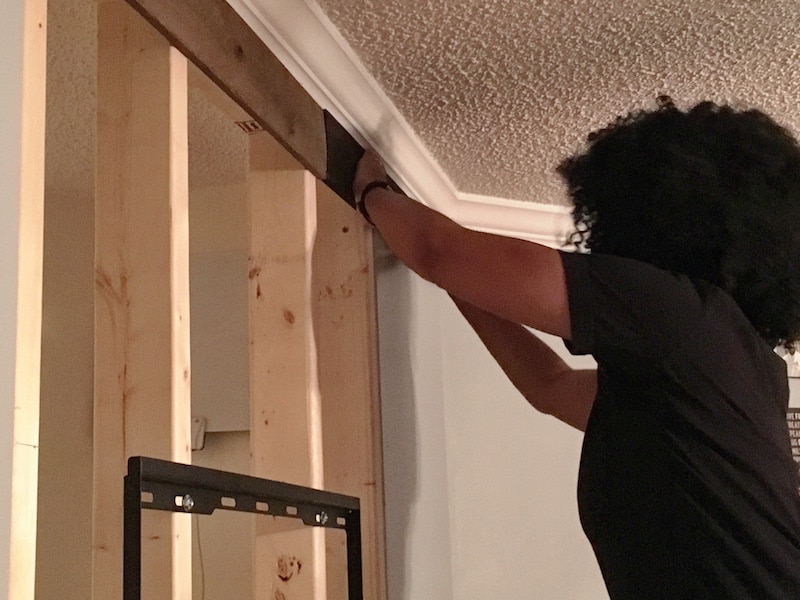
We did this part using the finishing gun, but you may be able to use a hammer to install them. I just warn that the wood boards are thin and hammering them could cause them to split. So it would be at your own discretion. You definitely could not take out your aggressions using the hammer on this project. Or you will just be more upset.
We chose to alternate the different colored pieces to give it a variety, but not with a definitive pattern.
Put pieces together to create access door using flat brackets. I laid out the wood boards to create the width and height of the access door and then put them together using flat brackets on the backs of them.
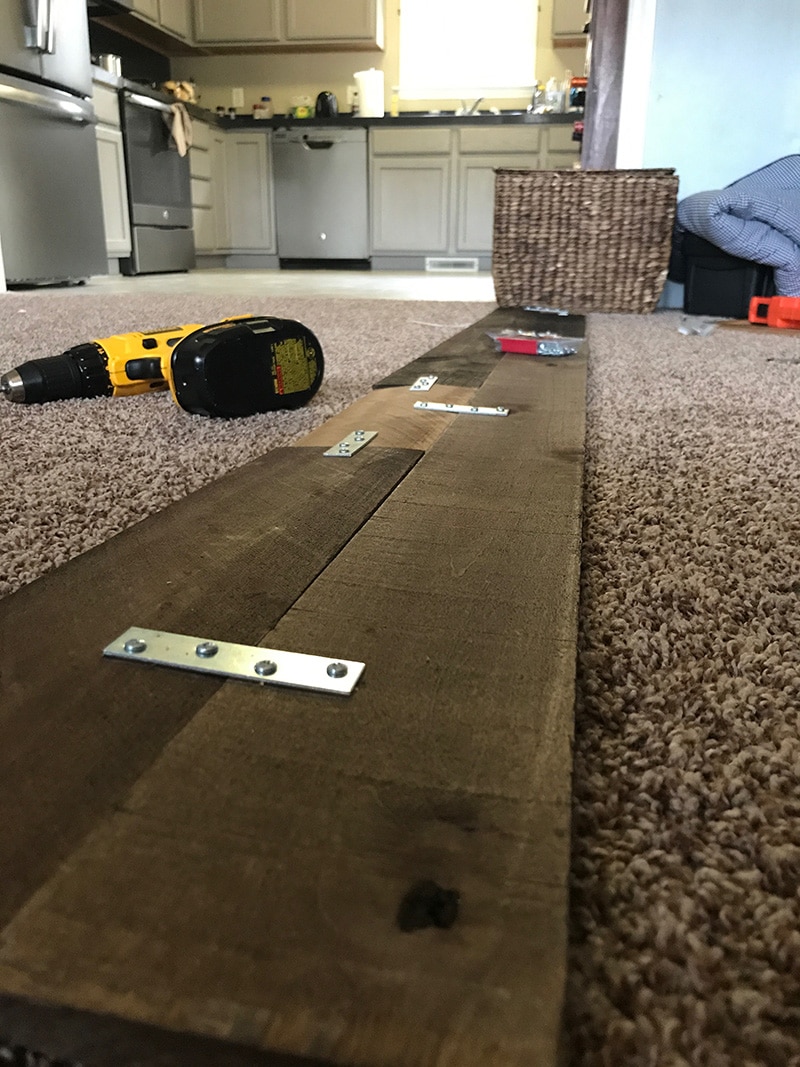
Access Door Installation
Hung access door using hinges. Once the door was together, I put the door up using the continuous hinges and attached them to the frame.
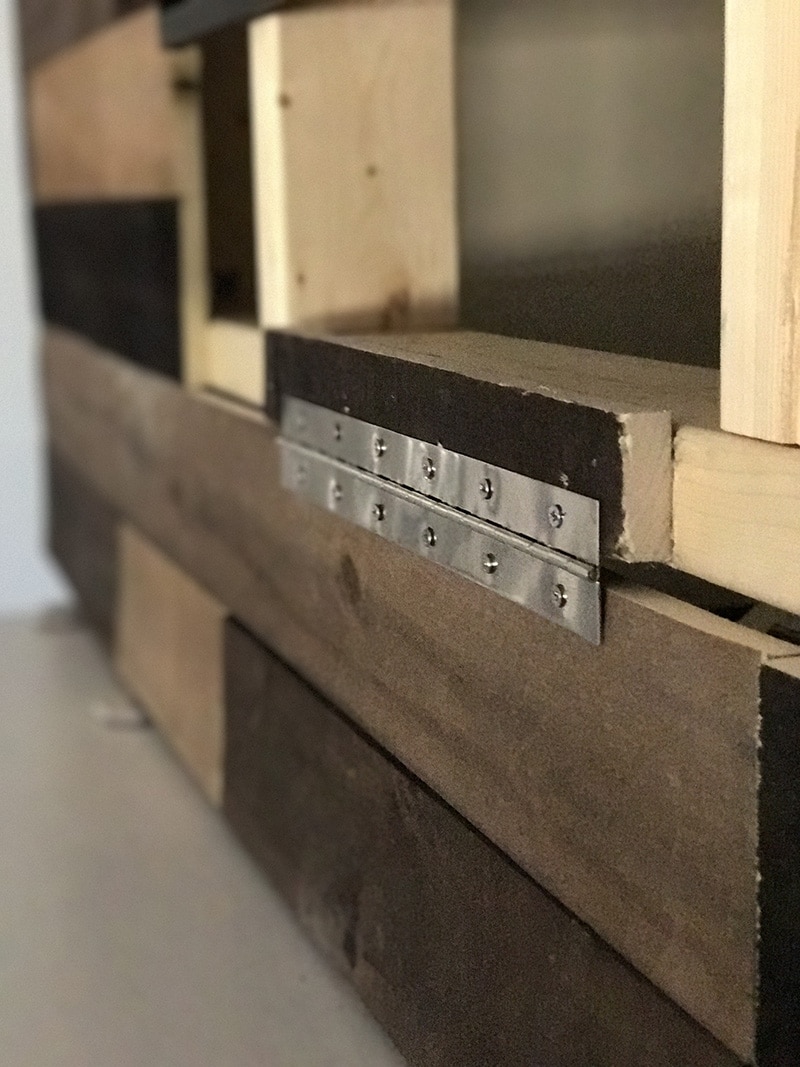
The open space has open access and an outlet for plugging in electronics.
We also installed the TV mount for the TV to hang (or float) on the wall.
Finishing Touches
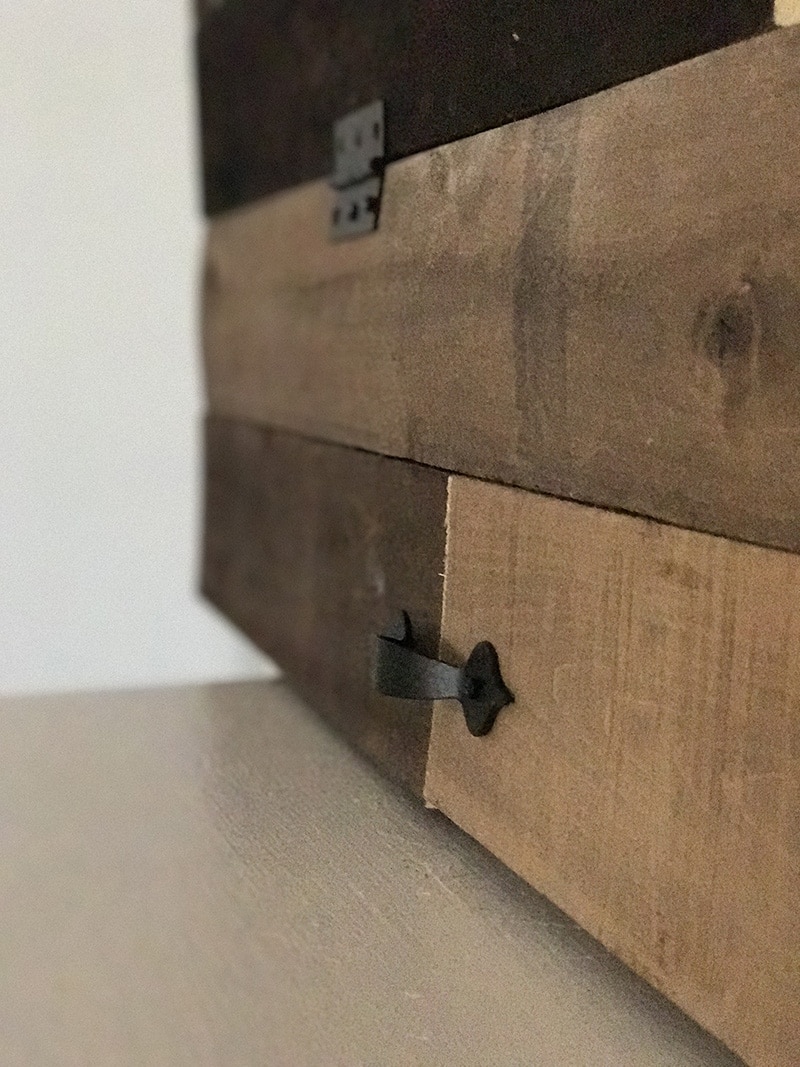
Added handles for the access door. I added the handles and the door hinges to the outer part where the access door and stationary wall boards connect, to give it character and to easily open and close the access door.
All in all I love the finished outcome. It has added a nice comfy cozy touch to the living room with wood accents.
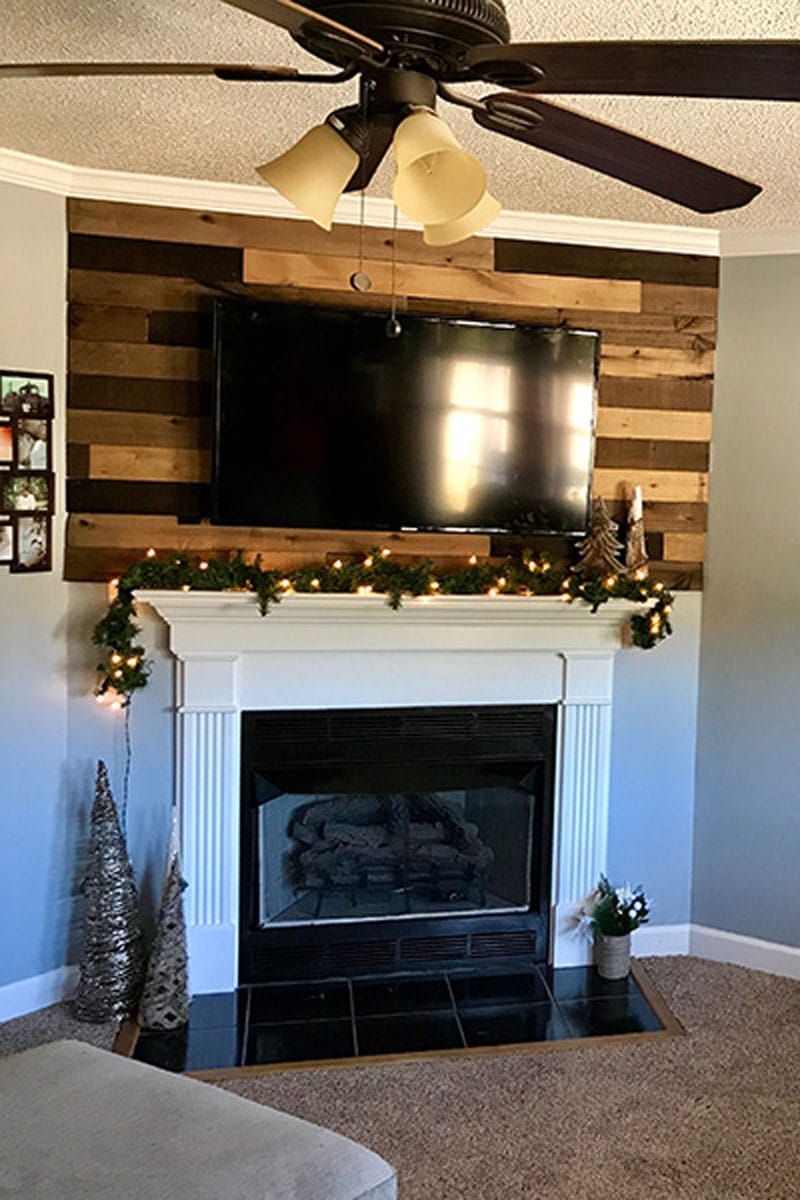
While doing a larger space would be a little more involved it is certainly doable using the Weaber wood plank boards.
DIY Wood Planked Wall Project
Equipment
Materials
- 2 x4's
- Weaber Weathered Wood Planks
- Continious Hinges
- Corner Door Hinges
- 2 1/2 ” Wood Screws
- 2 ” Finishing Nails
Instructions
- Measure and cut 2×4’s to frame the open space.
- Frame open space for support and create access space.
- Installed wood planked boards.
- Put pieces together to create access door using flat brackets.
- Hang access door using continuous hinges underneath and door hinges on top of access door.
- Add handles for access door.





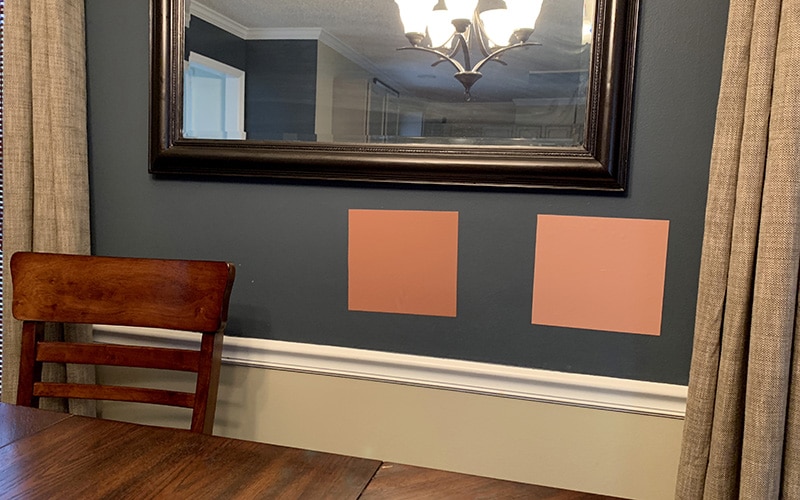
What is your wall color in this project? Is it a gray?
The color was a blue-ish gray. We have since moved so I do not have the exact color, sorry about that!