A Beyond Paint review and sharing how to paint your bathroom vanity cabinets in one weekend (or less), without sanding, using Beyond Paint.
They say kitchens and bathrooms sell houses. And the jury is still out on if this is my forever home or not, but this bathroom vanity update with Beyond Paint definitely has me sold.
A special thank you to Beyond Paint. This is a collaboration to bring you this project but all opinions are my own and my true and honest experience.
I swear with every project that I do, it lessens the desire of wanting a new house.
When we bought this house we liked the idea that the master bedroom was on the first floor. With my bad knees, we didn’t want to NEED a new house as we age and these knees continue to deteriorate. Darn genetics…
But we gave our daughter the master and opted to make the upstairs two bedrooms our living quarters. With one being the office and the other our bedroom, which coincidentally is bigger than the master anyway.
So if you have been considering using Beyond Paint and want to see how we completed our project or just want an honest Beyond Paint review, this post is for you!
What Is Beyond Paint All-In-One?
Beyond Paint All-In-One is a brand of paint that is marketed as an all-in-one solution for various painting needs. It is a type of paint that combines primer, paint, and sealer into a single product, eliminating the need for multiple steps in the painting process.
The Beyond Paint All-In-One paint is known for its ease of use and versatility. It is designed to adhere to a wide range of surfaces, including wood, metal, plastic, ceramic, and more, without the need for extensive surface preparation. It is also advertised as being self-leveling and providing a smooth finish, often without the need for sanding or priming.
In addition to its convenience and versatility, Beyond Paint All-In-One paint is also known for its durability and long-lasting performance. It is typically water-based and low in VOCs (volatile organic compounds), making it environmentally friendly and safe for indoor use.
While Beyond Paint All-In-One paint offers several advantages, it may not be suitable for all painting projects or surfaces. As with any paint, it's important to carefully read and follow the manufacturer's instructions and test the paint on a small discreet area before applying it to the entire surface to ensure it meets your specific needs and expectations. Additionally, for certain applications, such as high-traffic areas or surfaces exposed to extreme conditions, additional preparation or specialized paints may be necessary.
Why I Chose Beyond Paint For My Vanity Update
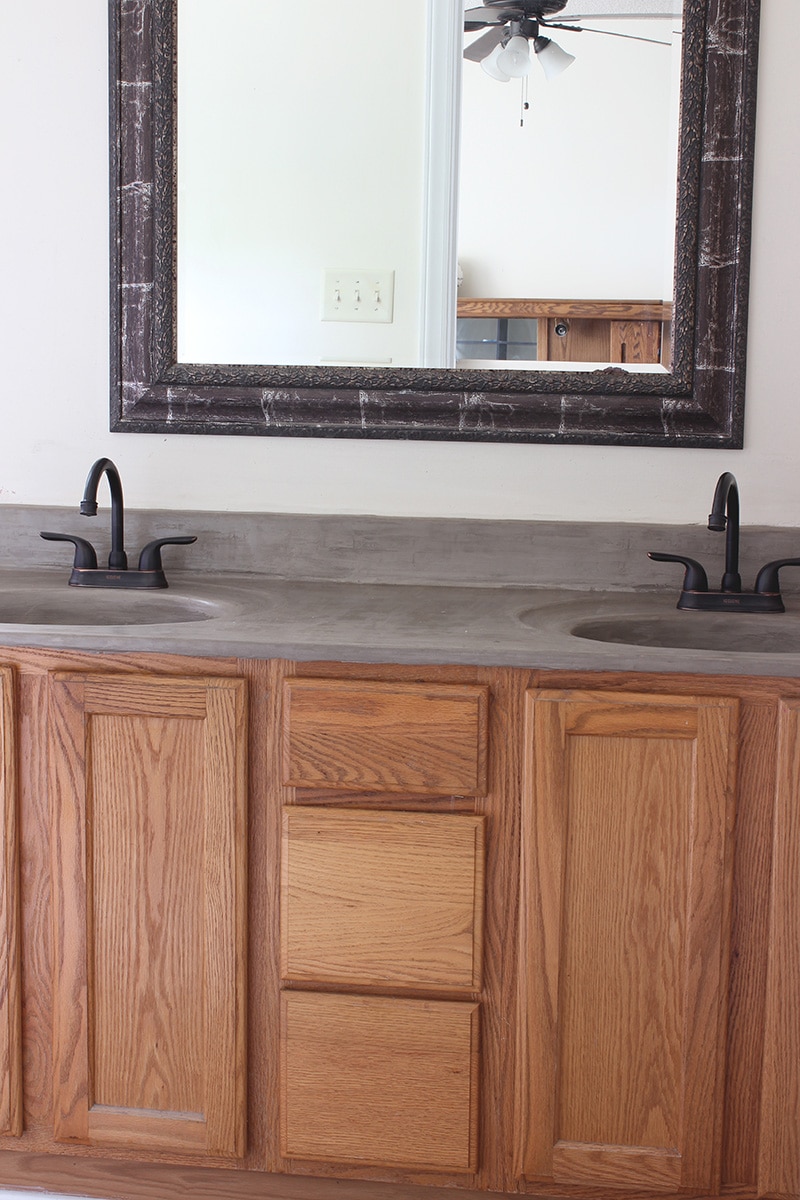
All of the vanities in my home are old and 90s dated, just like my kitchen cabinets were. And while I was not totally against having to do what I had to do in order to make them pretty, I am never gonna pass on the option to make less work for myself with an equal or better outcome.
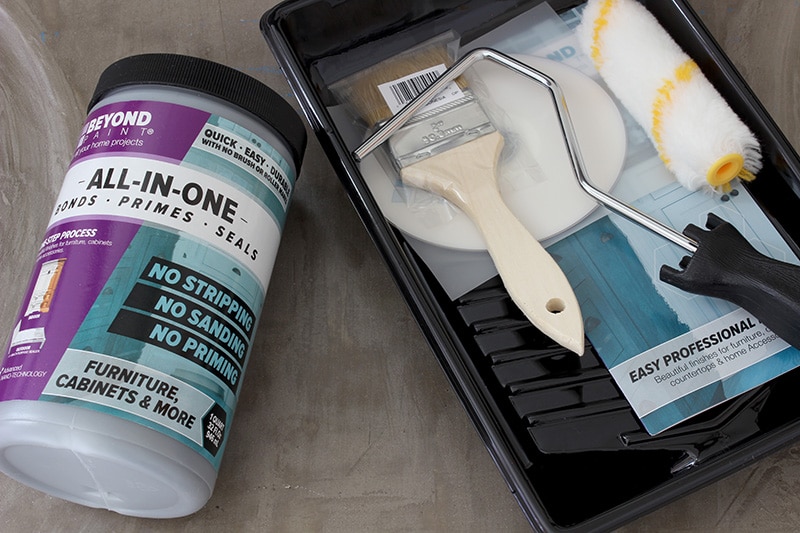
Beyond Paint is an all-in-one paint system that doesn’t require any sanding or priming. It binds, paints, and seals.
I decided to start with my daughter's bathroom for two reasons.
- It needed less work than the others.
- I thought it’d be a nice bonding thing for us.
While she doesn’t usually dive in on my projects, I figured that if it was for her space she’d be all in for rolling up her sleeves and working with her ol’ girl.
Nope!
Matter-of-fact, the week I started working on her sink, she opted to go stay with my mom for the week.
I’ll be honest and say that projects can be therapeutic when I can turn on my music or a good book and just go. But I also value time spent with the kids. Especially when I get to introduce them to something I love.
But so much for that.
Cause by the time I was ready to paint the vanity, she was 500 miles away back home in Cleveland.
It’s all good though cause Momma had some quiet therapy. And this paint was so easy to work with.
Preparation For Painting The Bathroom Vanity
I started out by cleaning the vanity down. While I had told my daughter to clean it after I updated the sink with the concrete makeover. There was a lot of sawdust residue that was still left behind from the sink update. This made me realize she still has room to grow with her cleaning skills.
I cleaned the cabinet down with a simple vinegar and water solution to make sure to get all the dirt and grime off the surface.
Feel free to use any cleaner that is designed to remove grease and grime from surfaces. Steer clear of those that leave behind a greasy type residue, as that will be counterproductive.
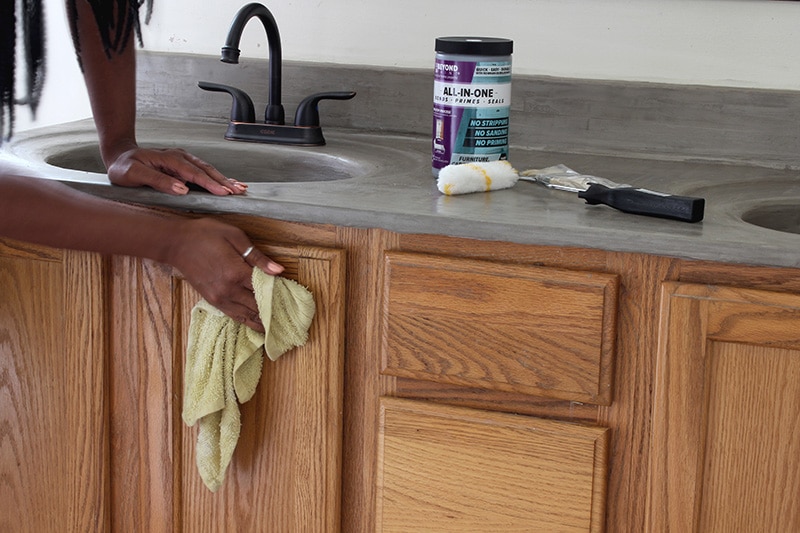
Be sure to remove any and all hardware. I like to put it all together in a bag or container together and put up and out of the way.
I opted to remove the doors and drawers to cover the box without missing spots first. And I didn’t want to paint over the hinges.
After a thorough round or two of cleaning, and removing the hardware from the doors and the doors from the cabinet, using painting tape, tape all the surrounding areas to avoid paint where you don’t want it.
How To Paint a Bathroom Vanity Cabinet
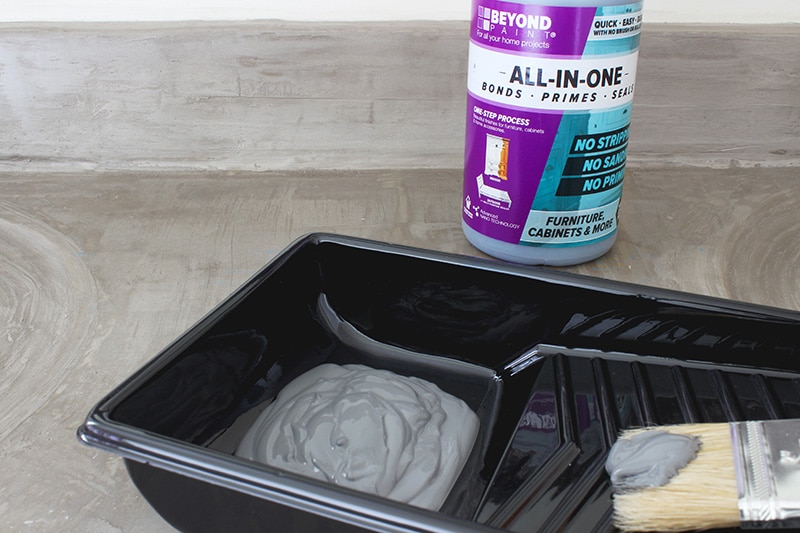
The paint has a thicker consistency, similar to that of pudding. Excuse the foodie in me… lol.
And the thickness helped the paint to adhere to, and cover, the vanity.
After doing one coat on the base, I reattached the doors and drawers and painted them too.
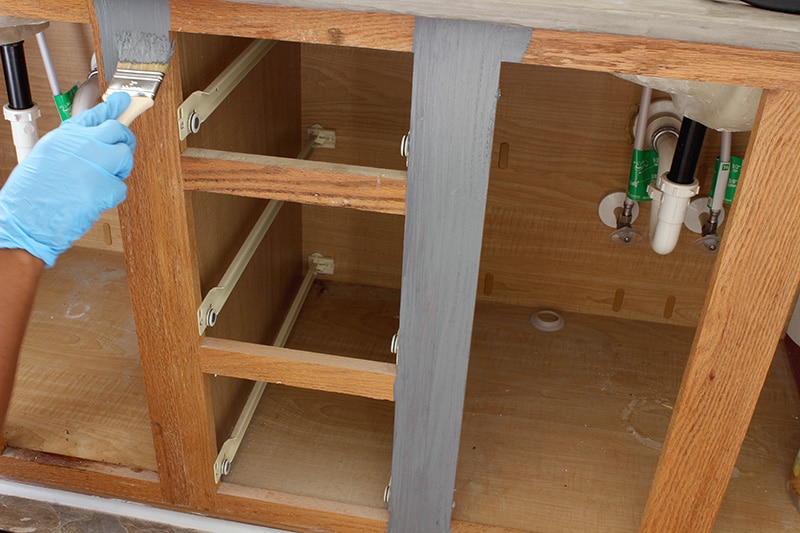
I walked away for a few hours and tackled a few things on the computer and came back to do the second coat. I loved how fast the beyond paint dried. This paint dries really fast.
Typically in 2-4 hours, one coat will dry. If there are humid conditions you will have to account for that and give more time.
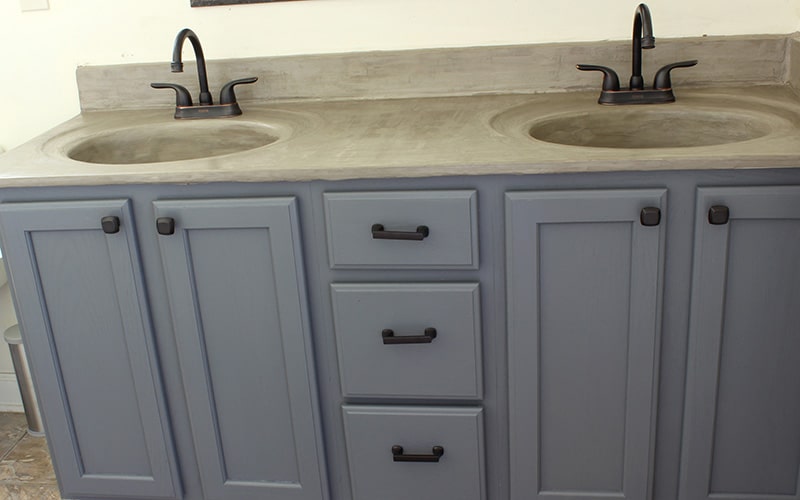
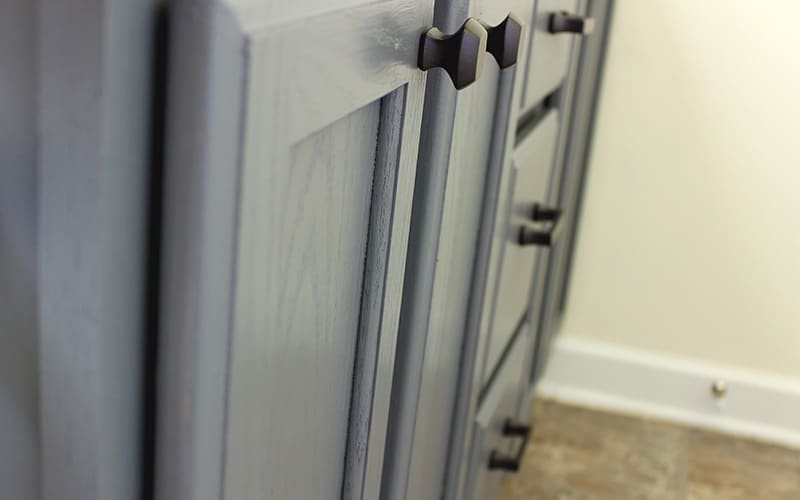
I did a full two coats for good coverage, with some touch-ups in a couple of spots. And it came out beautifully.
All that was left to do was add on some hardware.
Steps for Painting The Bathroom Vanity With Beyond Paint
- Remove doors.
- Paint first coat on cabinet box.
- Reattach cabinet doors to paint them.
- Using a brush to get in any creases or crevices, and then roller for remaining flat surfaces paint doors inside and out and drawer fronts, leaving them open to avoid touching wet paint to dry and seal.
- Allow 2-4 hours for the first coat to dry.
- Apply a second coat and let dry.
- If touch up is needed, do so accordingly.
Steps After Painting The Bathroom Vanity
Be sure to allow the paint to fully dry. It will be dry to the touch within hours. But handle it gently and allow 3-5 days for the paint to fully cure before going back to your normal use of the cabinet.
Don't forget to reinstall old hardware, or install new hardware for finishing.
Add door bumpers to keep the paint from rubbing and the doors from slamming
It’ll be another two weeks before my baby girl comes home. But I’m sure she is gonna love her newly updated bathroom vanity.
As a matter of fact, it’s the perfect welcome home gift.
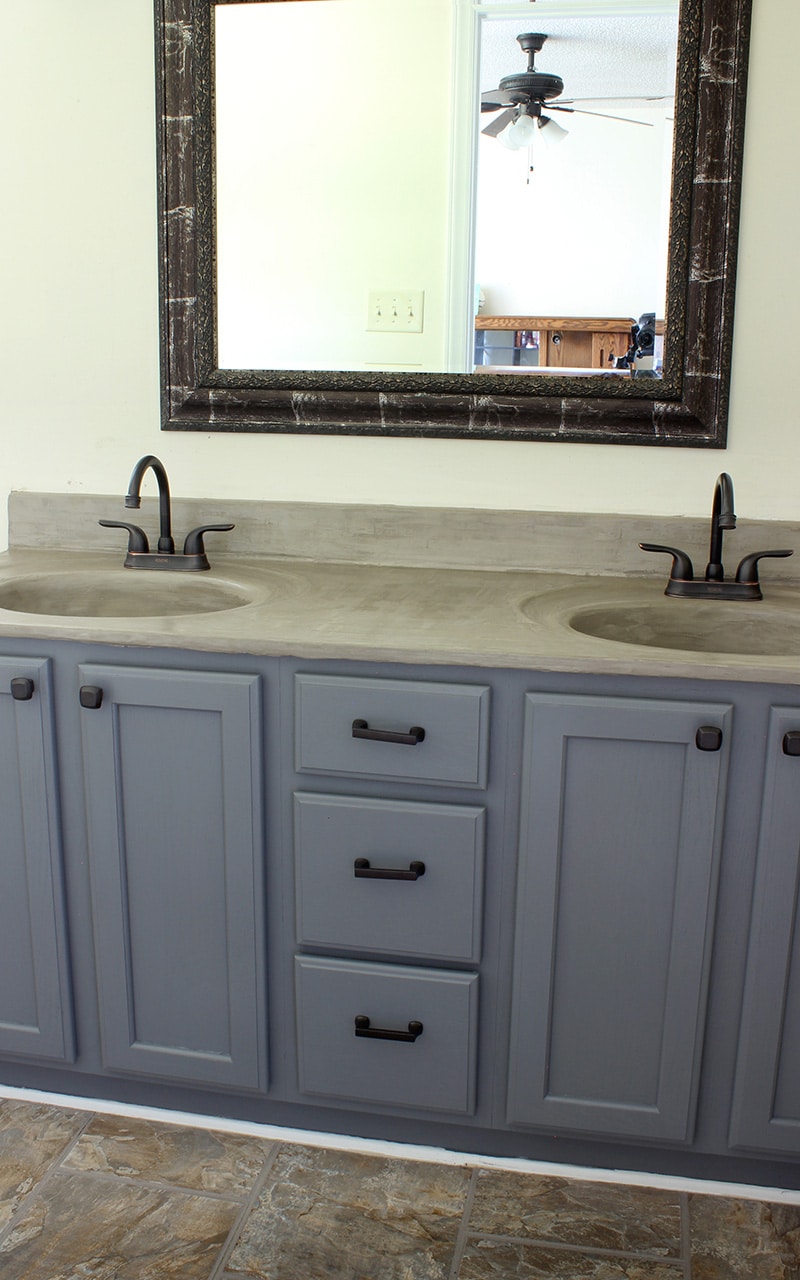
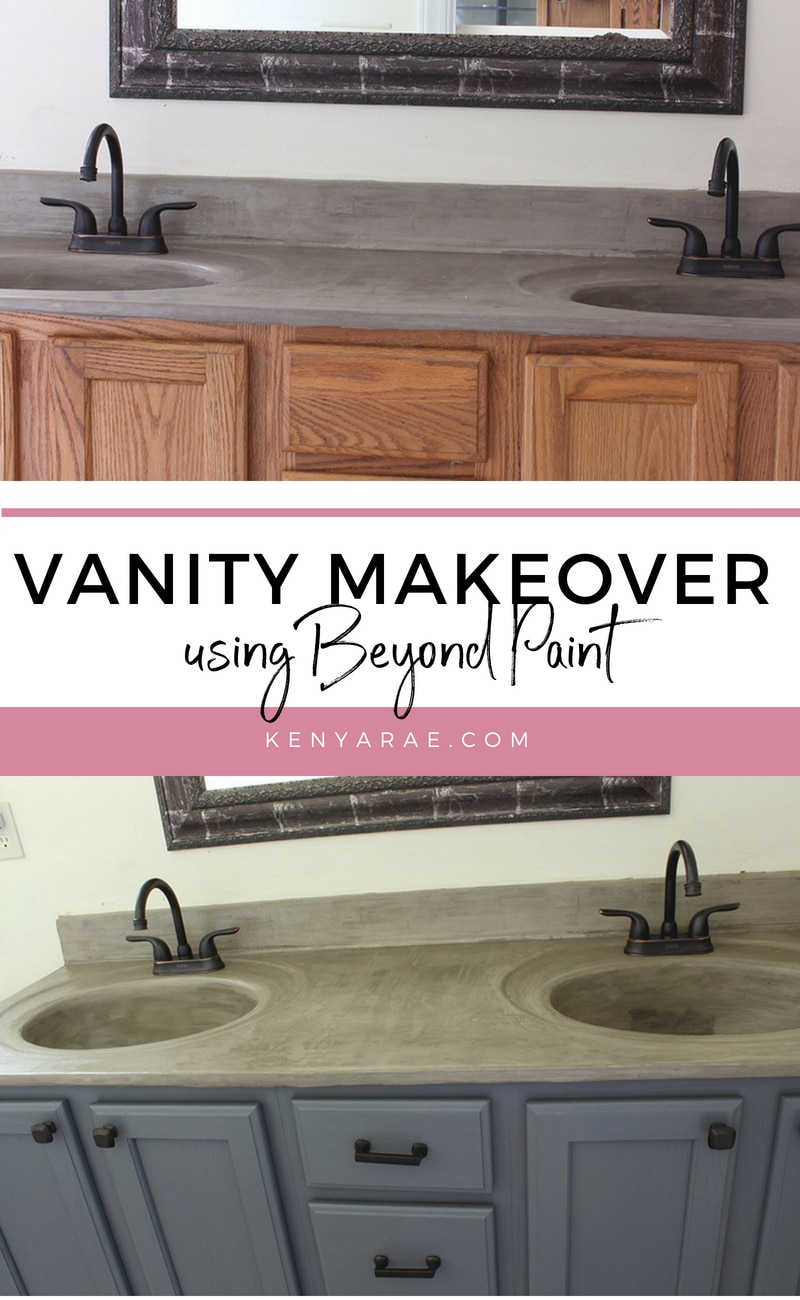
Before and After Pictures of Painting The Bathroom Vanity
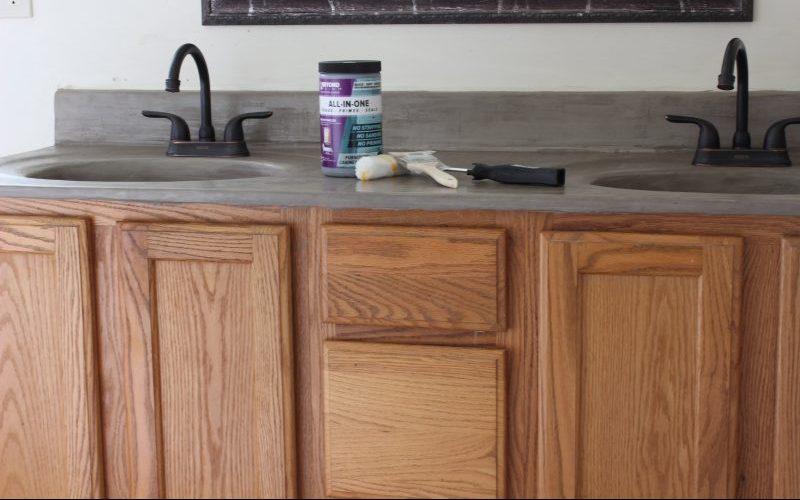
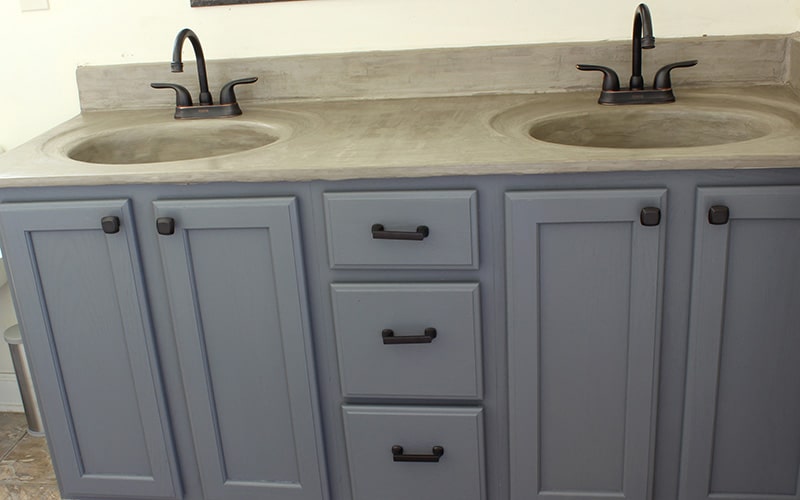
I love the look of painted cabinets. And quite honestly it is one of the most cost-effective ways to update vanities, cabinets, and such on a budget.
I know what it takes to do a full painting job with stripping, sanding, painting and protecting.
If done right, it comes out beautifully. But it is a huge time investment and flat-out takes patience and a lot of work.
I found that using Beyond Paint gives you all the benefits without all the extra work. And I am about working smarter and not harder my friends.
And I have a time budget as well as a money budget where projects are concerned.
Beyond Paint is considerate of both!
How to Refresh The Vanity Countertop
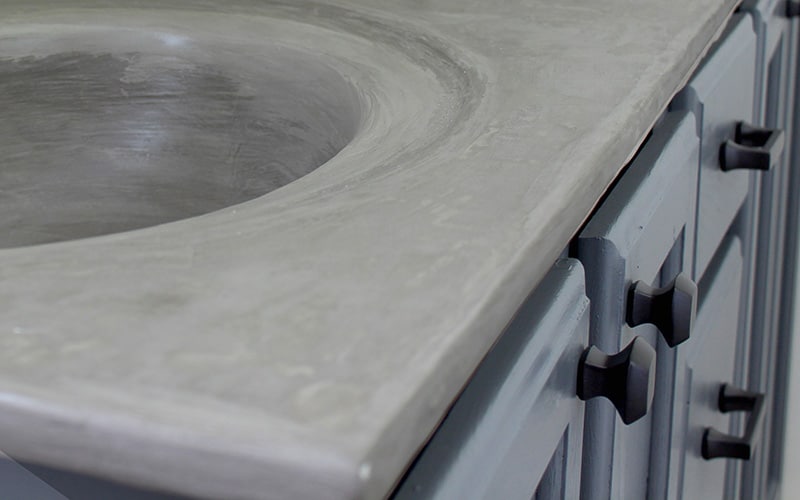
There are several ways that you can update the vanity counter. Beyond Paint offers a countertop solution that allows you to easily paint your countertops.
I chose to redo my countertop with a more rustic option which you can read about here.
All depends on personal preference and what your personal style is.
My Review of Beyond Paint all In One
I'm thrilled with the results!
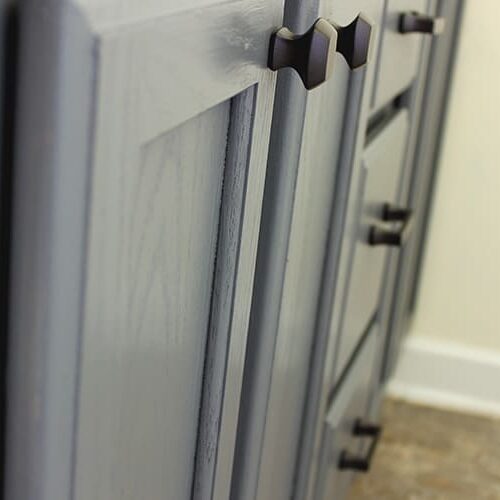
The application was a breeze, as the paint went on smoothly and evenly without any brush strokes. I didn't need to use a primer or sealer, which saved me time and effort. The paint adhered well to the cabinet surface, and the coverage was excellent with just two coats.
The finish is beautiful, with a subtle sheen that gives my vanity a refreshed, professional look. The paint dried quickly and didn't have a strong odor, which made the application process pleasant. I also appreciate that Beyond Paint is water-based and low in VOCs, which made it not have the normal paint fumes we experience with other paint projects.
After using Beyond Paint, the vanity cabinet looks like new and feels durable. My daughter has been using it for a few weeks now, and it has held up well to daily use without any chipping or peeling. I'm impressed with the quality and performance of Beyond Paint, and I highly recommend it to anyone looking for a convenient all-in-one paint solution for their vanity or other similar projects.
How To Paint a Bathroom Vanity Using Beyond Paint Project
Equipment
Materials
- Beyond Paint Painting Kit
Instructions
- Prep and clean cabinets.
- Remove hardware and doors.
- Paint first coat on cabinet box.
- Reattach cabinet doors to paint them.
- Use a brush to get in the creases or crevices.
- Roll remaining flat surfaces, painting doors inside and out and drawer fronts. Leave them open to avoid touching wet paint to dry and seal.
- Allow 2-4 hours for the first coat to dry.
- Apply a second coat and let dry.
- If touch up is needed, do so accordingly.
- Let dry and add hardware.





This is so awesome that you were able to do this! I love how easy you made refinishing your bathroom cabinets look. You mentioned that you didn’t have to put all the extra work of sanding the doors prior to painting, did that make any difference in the end result or how it has held up?
Nope! It held up very well. One of my favorite reasons I like to use chalk paint. Thanks for stopping by!
Thank you so much for posting this! All my cabinets in my house look exactly like yours (pre-paint) and I have been wondering if I could even paint over them and how to do it! Now I feel a little more comfortable making the changes and just going for it! Thanks!
You are very welcome! Check out my most recent update too. I think this one is my fav.
Thanks so much for sharing this! I have wanted to paint my cabinets for just forever, now with your instructions I am going to do it! Will ket gou know how things turned out.
Can’t wait to hear about it Barb!
Now that it has been awhile… how has it held up?
Hey JD! Thanks for asking.
It has held up nicely. There are a few scuffs on it, but they were due to my teenage daughters’ carelessness. I would still recommend the product.