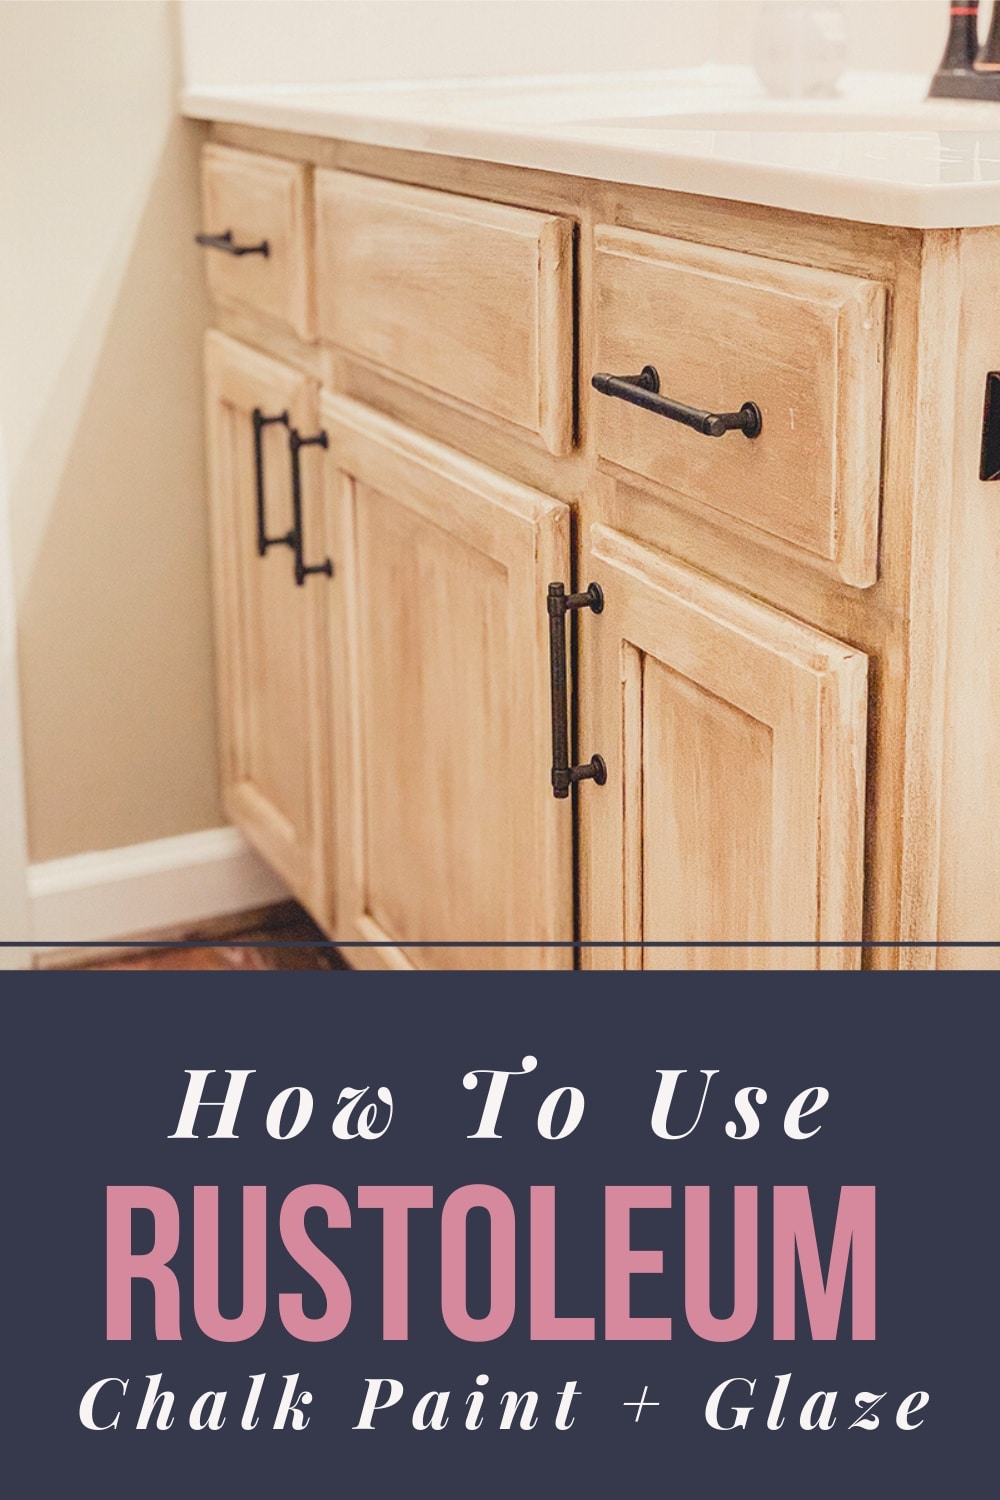
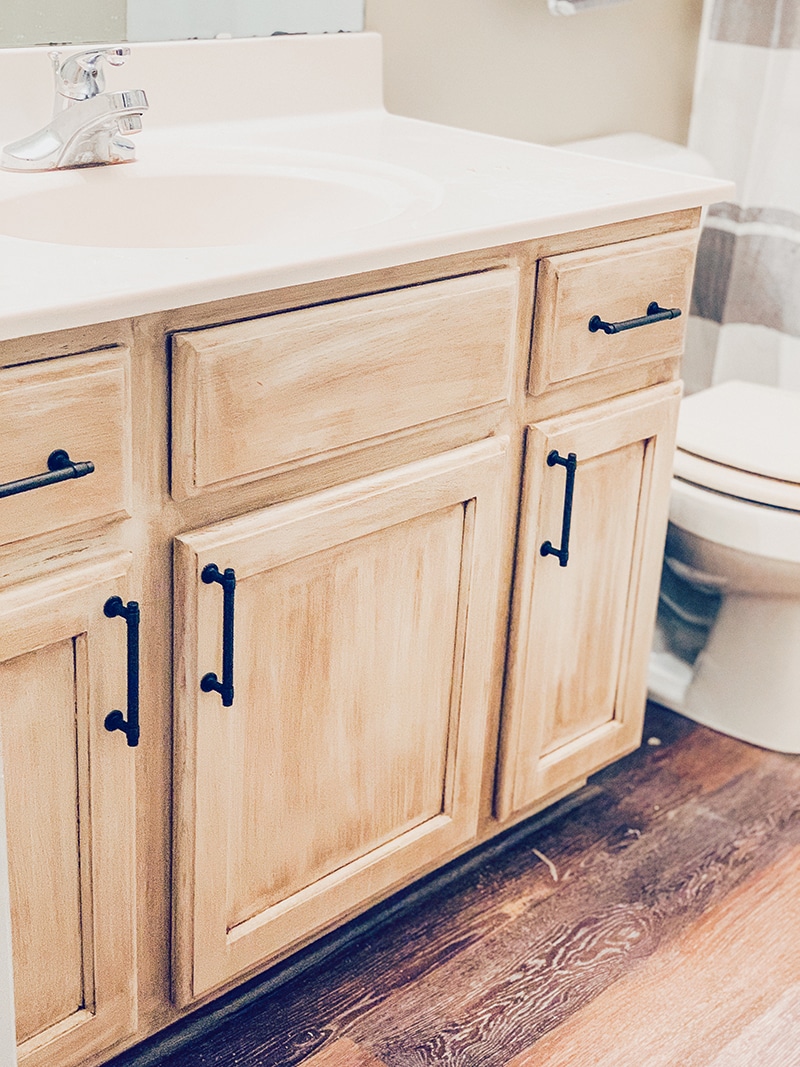
How I updated my vanity cabinets in two of my three bathrooms in my home, using Rustoleum Chalk Paint, Rustoleum Aged Glazed. And in case you care I am including what I think about it now that it is all said and done.
Do you have wood cabinets that structurally are great, but not so great on the eyes?
Do you want to update said wood cabinet without spending a lot of time and perferably not alot of money too?
I am sharing why I chose Rustoleum chalk paint, how I used it, and what my overall throughts are about it. I have all the answers here so you don’t have to go and try to find them!
Why I Chose Rustoleum Chalk Paint
In my past experience working with chalk paint, the thing I love about it the most is that it is forgiving. It beautifully hides the imperfections in the surface that is being painted.
My first peice I ever chalk painted, and the many others I have done since, really had no imperfections. But when I did my sons dresser, it had a part of the dresser that was coming apart. I glued it and painted it with chalk paint, and you have to really look to find the imperfection.
Also worth noting is that chalk paint also dries pretty fast compared to other paints.
Rustoleum makes good products and it is typically the only spray paint I use. I have also used the hammered brush paint for other projects around the house too. So I went into this with full confidence that things would end well.
How long does chalk paint take to dry on wood?
The drying time of chalk paint on wood can vary depending on several factors, such as the humidity, temperature, thickness of the paint layer, and the type of wood. In general, chalk paint on wood can take anywhere from 30 minutes to an hour to dry to the touch, but it may take longer to cure completely.
I allowed however long it took to paint the entire vanity between the coats.
To ensure the best results, it’s recommended to let the first coat of chalk paint dry for at least 24 hours before applying a second coat. If you’re using a wax or sealer on top of the chalk paint, it’s important to wait for the paint to fully cure, which can take up to 4 weeks, before applying the wax or sealer.
Tools Needed To Update The Vanity
- Drill
- Painter’s Tape
- Foam brush
- Narrow paintbrush
- Wide paintbrush (if you are not sure about what kind of paintbrush is best, check out these recommendations)
- Paint roller
- Dropcloth – Because I am always doing something, I prefer a canvas dropcloth, but a plastic dropcloth could work as well
Materials Needed
Prepping to Paint
My toilet paper roll is attached to the wall of my vanity cabinet. So I had to remove that.
As always, with every project I have ever done, there is something that comes up and takes longer than you a lot for in your planning. The toilet paper holder was that something this go-round.
One part of the screw in the toilet paper holder was broken. So my husband had to drill a hole into the bottom of the holder to get it off because I could not unscrew it.
Once I got past that, we were golden.
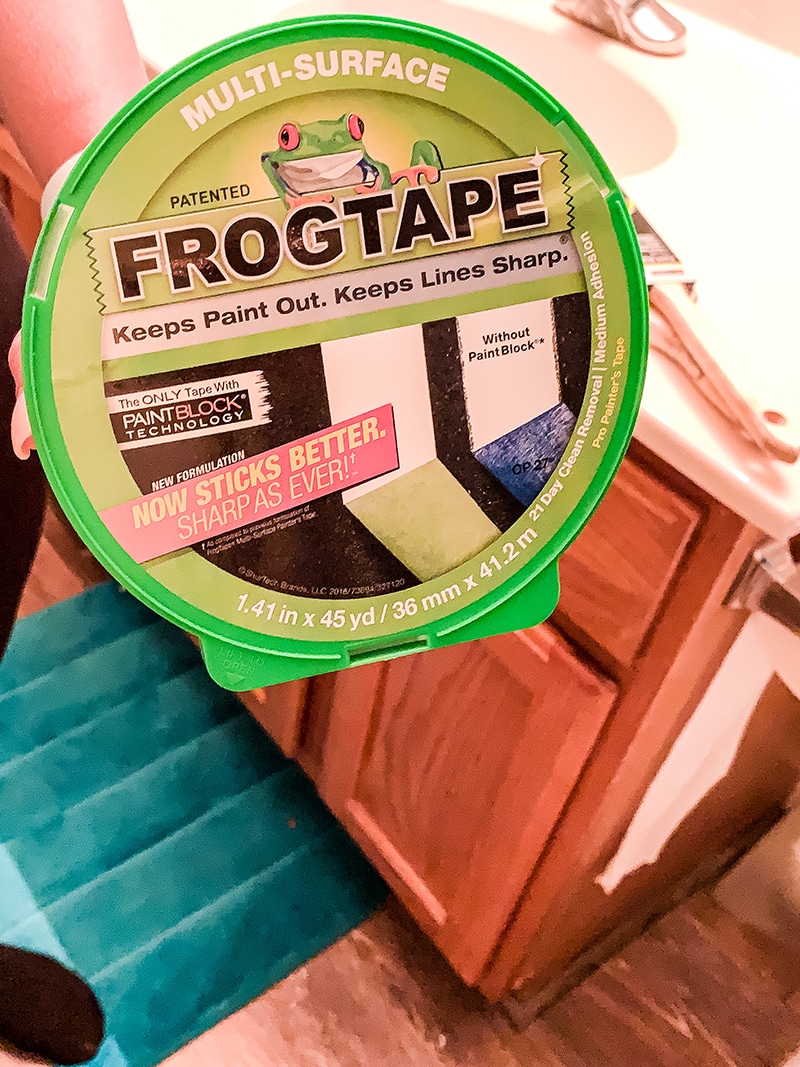
I lined the floor and the wall around the vanity with frog tape.
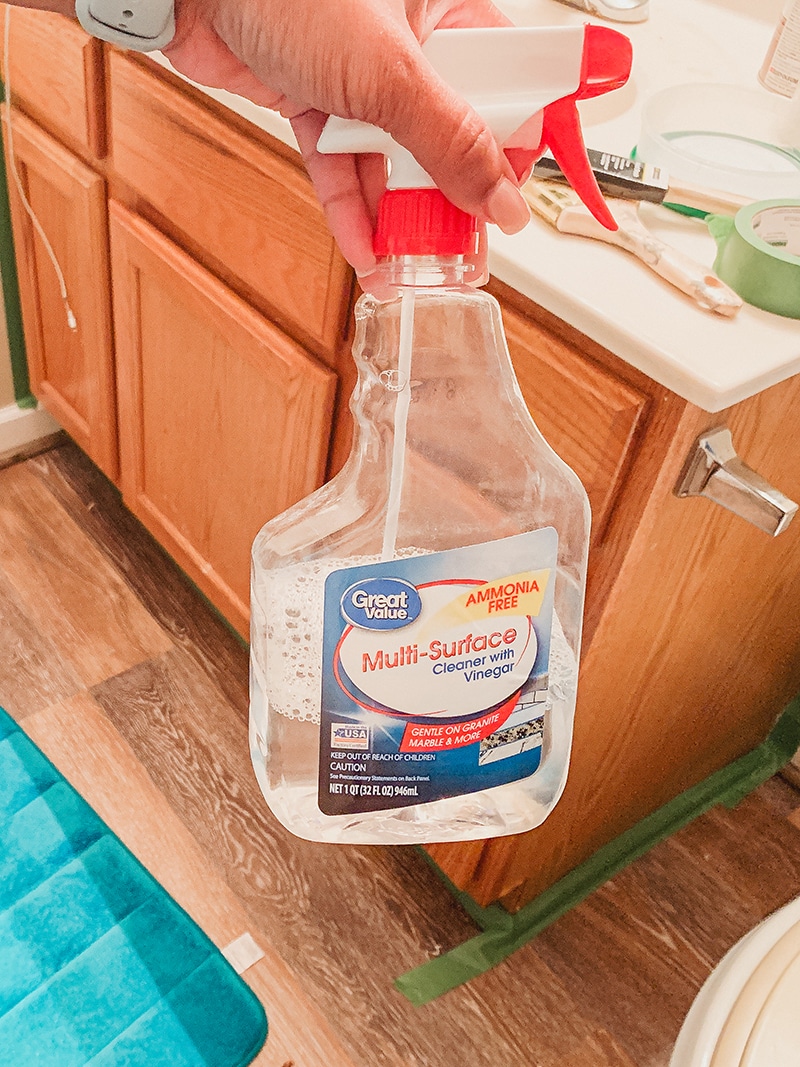
Then I used a vinegar multi-purpose cleaner to clean off the vanity.
Once everything was all clean, I removed the doors and the hinges.
I laid the doors out on a drop cloth to paint them separately to ensure complete coverage.
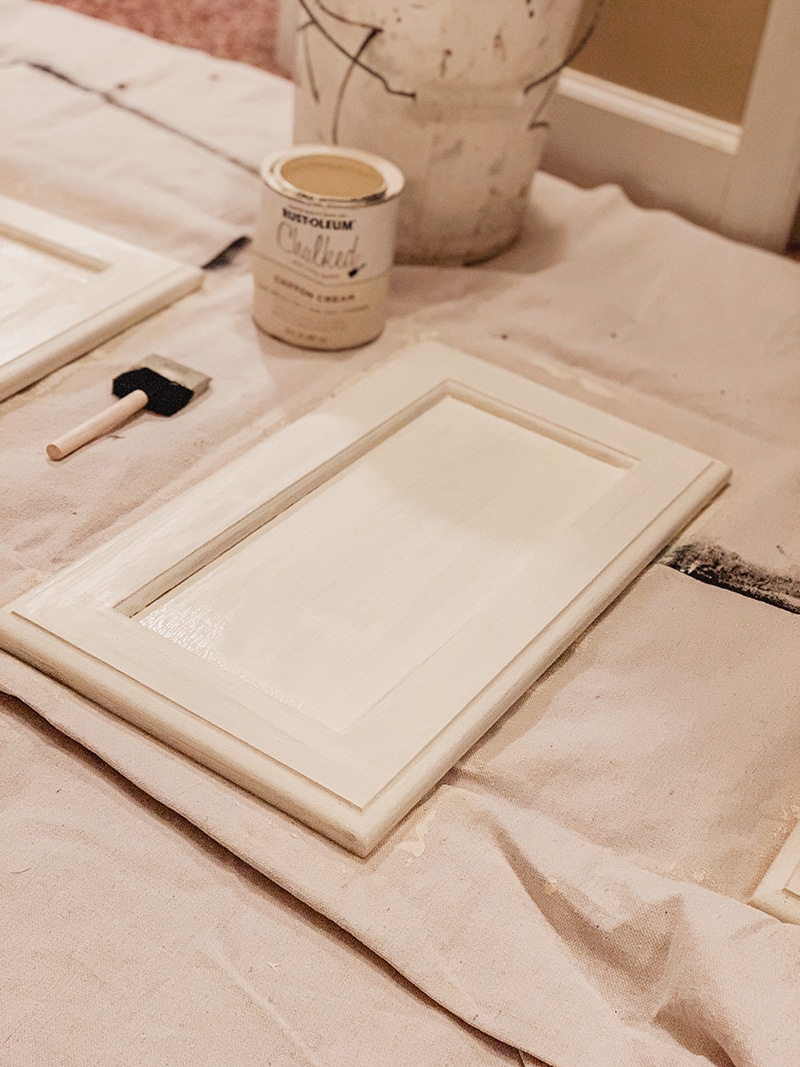
Some people paint with doors attached. I personally like to get into every nook and cranny. That can only be done by removing the doors.
Application of The Rustoleum Chalk Paint
I applied my first coat of paint with the narrow paintbrush to ensure I could get in all the crevices.
For the second coat, I used the wide brush and went over it with the roller for a smoother finish.
For the doors, I used a foam brush to get in the corners and grooves of the door. Before using the brush.
While Rustoleum says it can cover in one coat, that did not work for me and this project. But I also planned on doing two coats from the top because this is a high traffic area and I wanted maximum coverage.
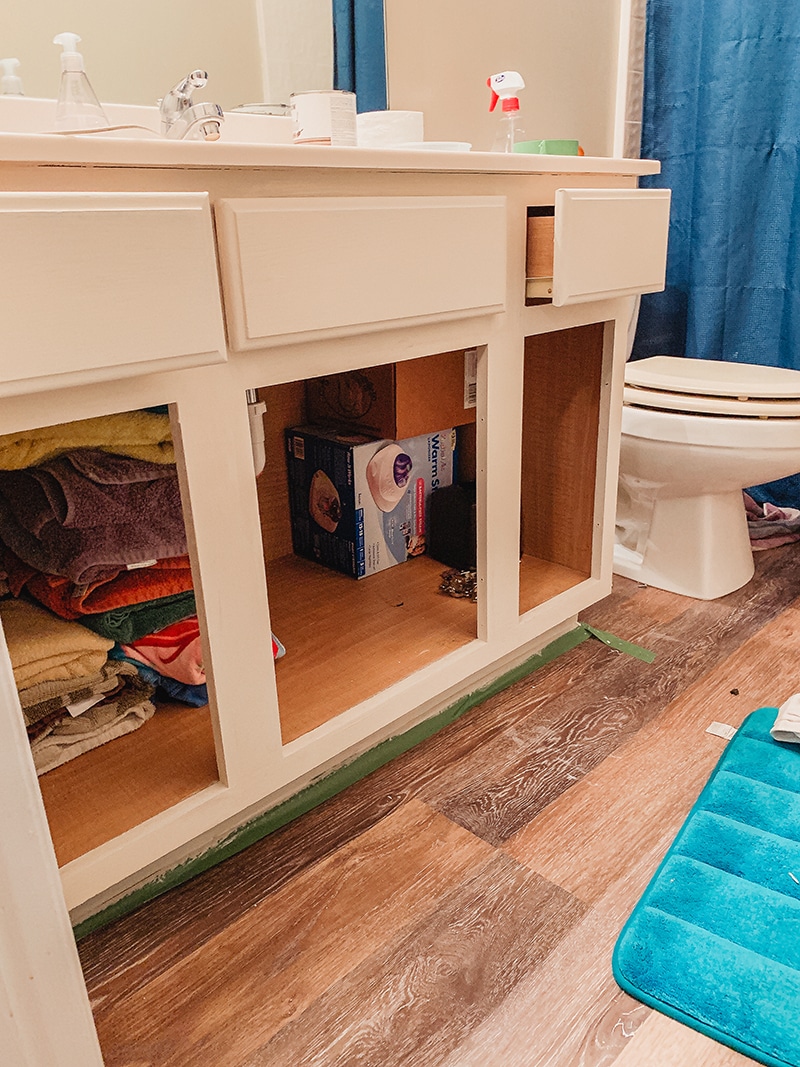
If you are basing your project on the one coat claim, I say to approach it with caution. That may be true for some materials, it just was not true for mine.
By the time I got all the way through with the first coat, start to finish, where I started was dry and ready for the second coat.
I did my second coat and let that dry overnight.
The next day, I reattached the doors and touched up some spots I was not completely happy with.
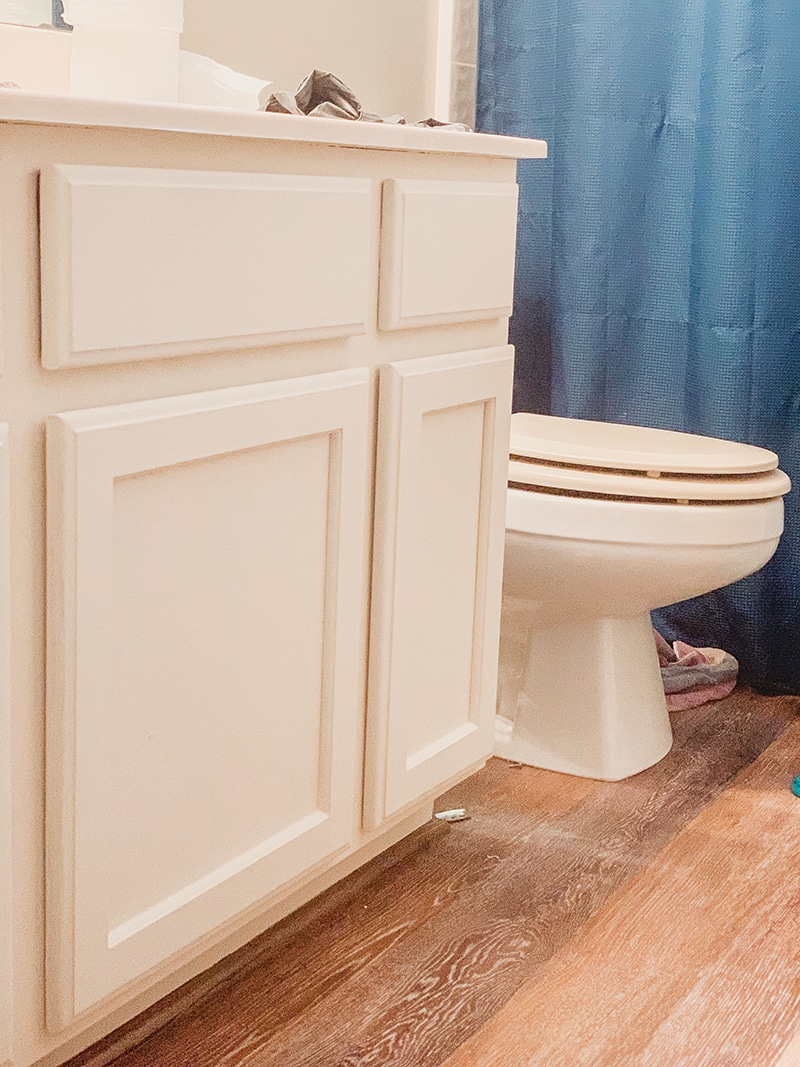
I then let the paint be for three days so that it could cure.
WHAT IS THE DIFFERENCE BETWEEN THE PAINT DRYING AND THE PAINT CURING?
Paint can dry in typically a matter of hours. This is where it can be touched but it is not completely hardened.
With a water-based paint, curing time is the time it takes for the water to dissolve that allows the color to completely harden and attach to the surface.
According to the instructions outlined on the can, it needs 3-4 days to cure.
What colors does Rustoleum Chalk Paint come in?
Rustoleum offers a range of colors for its chalk paint line. The available colors may vary by region and retailer but typically include:
- Aged Gray
- Aged White
- Bleached Blue
- Blush Pink
- Charcoal
- Chiffon Cream
- Coastal Blue
- Country Gray
- Linen White
- Minty
- Pink Lace
- Serenity Blue
- Smokey Beige
- Sweet Cream
- Tidal Pond
Also, Rustoleum offers tintable chalk paint, which allows you to create custom colors by adding universal colorants. This option provides endless possibilities for creating a unique color palette for your project.
Application of the Rustoleum Aged Glaze
To apply the aged glaze, I used a narrow brush and foam brush.
I did it in sections because I did not want the application to be too heavy.
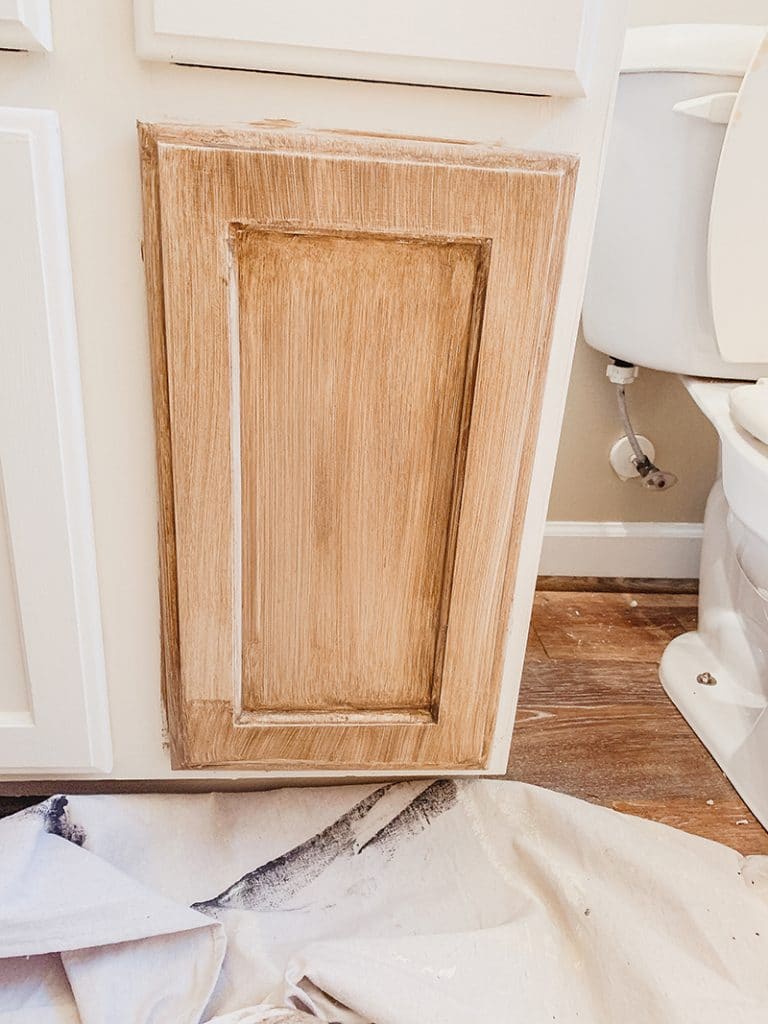
I applied the glaze with the paintbrush and used the foam brush to get in the crevices. And then wiped it away with an old white cotton t-shirt to wipe off the excess.
In some spots where I wanted a little more, I added it with the foam brush and removed it after a few minutes with the t-shirt.
I waited a few days to let things fully cure.
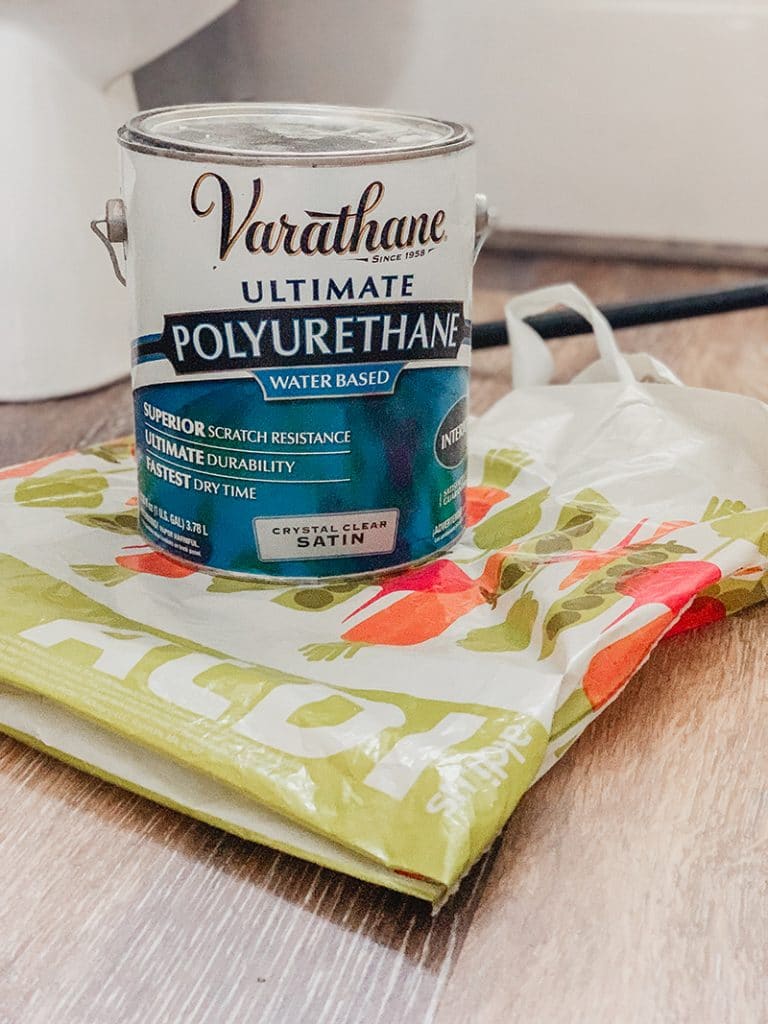
As the last step, I topped things off with a coat of matte satin polyurethane.
I reached out to the folks at Rustoleum to check to see if the Rustoleum Chalk Matte Top Coat was required, and they advised that they do recommend that you use it for best results. But that I could test out the poly on a small area after letting the glaze dry for 24 hours and make sure I was okay with the results.
I did that, because I had a WHOLE GALLON of polyurethane on deck, and I was totally okay with it. But if I did not have that, I would have gone ahead and sprung for the Rustoleum top coat.
What colors does Rustoleum Glaze come in?
Rustoleum offers a small range of colors for its glaze line. The available colors may vary by region and retailer but typically include:
- Java Brown
- Smoked Glaze
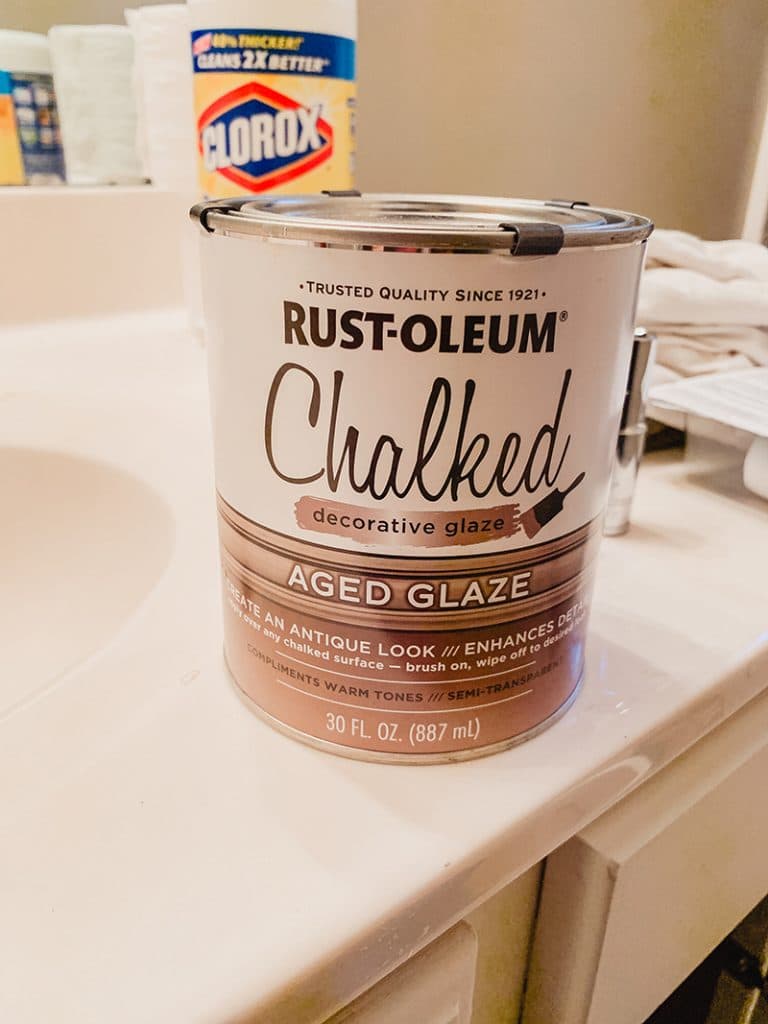
- Aged Glaze
- Clear Glaze
These glazes are designed to be used over painted surfaces to add depth and dimension to the finish. Creating a unique look for your project.
It’s always a good idea to test the glaze on a small area (or even better, a small test piece of wood) before applying it to the entire surface to ensure that you achieve the desired effect.
The Final Look
I am super happy with the final look of the cabinet.
Because adding hardware is always a super easy and cost-effective way to upgrade the overall look, I finished it off by adding bronze hardware to the cabinet. And also updating the sink faucet. I will link the ones I used below for you.
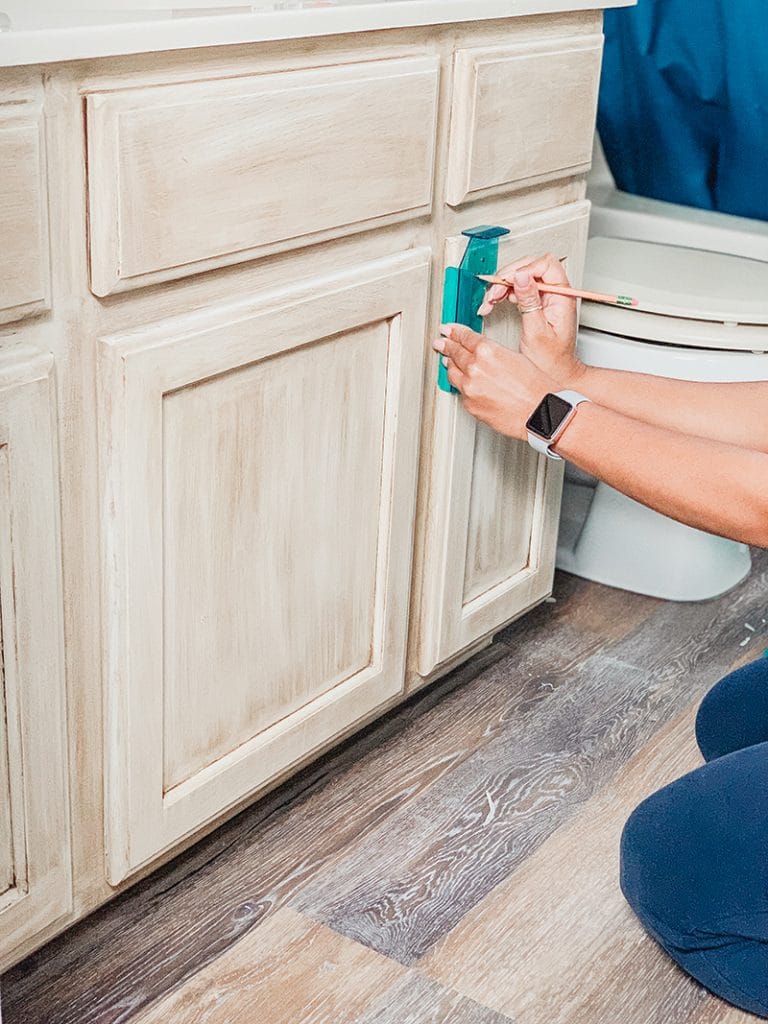
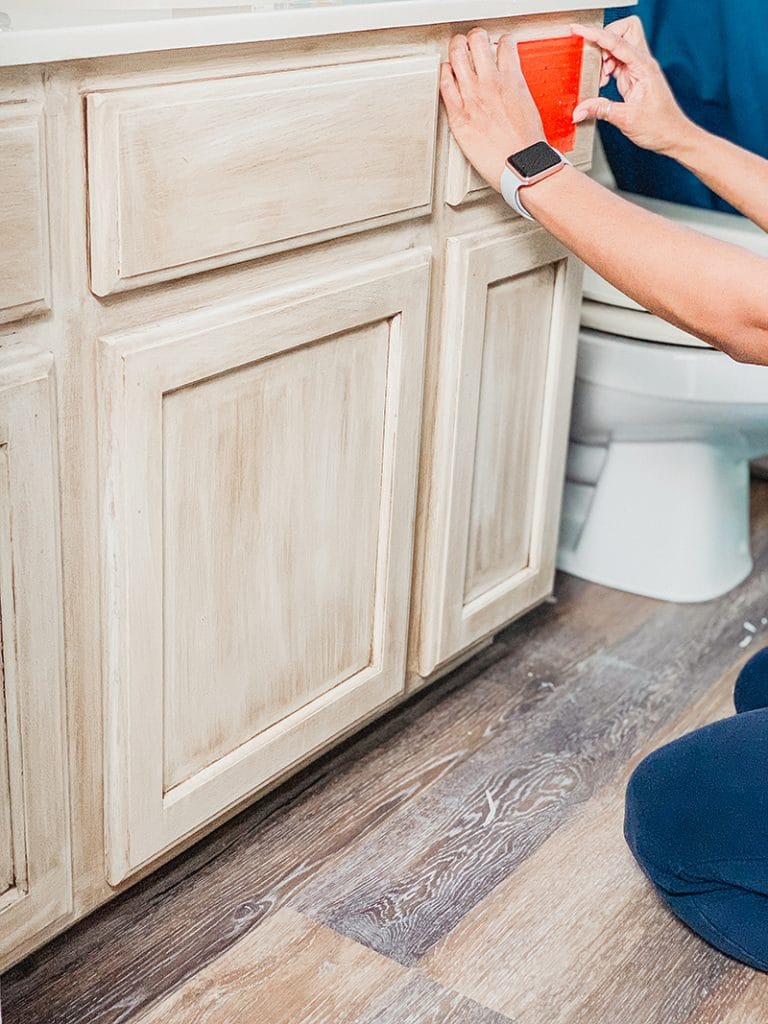
If you decide to add hardware, this guide helps you get it right the first time and not mess up your cabinet in the process.
I am currently doing the outdated light fixture to match to complete the look in my main bathroom.
Check it out for yourself. Tell me what you think???
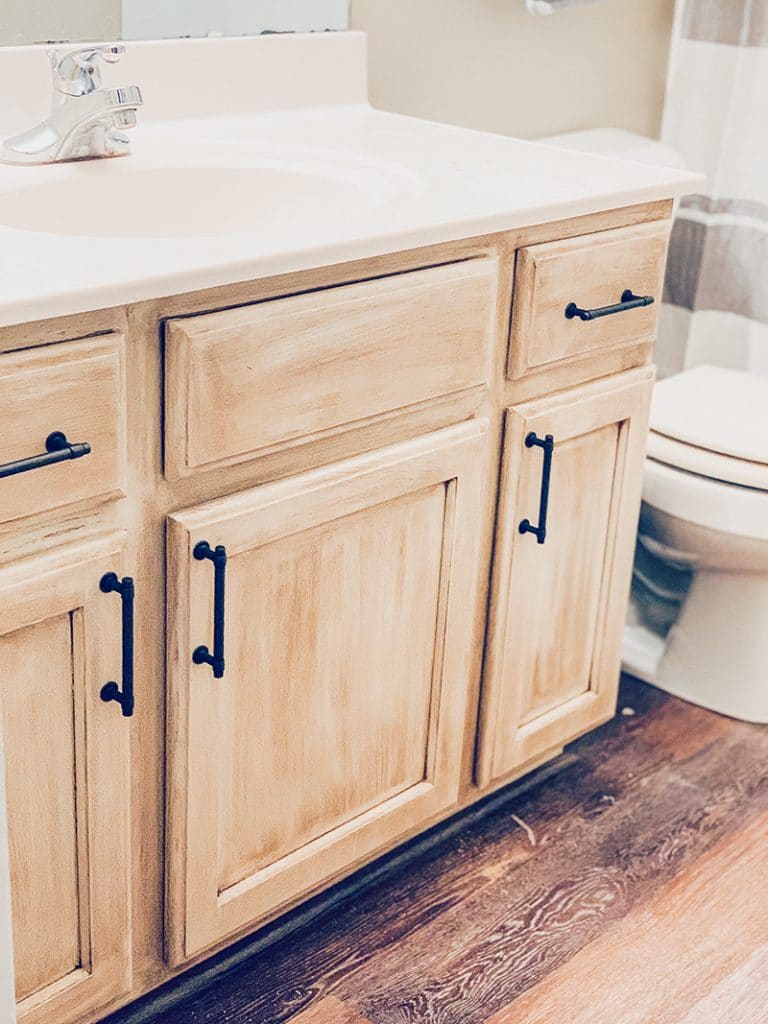
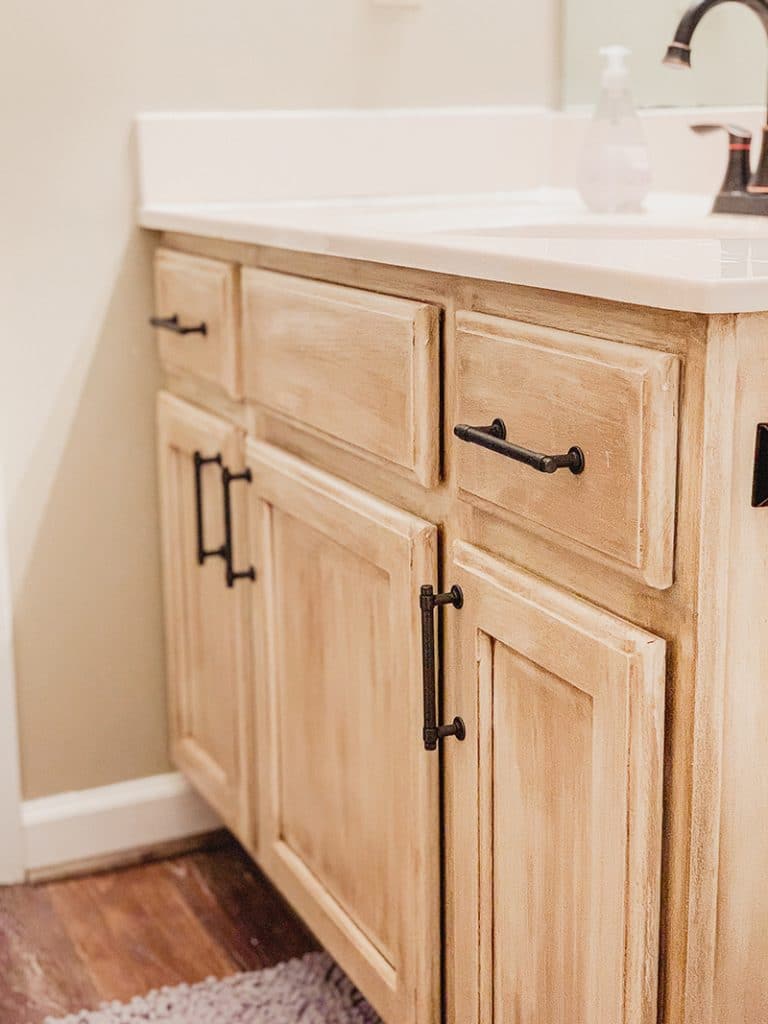
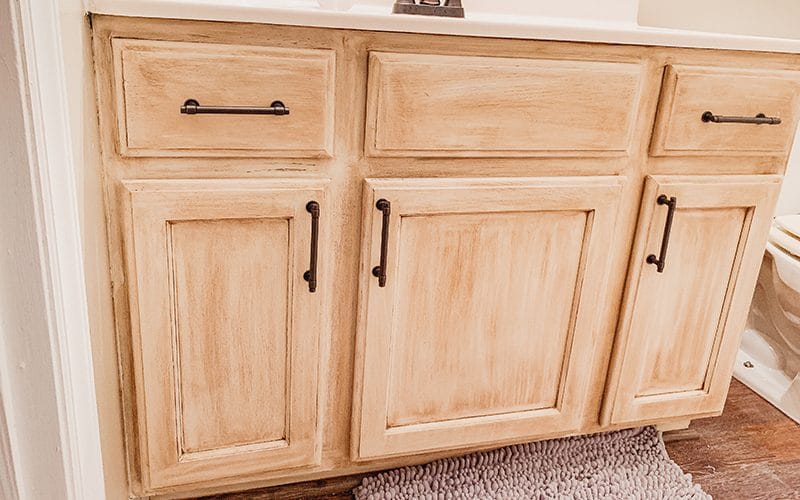
Hardware Uses For The Final Look
My Review of Rustoleum Chalk Paint and Aged Glaze
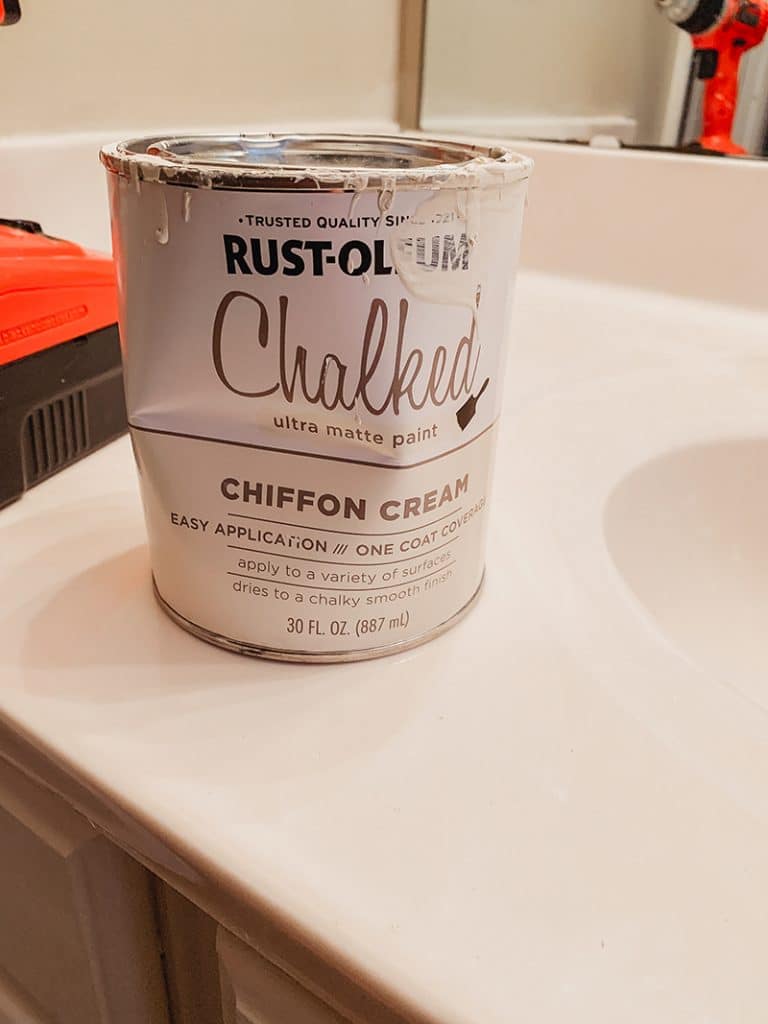
Using Rustoleum Chiffon Cream chalk paint and Rustoleum Aged Bronze glaze, I updated my oak bathroom vanity cabinet.
The chalk paint was super easy to use, fast drying, and provided full coverage over the oak wood.
The biggest downside is the time it takes between products. You have to allow 3-4 days after using the chalk paint, before using the glaze. And then, allow 24 hours before applying the top coat over the glaze.
It is a product that even a beginner can use with ease and is a great value for the cost associated.
I was able to paint two vanity cabinets with one can of chalk paint used completely. And using one can of glaze with more than half left over.
What I Loved
- Super easy to use.
- A little goes a long way.
- Beautiful finish.
- Easily accessible and sold in many stores.
- Easy clean up with water and without harsh chemicals.
What I Wasn’t Impressed By
- Did not coat with one coat.
- Limited color options found in stores (more available online, but that requires more planning).
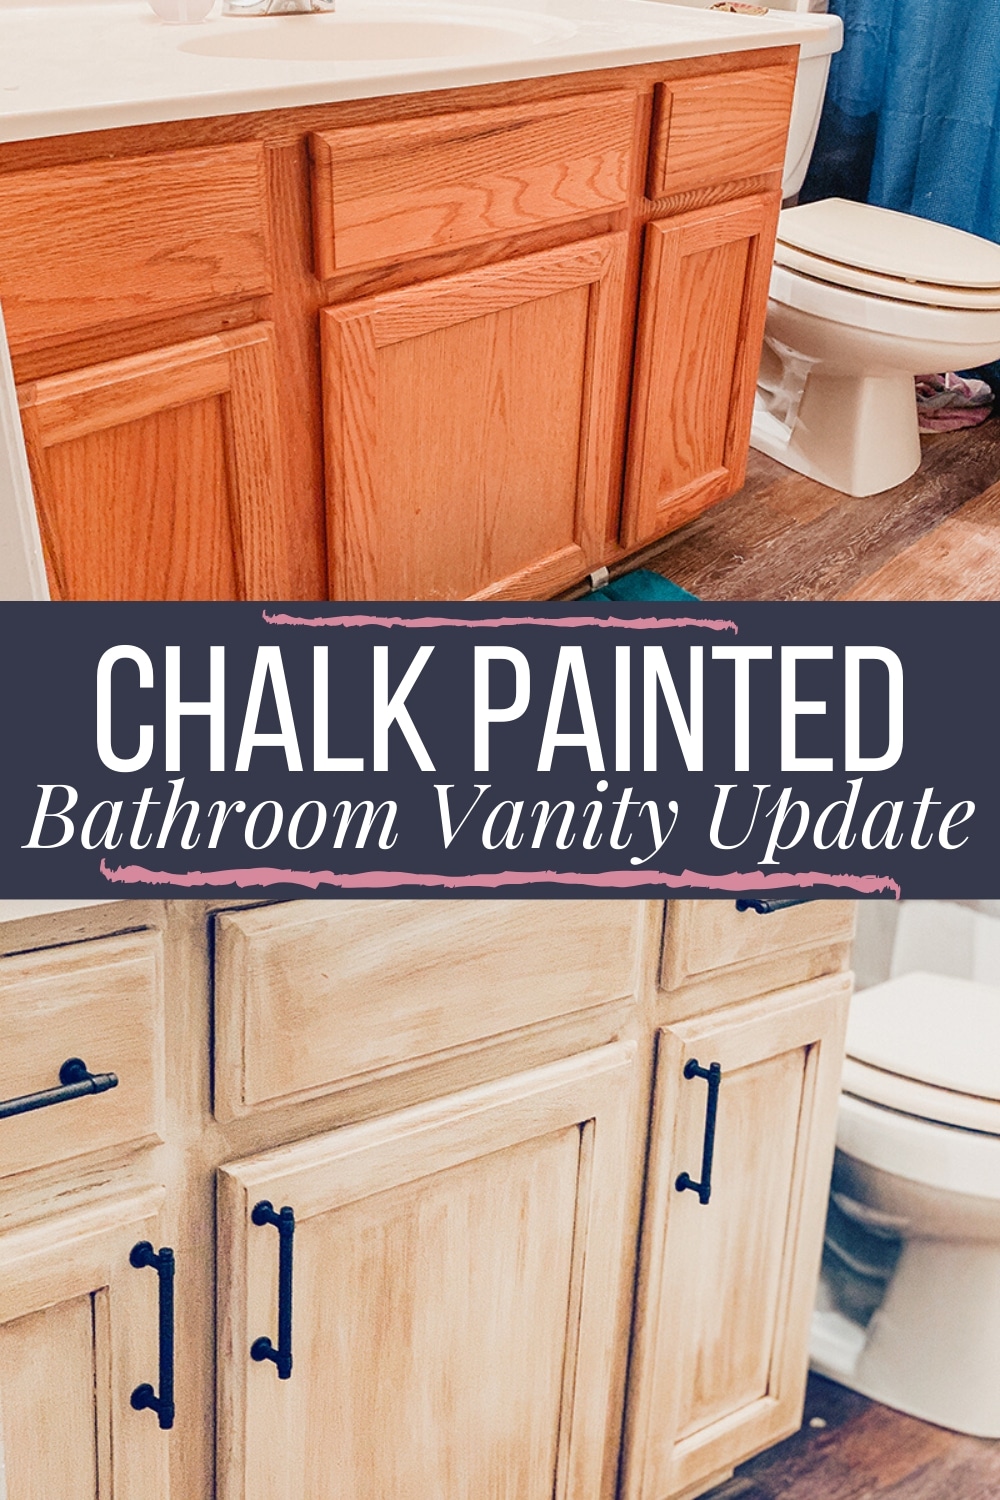
Save this Rustoleum chalk painted vanity update to your favorite home decor/DIY/project board!

Rustoleum Chalk Painted Vanity Update Project
Equipment
- [Drill]
- Tape
- Foam brush
- Narrow paintbrush
- Wide paintbrush
- Paint roller
- Dropcloth
Materials
- Rustoleum Chiffon Cream Paint
- Rustoleum Bronze Aged Glaze
Instructions
- Clean surface.
- Tape around walls and surfaces you do not want to be painted.
- Remove doors and any hardware.
- Paint allowing 30-60 minutes drying time between coats until you get the desired coverage.
- Allow 3-4 days of drying time for the paint to cure.
- Apply glaze using a foam brush and wipe away with a clean cotton cloth.
- Allow 24 hours drying time.
- Top with protective topcoat.


