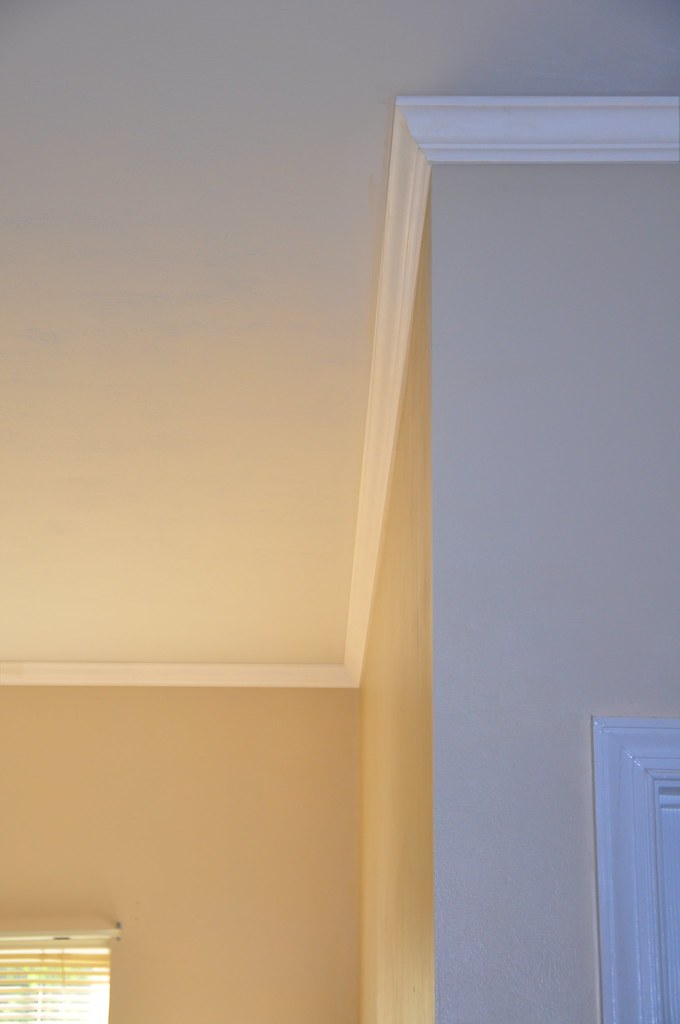
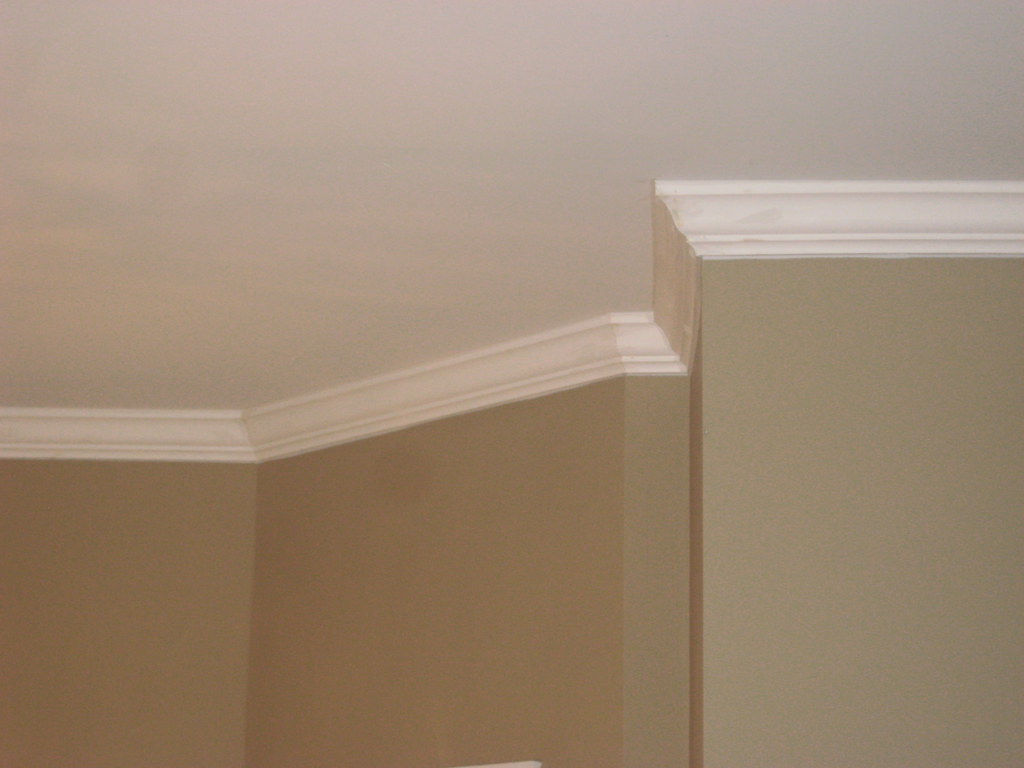
Crown molding can add a beautiful finishing touch to any room and give it a more elegant and polished look. I'm sharing how to install crown molding because it's a great way to add character and style to your home without breaking the bank.
Beautiful and budget friendly?? Win-Win!
But crown molding installation can be a bit intimidating, especially if you've never done it before. But don't worry, with the right tools, materials, and techniques, anyone can do it. In this tutorial, we'll take you through the step-by-step process of installing crown molding on your own. And answer some of the most pressing questions too!

We'll cover everything from choosing the right type of molding and measuring your space to cutting and installing the molding and even finishing touches like caulking and painting. By the end of this tutorial, you'll have the skills and confidence to tackle your own crown molding installation project and enjoy the beautiful results for years to come.
So, let's get started!
Crown Molding Cost
The cost of crown molding can vary depending on several factors. Including the type of material used, the style and design of the molding, and the length and quantity needed for the project.
For example, wood crown molding can range from $1 to $10 per linear foot, while MDF (medium-density fiberboard) molding can cost between $1 to $5 per linear foot.
Custom or more intricate designs can increase the cost, as can the installation labor if you hire a professional.
Overall, a rough estimate for a DIY installation of crown molding in an average-sized room can range from $200 to $1000, depending on the materials chosen and the level of difficulty in the installation process.
Crown Molding Average Installation Cost
One of the many reasons we DIY is because labor is a large part of the cost when hiring out a project. So as a frame of reference for the savings of DIYing versus hiring out, I wanted to share this information.
The cost of crown molding installation can vary depending on the size of the room, the type of crown molding, and the complexity of the installation.
On average, the cost of hiring a professional to install crown molding in a room can range from $300 to $1000 or more. This cost is usually on top of the cost of materials as described above.
The cost can increase if there are additional tasks required, such as removing and disposing of old molding, repairing the ceiling or walls, or adding additional support to the molding.
A DIY installation can save you money on labor costs, but the rade off is usually more time and effort on your part. Only you know which one is more important to you.
Now that we got that out of the way, let’s talk about the tools needed to install crown molding.
What Tools Do You Need To Install Crown Molding
- Measuring tape: To measure the length of the wall and the amount of crown molding needed.
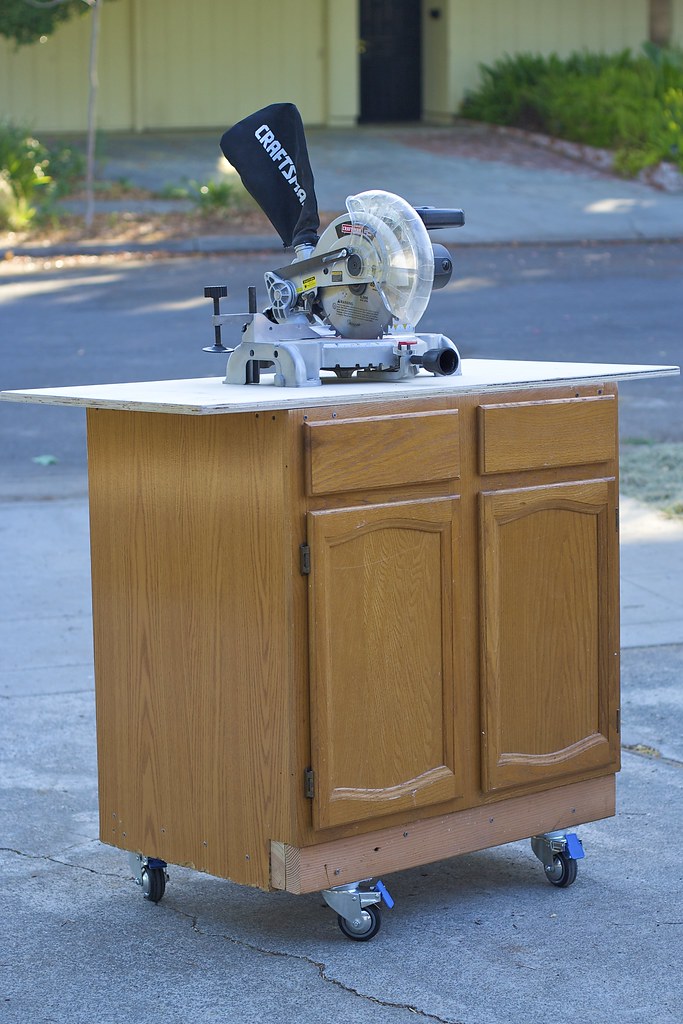
- Miter saw: To make precise angled cuts on the crown molding.
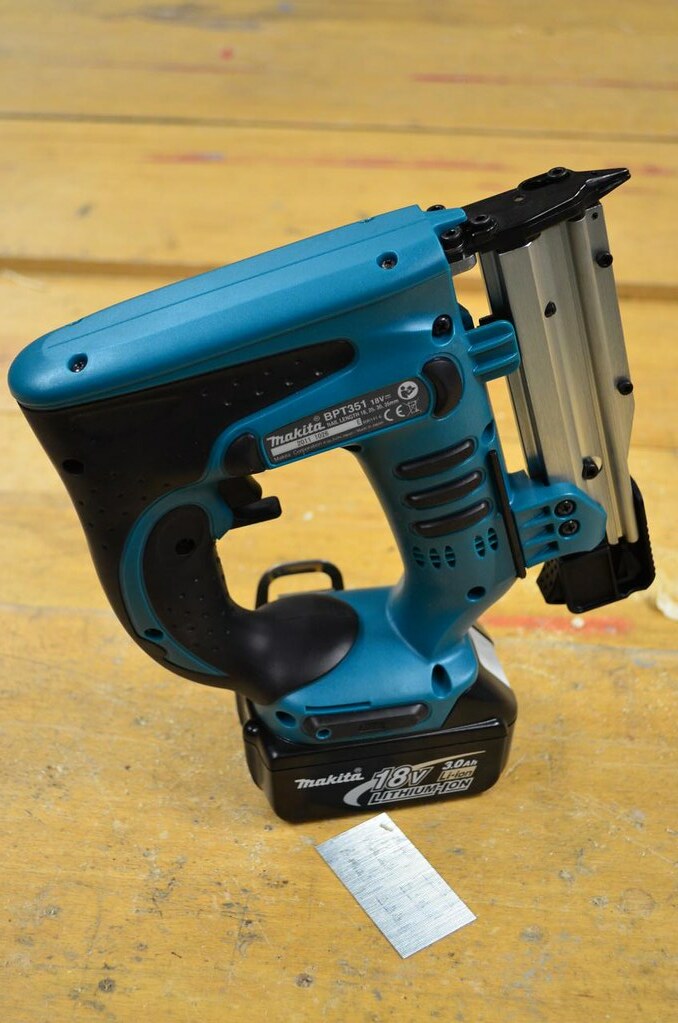
- Nail gun or hammer and nails: To attach the crown molding to the wall and ceiling.
- Level: To make sure the crown molding is installed straight and level.
- Coping saw: To cut and shape the ends of the molding to fit around corners and angles.
- Wood glue: To reinforce the joint where two pieces of molding meet.
- Caulk and caulk gun: To fill gaps between the molding and the wall or ceiling.
- Sandpaper: To smooth the edges of the molding and remove any rough spots.
- Paint or stain: To finish the molding to match the room's décor.
It's important to have all the necessary tools on hand before starting your crown molding installation project. This will ensure that the installation process goes smoothly and efficiently.

What Is The Best Miter Saw For Crown Molding?
The best miter saw for crown molding is a compound miter saw, specifically one with a dual bevel feature. Here are some reasons why:
Compound miter saws allow for both bevel cuts and miter cuts, making it easier to cut the molding at the correct angles for corners.
Dual bevel saws can tilt in both directions, which is especially helpful for cutting crown molding that will be installed at an angle against the ceiling and wall.
Many compound miter saws come with preset angles for crown molding, which can save time and reduce the risk of mistakes.
The sliding feature on some compound miter saws allows for wider cuts, which can be useful for larger crown molding projects.
When selecting a compound miter saw for crown molding, look for one with a large enough blade to handle the width of your molding.
A 10-inch blade is usually sufficient for most crown molding projects, but a 12-inch blade may be needed for larger or thicker molding.
Also, consider the saw's cutting capacity, as some saws can only cut up to a certain angle or width.
Lastly, look for a saw with a laser guide or other cutting aid, which can help ensure accurate cuts.
What Nails Do You Use For Crown Molding?
The type of nails you use for crown molding depends on the type of wall and ceiling materials you are attaching the molding to.
Here are some guidelines for selecting the appropriate nails:
For drywall
Use 1 1/4-inch or 1 1/2-inch finishing nails. Make sure to nail into the studs behind the drywall for a secure hold.
For plaster
Use 2-inch finishing nails, as plaster is a harder material than drywall.
For wood
Use 1 1/4-inch or 1 1/2-inch brad nails, as they have a smaller head and are less likely to split the wood.
It's important to use the right size and type of nails to ensure that the crown molding is securely attached to the wall and ceiling. If you're unsure which type of nails to use, consult a professional or refer to the manufacturer's instructions for guidance.
Additionally, a nail gun is typically the most efficient tool to use for installing crown molding, as it allows for quick and precise nail placement.

What Is The Best Nailer For Crown Molding?
The best nailer for crown molding is a finish nailer, specifically a brad nailer. Here are some reasons why:
Brad nailers are designed to shoot small gauge nails, typically between 18 and 23 gauge. This makes them perfect for crown molding, which is a delicate material that requires small, precise nails.
Finish nailers can hold more nails than a standard hammer and nails, making the installation process faster and more efficient.
Brad nailers are versatile and can be used for a variety of other projects, such as installing trim, baseboards, and casings.
Brad nailers are less likely to split the wood or cause damage to the molding than larger gauge nails.
When selecting a brad nailer for crown molding, look for a model with adjustable depth control, so you can set the nail to the appropriate depth for the molding material.
Also, consider the weight and size of the nailer, as you will be holding it for extended periods of time during installation.
Lastly, make sure to use the appropriate size and gauge of nails recommended by the manufacturer for your specific crown molding material.
How To Install Crown Molding
Here is a general overview of how to install crown molding:
Measure the walls
Measure the length of the walls and determine how much crown molding you will need.
How To Measure For Crown Molding?
Measuring for crown molding is an important step in the installation process, and it's essential to measure accurately to ensure a proper fit. Here are the steps to follow when measuring for crown molding:
- Measure the perimeter of the room: Use a tape measure to measure the perimeter of the room where you plan to install the crown molding. Be sure to measure each wall separately, as walls can vary in length.
- Calculate the amount of molding needed: Add the length of each wall together to determine the total length of molding needed for the room. To account for waste, add an extra 10% to this total.
- Determine the angle of the corners: Use an angle finder tool to measure the angle of each corner where the crown molding will be installed. Most interior corners are either 90 degrees or 45 degrees. If the angle is not a standard 90 or 45 degrees, you will need to make a custom angle cut.
- Measure the height of the walls: Measure the height of the walls where the crown molding will be installed. This will help you determine the appropriate size of crown molding to use.
- Account for the type of ceiling: If the ceiling is sloped, measure the angle of the slope to ensure accurate cuts.
- Determine the orientation of the crown molding: Decide whether the crown molding will be installed flat against the wall or at an angle against the ceiling.
- Make a detailed plan: Write down all of your measurements and angles in a detailed plan before beginning the installation process.
By following these steps and measuring carefully, you can ensure that you have the correct amount of crown molding and that it will fit properly in your space.
Cut the molding
Use a miter saw to cut the molding to the appropriate angle for each corner. Remember that crown molding is installed upside down and backward. So the bottom of the molding should be against the saw fence.
What Is The Best Way To Cut Crown Molding?
The best way to cut crown molding is to use a miter saw with a compound angle setting.
Here are the steps to cut crown molding:
- Set the saw to the appropriate angle: Crown molding is cut with a compound angle, which means it is tilted at an angle and angled to the left or right. Determine the angle of the corner where the molding will be installed and set the saw accordingly.
- Cut the molding at a 45-degree angle: Hold the molding against the saw fence and cut it at a 45-degree angle, making sure the molding is upside down and the bottom of the molding is against the fence.
- Cut the opposite angle: Flip the molding over and cut the opposite angle at the same setting.
- Test the fit: Test the fit of the molding by holding it in place against the wall and ceiling. If it doesn't fit perfectly, adjust the angle of the saw and make a test cut until you achieve a snug fit.
- Cut the rest of the molding: Once you've achieved the right angle, cut the rest of the molding in the same way, alternating between left and right angles as needed.
- Sand and finish: Sand the edges of the molding and finish it with paint or stain as desired.
Remember to always wear protective eyewear and keep your fingers clear of the saw blade when cutting crown molding.
Practice makes perfect, so take your time and be patient with the process.
Install the first piece
Apply wood glue to the back of the molding and press it into place against the wall and ceiling. Use a nail gun or hammer and nails to attach the molding to the wall and ceiling.
Install the second piece
Apply wood glue to the back of the second piece of molding and press it into place against the first piece, making sure the angles match up. Use a nail gun or hammer and nails to attach the molding to the wall and ceiling.
Continue installing the molding
Repeat the process of applying wood glue, pressing the molding into place, and attaching it to the wall and ceiling until you have installed all the pieces of molding.
Fill gaps and caulk
Use caulk to fill any gaps between the molding and the wall or ceiling. Smooth the caulk with your finger or a caulk smoothing tool.
Sand and finish
Sand the edges of the molding to remove any rough spots, and finish the molding with paint or stain to match the room's décor.
Remember to take your time and be patient when installing crown molding. If you are unsure about any steps in the process, consult a professional or refer to additional resources for guidance.
If you are installing crown molding cabinet to ceiling, as I did with my DIY built ins, there are a few special considerations.
Installing Crown Molding Cabinets To Ceiling
Measure the space
Measure the length of the top of the cabinets and the distance from the cabinets to the ceiling.
Cut the molding
Use a miter saw to cut the molding to the appropriate angle for each corner. Make sure to take into account the height of the cabinets and the angle at which they meet the wall.
Install the first piece
Apply wood glue to the back of the molding and press it into place against the top of the cabinets. Use a nail gun or hammer and nails to attach the molding to the top of the cabinets.
Install the second piece
Apply wood glue to the back of the second piece of molding and press it into place against the first piece, making sure the angles match up. Use a nail gun or hammer and nails to attach the molding to the top of the cabinets.
Install the third piece
Measure and cut the third piece of molding to fit between the second piece of molding and the ceiling. Apply wood glue to the back of the molding and press it into place against the ceiling. Use a nail gun or hammer and nails to attach the molding to the ceiling.
Continue installing the molding
Repeat the process of applying wood glue, pressing the molding into place, and attaching it to the cabinets and ceiling until you have installed all the pieces of molding.
Fill gaps and caulk
Use caulk to fill any gaps between the molding and the cabinets or ceiling. Smooth the caulk with your finger or a caulk smoothing tool.
Sand and finish
Sand the edges of the molding to remove any rough spots. Then finish the molding with paint or stain to match the room's décor.
When installing crown molding on cabinets, it's important to take into account the height of the cabinets and the angle at which they meet the wall.
Be sure to measure carefully and make precise cuts to ensure a perfect fit.
Additionally, it may be helpful to have a second person assist. This is helpful for holding the molding in place while you attach it to the cabinets and ceiling.


