The Secret To the Most Creamiest, Non-Lumpy Grits
I don’t know anyone who makes a pot of creamy grits like my momma. They are the yummiest, creamiest, perfectly not gritty grits you ever wanna have.
The links in this post may be affiliate links. That means that if you click them and make a purchase, this site makes a commission. It will have no impact on the price you pay or the experience of your purchase.
Ever tried to make grits and ended up with bowls of lumpy mess?
In this post, I am sharing how I make the most creamiest, delicious grits you have ever had.
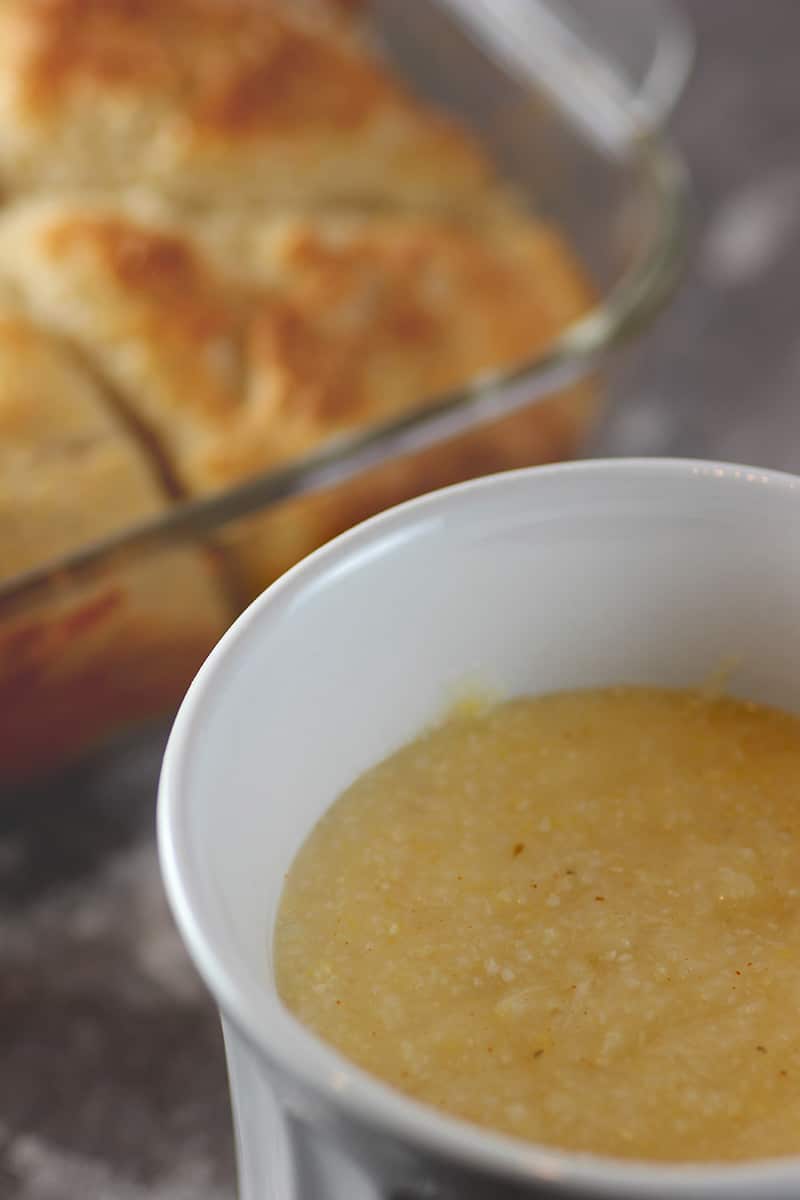
For the longest, I wouldn't even try to make grits.
Then I started trying to make them on occasion. And if I am telling the truth, there might be a lump or so you’d have to remove. Or they might be too salty or not salty enough. But they were never awful. Just not my mommas.
But not? NOW! I have figured out the trick to make some of the creamiest grits you ever wanted to have.
They’re not my momma's grits. I still don’t know what she does, but I’d serve these to her without getting any judgment or pushback.
I have a few things I’ll share about how I make my grits because I want you to have delicious creamy grits too. Cause friends don’t let friends make and eat lumpy grits.
It’s just wrong.
Learn how to make and reheat creamy grits with this easy-to-follow guide. Perfect for breakfast or as a side dish, grits are a classic Southern comfort food that can be enjoyed in a variety of ways.
To make creamy grits, all you need is water, salt, and stone-ground grits. With just a few simple steps, you can create a delicious and velvety smooth texture that's sure to impress.
And if you have leftovers, don't worry! Reheating grits is a breeze. Whether you prefer to use the microwave or stovetop, we've got you covered with step-by-step instructions for how to reheat grits without losing their creamy texture or flavor.
5 Things To Consider to Make Good & Creamy Grits
Time
Even if you buy 5-minute grits, don’t cook your grits for only five minutes.
Part of what makes the grits all creamy is the time they get to soak in the water. Making them softer and allowing them to merge together to form all the creamy goodness.
I repeat creamy grits are not made in five minutes. Period!
Heat
I start my water on high so it can boil but don’t leave it on high. Right before I put the grits in I turn the water down to medium-low.
Trust me on this. You don’t know the labor of love in cooking until you are burned by a popping hot grit.
It hurts!!
And it can leave a for real burn mark.
I go medium-low for a few minutes and then I drop it low.
Flick Of The Whisk
This is probably the thing that prevents the lumps the most. I don’t use the spoon until I serve my grits. I pour and stir them in using a whisk. And occasionally I stir them using the whisk while they are cooking to ensure there are no lumps.
Measurements Matter
Don’t try to wing it when measuring your grits. Measure according to package instructions for serving count.
I make sure to pre-measure my grits and the cup sitting there next to the pot ready to be poured. Timing is everything in lump prevention.
Don’t Follow The Rules
I know I said to measure the grits according to the package instructions, but that is not true for the water. The package typically has a 1:4 water ratio. I actually use 1:6.
So if I am making 1/4 cup of grits, I use 1 1/2 cups of water.
If I am making 1/2 cup of grits, I use 3 cups of water.
I break the rules. But only because it’s so tasty when I do.
Can you reheat grits?
Yes, you can reheat grits using the stove or microwave
How To Reheat Grits in The Microwave
- Transfer the leftover grits to a microwave-safe bowl.
- Add a splash of milk or water to the grits to help them loosen up and prevent them from drying out.
- Cover the bowl with a microwave-safe lid or plastic wrap.
- Microwave the grits on high for 1-2 minutes, or until they are heated through.
- Stir the grits and check for hot spots. If there are any, stir the grits again and microwave for an additional 30 seconds.
How To Reheat Grits on The Stove
- Place the grits in a saucepan
- Add a splash of milk or water to the grits in the saucepan and heat over medium-low heat, stirring frequently, until heated through.
Here are the exact steps I take to keep my grits from being lumpy, and ensuring they are deliciously creamy:
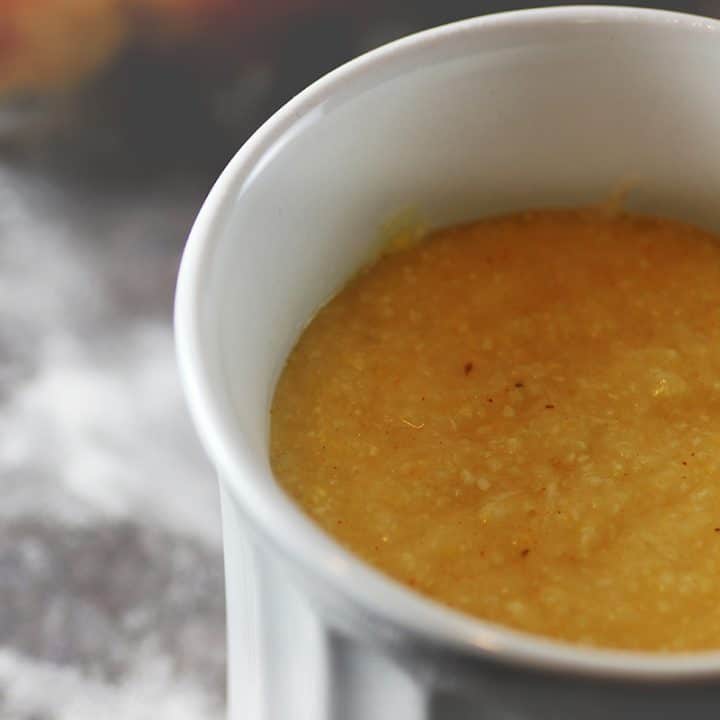
Creamy, Non-Lumpy Grits
To make creamy grits, all you need is water, salt, and grits. With just a few simple steps, you can create a delicious and velvety smooth texture that's sure to impress.
Ingredients
- 1/4 cup of Grits
- 1 1/2 cup Water
- Salt (optional)
- Cheese (optional)
- Butter (optional)
Instructions
- Bring water to boil.
- Turn water down to medium-low.
- Pour in grits with one hand, whisking with the other hand.
- Stir for a minute and turn water to low.
- Stir occasionally making sure no lumps are forming.
- Allow simmering for at least 15 minutes.
- Turn off and remove from heat.
Notes
To make additional servings you just need a 1:6 ratio of grits to water.
Recommended Products
As a Amazon Associate and member of other affiliate programs, I earn a comission from qualifying purchases.
Nutrition Information:
Yield: 1 Serving Size: 1Amount Per Serving: Calories: 253Total Fat: 21gSaturated Fat: 13gTrans Fat: 1gUnsaturated Fat: 7gCholesterol: 58mgSodium: 871mgCarbohydrates: 9gFiber: 0gSugar: 0gProtein: 7g
Other Posts You May Love:
- How To Make The Creamiest Oatmeal Ever
- The Essentials For A Well-Stocked Pantry
- How To Avoid Recipe Failure When Making New Recipes








I always have creamy, but occasionally have a few lumps. I’ll use your method with the whisk! I put both butter & half w
The whisk changes things BIG TIME! No more lumpy grits for you my friend.