The One Project That Has Me Rethinking My Entire DIY Life
Doing epoxy countertops seemed like it would be easy enough. We’ve done more. We’ve done harder. We can totally do this.
The links in this post may be affiliate links. That means that if you click them and make a purchase, this site makes a commission. It will have no impact on the price you pay or the experience of your purchase.
in no time…
ha!
No!
Y’all when I tell you that I thought these counters were gonna end my marriage, I’m fuh real!
Let me tell you How we got here
It all started with black granite countertops.
When we moved into our home that was one thing I immediately said would need to be modified.
The original plan was to do wood countertops. But my hope was that we could get them done before we move in.
Didn’t happen.
After we moved in, I realized that it would be unrealistic to do a project like that in the center of our home, shutting down my ability to cook. Not to mention making the main passway in our home off limits.
I stumbled on a solution called Giani Granite and decided to paint my countertops.
They turned out beautiful!
They lightened up the kitchen and made me love my kitchen a little bit more.
I knew that it would require some extra care on my part.
You know, making sure there was never sitting water, using a cutting board when cutting things; you know, basic maintain countertop type stuff.
I could handle it. Hubs, he’d be cool. But everyone else… le sigh.
My daughter's main chore is cleaning the kitchen after dinner. It’s been that way for some years now. For whatever reason, she still doesn’t understand that means wiping down the entire countertop. And not just the places you think you see something.
So water ends up sitting. Crumbs and sticky stuff resides on the counter until I find myself scrubbing them.
Not good.
And then the cutting…
My mom was over, cooking one day. And bless her heart, she didn’t know. But she just started cutting something up on the counter. Sans the cutting board. It left cut marks on my counter.
So after a bit of research into Solutions, we decided we would epoxy the countertops.
What is epoxy you ask?
Epoxy is this stuff that goes over things for preservation and creates a thick glass like protection. The finished product is shiny, smooth, and all kinds of fancy when done well and done right.
But that’s not it.
Epoxy is science…
Like a for real science experiment. Like when you put vinegar in baking soda and it fizzes up and reacts.
Yup. Like that, only with some more harmful, stinky, sticky, messy ingredients.
I now realize that epoxy is the enemy. That is what epoxy is. That is MY definition.
We made several mistakes, here is the first one…
The first mistake
Our first mistake was that we didn’t do our due diligence on fully researching the process.
In addition to reading instructions, hubby normally watches a few videos, reads a few reviews. And I hit my beloved Pinterest to see what the pins are saying.
Nope didn’t do any of that.
We bought a box. One box. Which leads me to my second mistake coming here shortly.
We read the instructions. And we said ok, Easy enough.
Our Second Mistake With The Epoxy Application
We totally underestimated the amount of product we would need to use.
The package was a pint. But on the back, it listed the amount of area a quart, pint, and gallon would cover. For whatever reason, we were reading the gallon coverage. *slaps forehead*
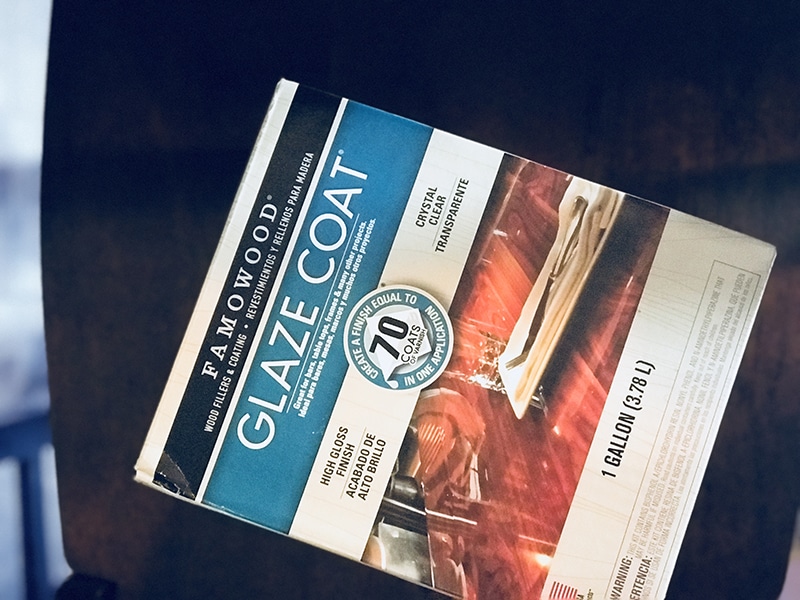
So when we did the first area, the smallest counter space in the kitchen. We ran out of product and didn’t have enough for full coverage.
And now that I think about it, that’s our third mistake too. Because when we went to re-coat it, we didn’t realize that was the issue, and I think we kinda thought it would fill the holes and level out so we didn’t mix more for that application.
Sooooo we ended up having to do three coats on that one space. Which more than the time spent, was the money spent that was the problem.
When you know better you do better…
Realizing the error in our ways we felt ready to tackle the second part. Which was a little bigger but now we knew better.
When you know better you do better…Maya Angelou
Sometimes you think you know better, and you just don’t…
We didn’t.
So with the second section, we applied it, ran out but this time we quickly batched up some more to apply more.
What’s batching up more you ask?
I get it, you have questions. I have answers. Now…
Well, there’s a process you have to take before you can just apply this stuff. You have to take the epoxy resin and mix it with the epoxy hardener for six minutes.
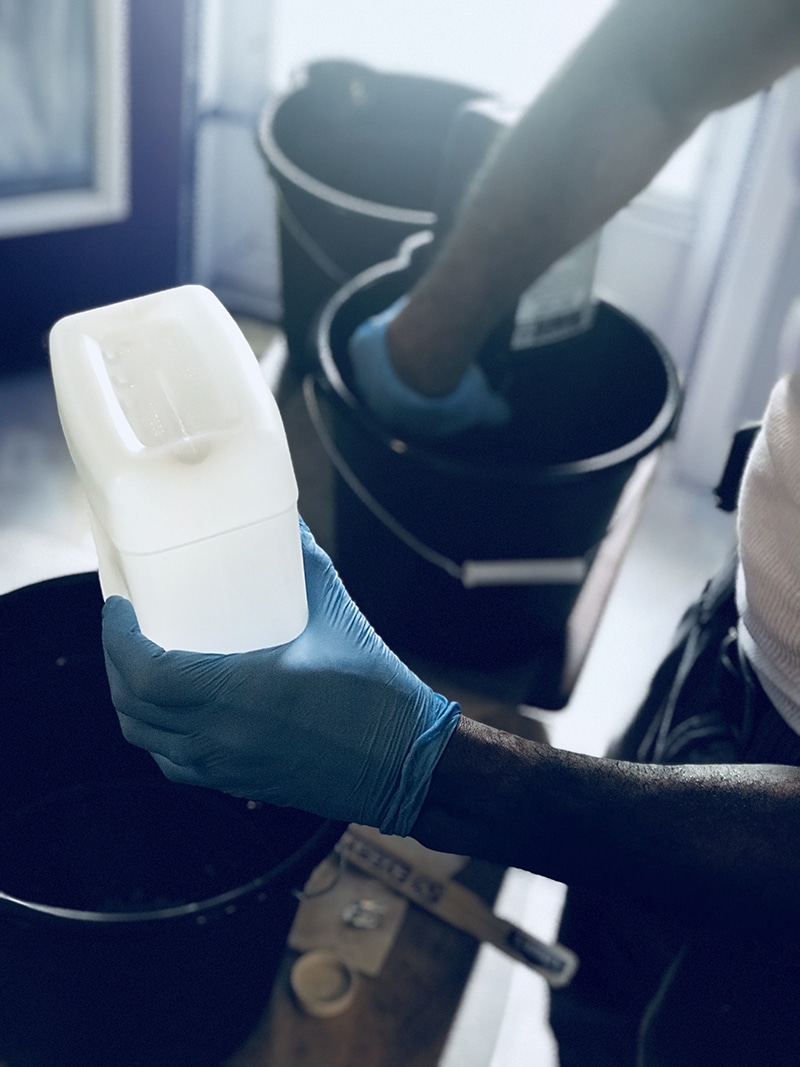
Have you ever stirred anything consistently for six minutes???
Not fun.
THEN, you have to transfer the mix in a new container and continue stirring for six MORE minutes.
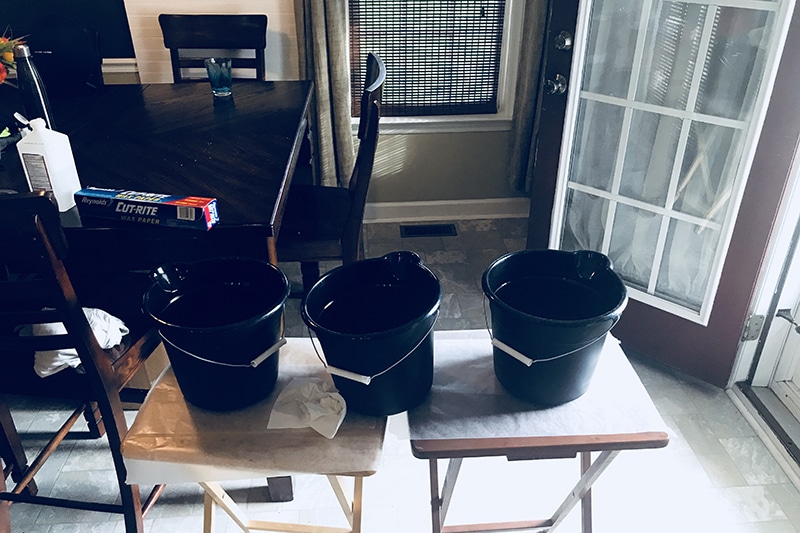
Now I don’t understand why all the damn containers are necessary and why the mixing steps are so meticulous. But I can tell you that we followed those directions.
We got that part right. We were following directions!
Let me also add that once you used the mixing containers you can’t use them again.
So yea there’s that part too.
Can you just hear the dollar signs adding? The ones going out of my bank account?
Ugh, we made it through the second area. It was decent. There ended up being a slight part of it, not completely smooth, but you had to feel it to know. And at that point, I was soooo okay with that.
Just let it be over.
I could tell my hubby was aggravated. We were now up to like 8 boxes after our third Home Depot run. And each box was 22 dollars. I’ll let you do the math.
Light at the end of the tunnel was actually from a fire.
Imagine being in a dark tunnel and walking towards the end, hoping to see daylight. Approaching the end, you see what seems like a glimmer of light. Giving you optimism that you are almost to the end.
But then you get to the end and realize the tunnel is lit at the end by fire.
That’s what the third and final section felt like.
We did a first coat and ran into the same problem with an inability to fully cover it. There were gaps and holes in it and it was a hot mess.
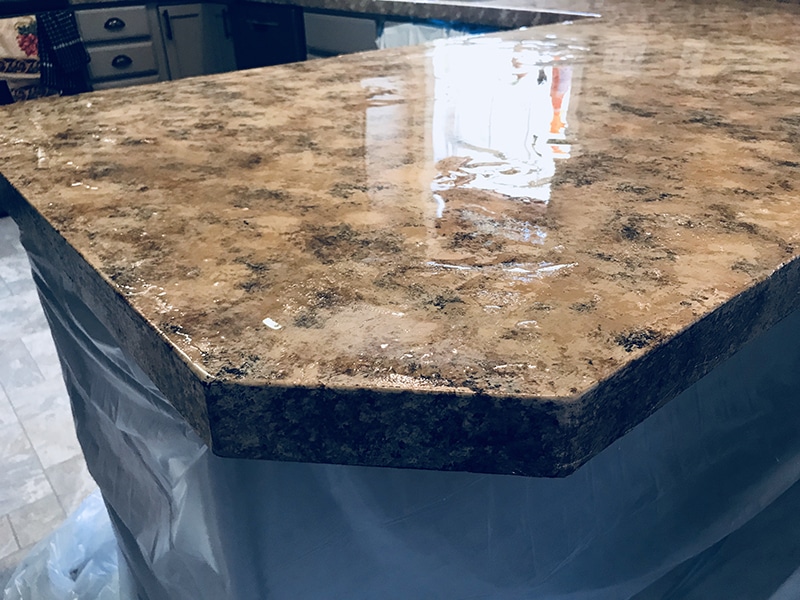
HOT. MESS!
Oh yeah, and it was midnight.
We decided that we would get some rest, get up early. And grab some more product, this time in the gallon and pour it and it would be all good.
Nope!
Not. At. All!
What we hoped, dreamed and thought would be our last coat turned into a complete disaster.
We couldn't get it on fast enough and get it to smooth out. AND it started curing (or setting) in the bucket.
It was another HOT MESS!
Literally, the bucket was getting hot! Remember I told you it was science…
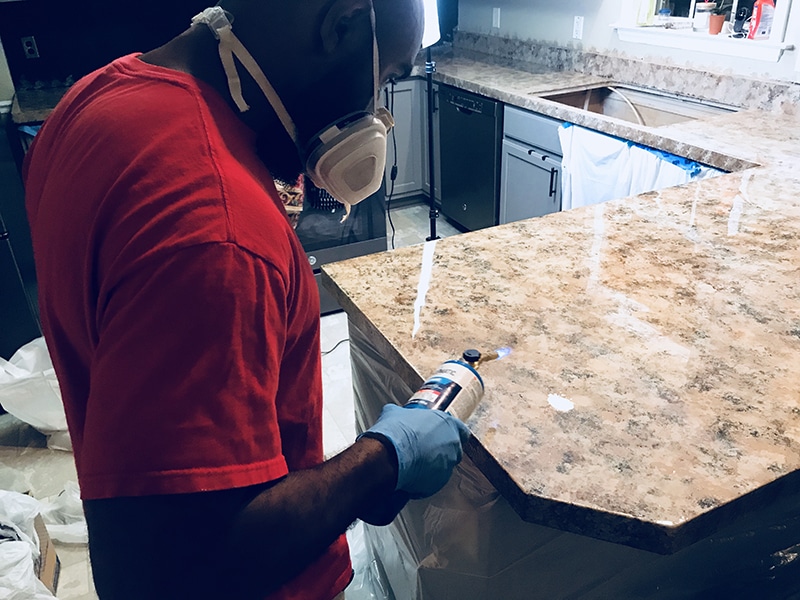
That gallon package was seventy dollars. We were now at 200+ on a project we thought would only take maybe a hundred dollars.
My hubby was so aggravated. He who is calm, cool, and collected at all times radiated aggravation. He wasn’t snappy, mean or anything. But I KNEW!
Oh, I knew!!
I knew that if he didn’t have to worry about it making another thing for him to fix, he would have punched a wall.
I just stayed out the way. All I had was “I’m sorry”. And not I’m sorry cause it’s my fault, but sorry I know this sucks, I am sorry we are here.
DIY Doing Too Much
When my hubby said, “At what point do you think you’ll be done with doing DIY projects?” I knew we had officially reached the point of doing way too much.
We were in over our heads. This was not a project we should have taken on without doing our research and complete due diligence. Maybe not at all.
These epoxy countertops literally had us In a sunken place
I hadn’t even gotten to the sink yet.
The whole reason we decided to do this now was that it seemed right.
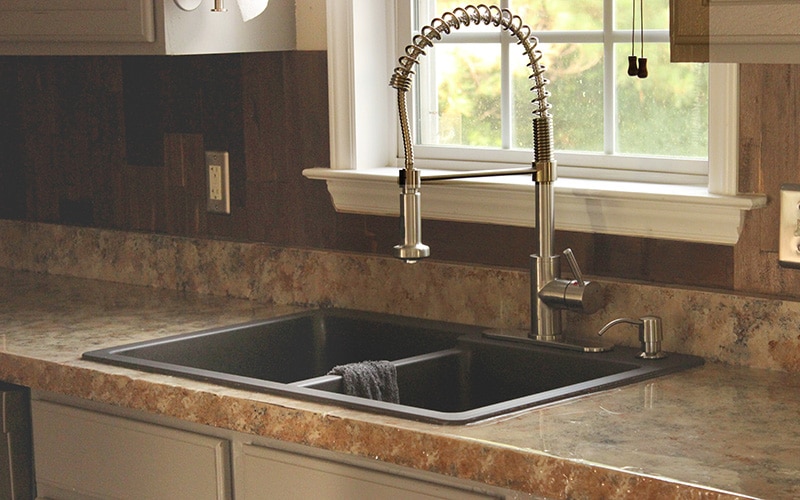
We were replacing the sink and so it was now or never. It only made sense that we would fix up the countertops before putting in our new pretty sink and faucet combo.
The timeline
We figured we’d epoxy starting Thursday night, finish Friday. Let it cure enough to be solid, and on Saturday we would install the sink. Sunday was Father’s Day, and hubs plans were to kick his feet up and have a beer, a good meal, and chill.
Well, the real timeline was:
Thursday
Remove the sink and all associated remnants
Epoxy small counter/test section without success
Friday
Epoxy first section twice more and finally get it right
Then epoxy the second section twice and get it to acceptable.
Epoxy third section. And go to bed with it a complete mess start fresh and make it right in the morning
Saturday
Wake up early go to store for more epoxy
Epoxy third section
Make what feels like the biggest mess so far
Say eff it and do something else
We finally finished it the next week. A WHOLE WEEK LATER! It came with purchasing more product, lots of prayers, and yes we finally researched.
At that point, it was so bad hubs had to sand it to get it where we could even do another coat.
It was baaaaaad!
God bless my momma who cooked for the fam for an entire week while we tried our best to get our life together.
We finally got it on and resolved that we would walk away and go on our family camping trip and deal with the sink when we returned.
Best decision ever!!
This project was thee worse project in all of ever.
The countertops are not perfect. But they look nice with a touch of character.
And you know what? I am good with that!!
Mark my words, I will never epoxy anything else. Not nothing!
And thankfully we just celebrated another wedding anniversary, so I think we are good now!
I will share the full outcome of the countertops next week, so stay tuned!



Your post is really refreshing! I’ve only read on how epoxy looks good and is as durable as others say. I wish that you had a chance to read lots more epoxy countertops guides before you started. That way you would have saved a lot more resources (especially time and money).
Girlllllll, I feel u in such a way as this, I too thought “ya, u got this, ur a crafty wafty woman, there’s nothing u can’t accomplish bcuz u got God on your side” yep I talk to myself, ALOT! However, I must’ve been so into myself in the minute and missed Gods calling thru this process because not only were my boots stuck to the plastic I laid down but my nice new vest I had on got stuck to the counter, then it got stuck to the sink where I stood to attempt to wash my hands that were sticking to everything including sink nozzle, light switch, mixing stick, my feet stuck to the floor, I tried throwing away the used gloves , which was a joke as well cuz whatever u touch u will be wearing, holding, and stuck to until the complete curing process, so I slept with this stuff all over myself, next morning I was stuck to my bed, and my arms, elbows and forearms were stuck to the T-shirt I fell asleep in, I had tears runnin down my face as I peeled it off me and as it bout took a layer of my epidermis, and lo and behold as I looked at the job i did until 3 am, it looked horribly disformed, like a Michigan backroad in spring! BAD BAD and real BAD, so I’m now in day 2 of the fixing part! Ughhhh
OMG!!! that sounds worse than what I went through. Hoping all turns out well. I love my counters now but dear God knows i would never do it again…LOL.
Oh my, this was a nightmare. I almost tried epoxy but it just seemed way too much for me. I ended up using Daich Coatings. It’s a stone based product. Loved the update but it has a funny texture. Much better than the before though.
Ohhhhh that sounds interesting. do you have a post about it? I’d love to see it. ????
Woo, I felt anxious and frustrated for you all just reading this! I’m glad you all got through it and now have beautiful counters to show for it.
it was soooo emotionally driven. At one point we were thinking we went past the point of no return.
I fell down a rabbit hole looking for DIY ways to redo our horribly ugly 1980’s cultured marble bathroom counter with integrated sink. I came across a video tutorial (by the company) of an epoxy redo. They make it look so easy! I was totally onboard until they pulled out the blow torch. I will tackle every DIY project from plumbing to electricity, but I don’t do blowtorches. I’m glad I read this because epoxy would be so tempting. Especially since my Dad is Phd chemist and think epoxy is the bomb.
I could see why your dad thinks so if he is a chemist…LOL. Tath stuff is crazy. The blowtorch is to get the bubbles out and I was not feeling great about that part either. Glad you didn’t have to go through what I went through… So glad!