How To Paint a Pumpkin & Leave Behind The Pumpkin Carving Mess
Craft pumpkins in fall is a great activity in place of carving pumpkins. This is how to paint a pumpkin with kids for some cool fall craft fun!
The links in this post may be affiliate links. That means that if you click them and make a purchase, this site makes a commission. It will have no impact on the price you pay or the experience of your purchase.
Halloween has never been my thing. I’m not big on scary costumes and going door-to-door for candy that I don’t need and most likely would never eat.
My mom always got into all the holiday traditions and Halloween was not the exception. She enjoyed both trick-or-treating and it gave, and still gives, her a special kind of joy to pass out treats to trick-or-treaters.
For me, growing up in Ohio, by the time Halloween rolled around it was cold. And anything under 75 degrees is cold to me. That coupled with rain or snow was enough for me to not even want to bother with the candy scavenger hunt around the neighborhood.
So as an adult with kids, it was always awesome that my mom still got excited about Halloween because that way, I didn’t have to bother.
She would carve pumpkins, and take them to multiple different trick-or-treating events leading up to the holiday.
This is one of the things I did not think about when I packed up and moved away.
In my first year, we tried our hand at carving pumpkins. And I am not ashamed to say I WILL NOT be doing that again.
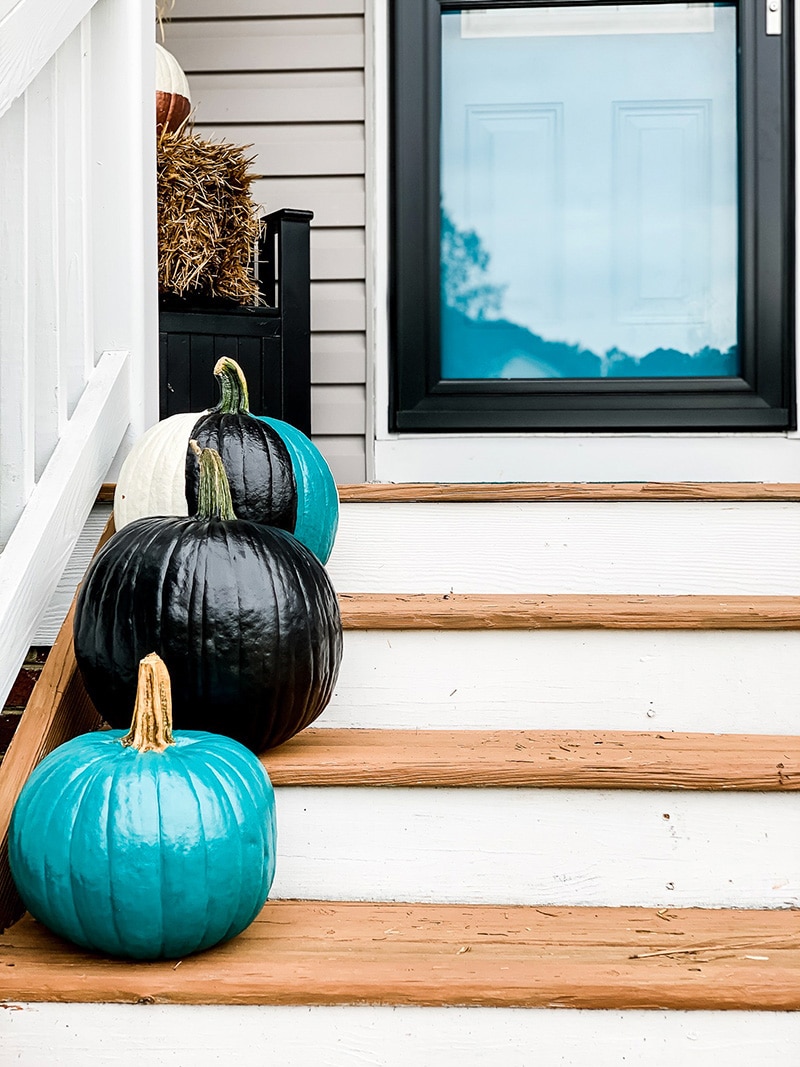
However this year, I decided that we could paint pumpkins to create a nice fall decor display on the front porch.
So the boy and I packed up and went to one of my favorite craft stores, Michael’s and grabbed the necessary supplies. That was after we scored an awesome deal on pumpkins at the local Food Lion. $3.99 for some really good sized pumpkins!
It was fairly uneventful, so I am happy to share how to create your very own Craft Pumpkins.
How To Paint A Pumpkin
Choose Your Pumpkin
Find a pumpkin that is as smooth as possible. It can be hard to find a pumpkin that is free of all bruises, scratches, or blemishes. But I was able to find ones that had minimal bumps and bruises that could be covered easily.
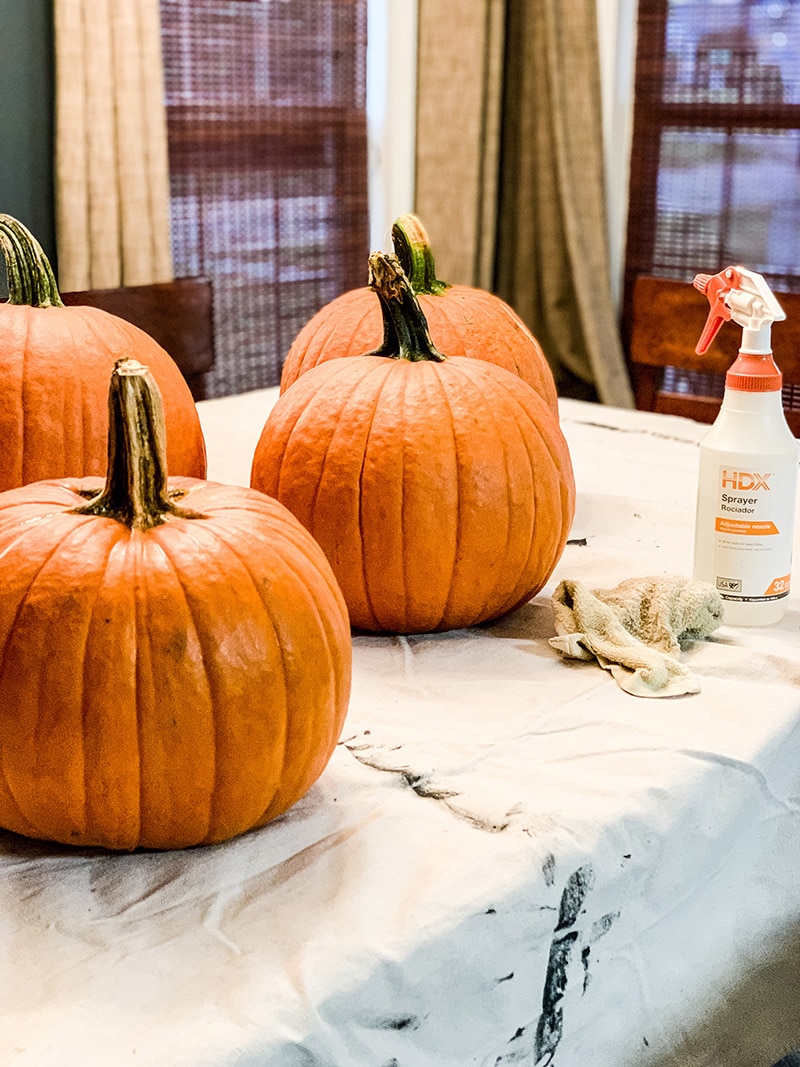
Lumpy pumpkins can also be hard to paint so take that into account as well.
Prep Your Painting Area
Before getting started determine an area where you will have space to accommodate the size of the pumpkins and also for the materials you will be using.
Put down thick plastic bags or a drop cloth to keep from making a mess. Having something down makes clean up a breeze!
Clean Your Pumpkin
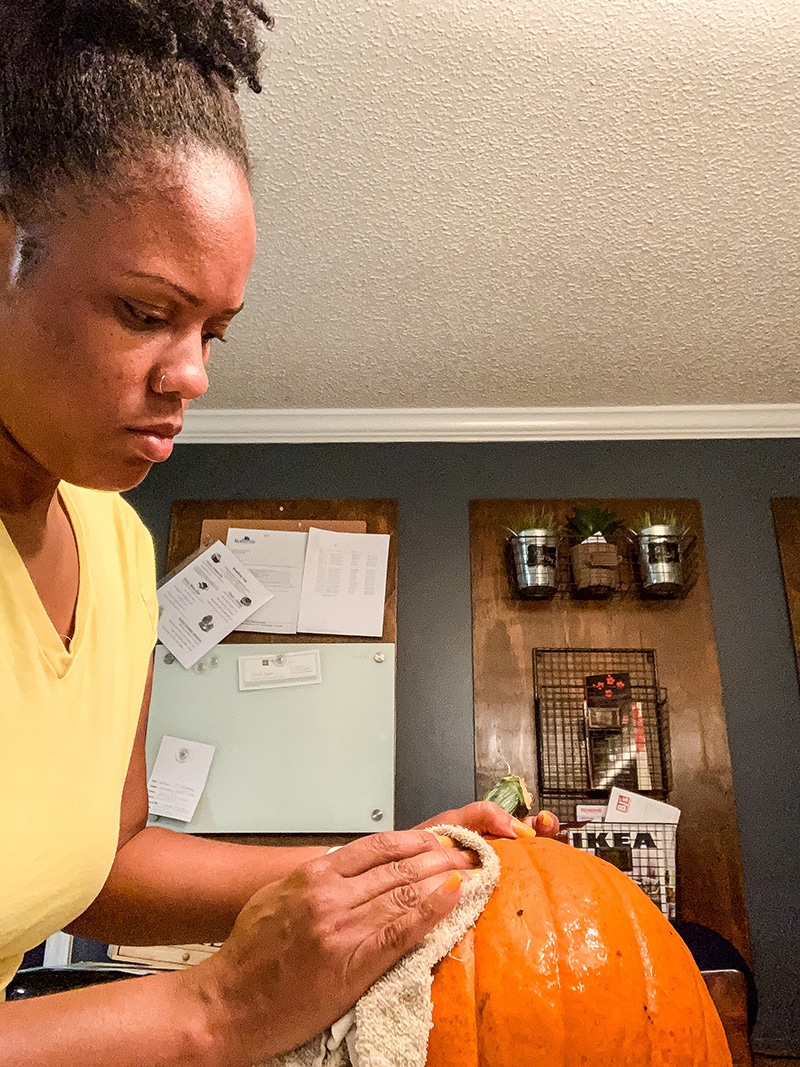
I sprayed my pumpkins with a spray bottle of water and wiped them down to dry them off to remove extra dirt and debris that was on them.
Just remember to be gentle.
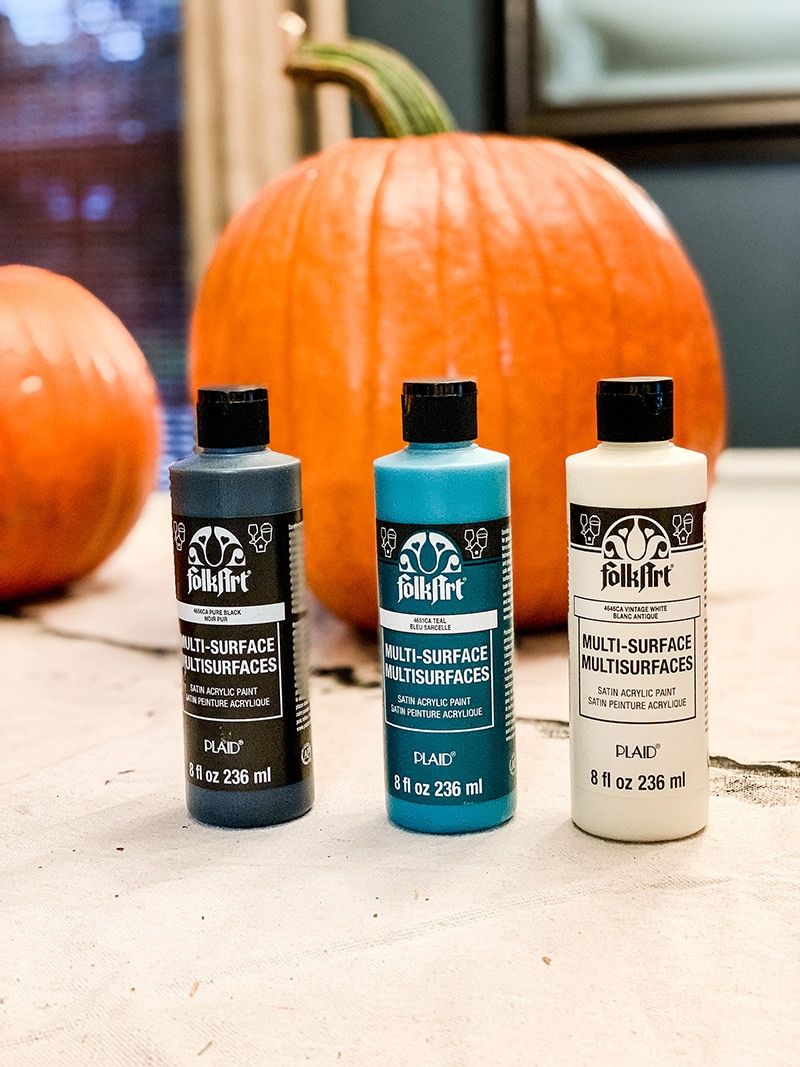
Gather Supplies
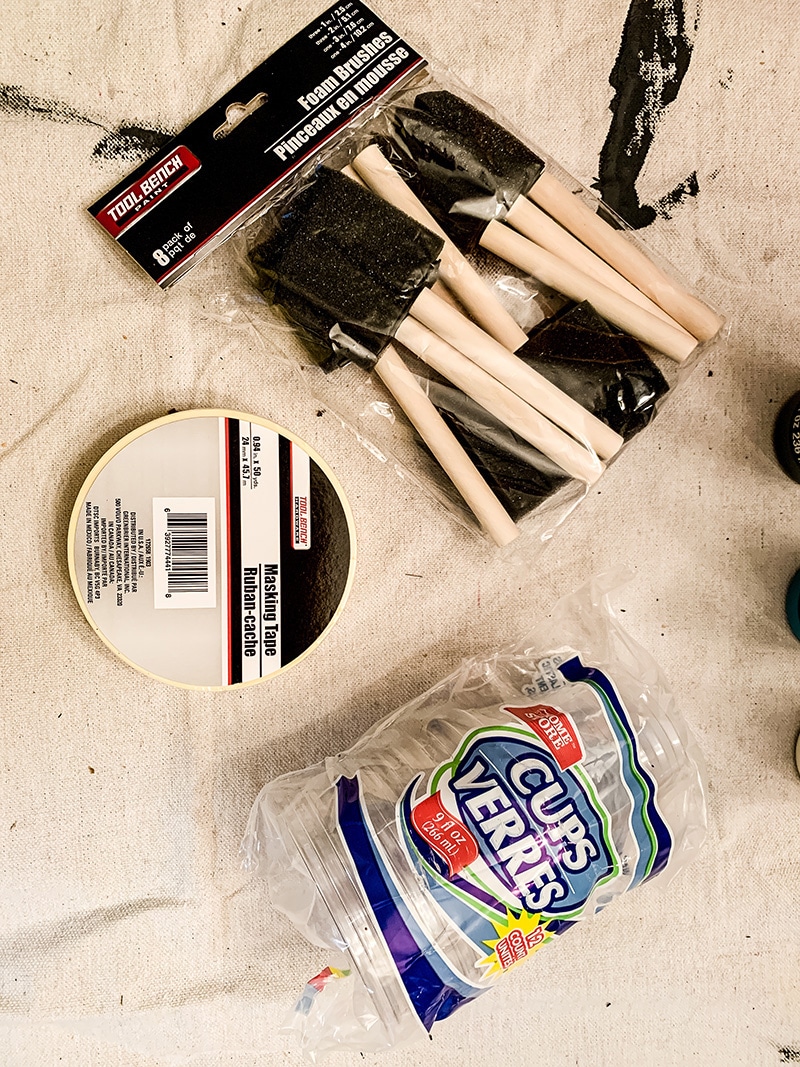
I used Folk Art Multi Surface Acrylic paint. I spent some time reading bottles to make sure that it could withstand outdoor temperatures and the elements.
If you are placing your pumpkins outdoor this is something to be mindful of.
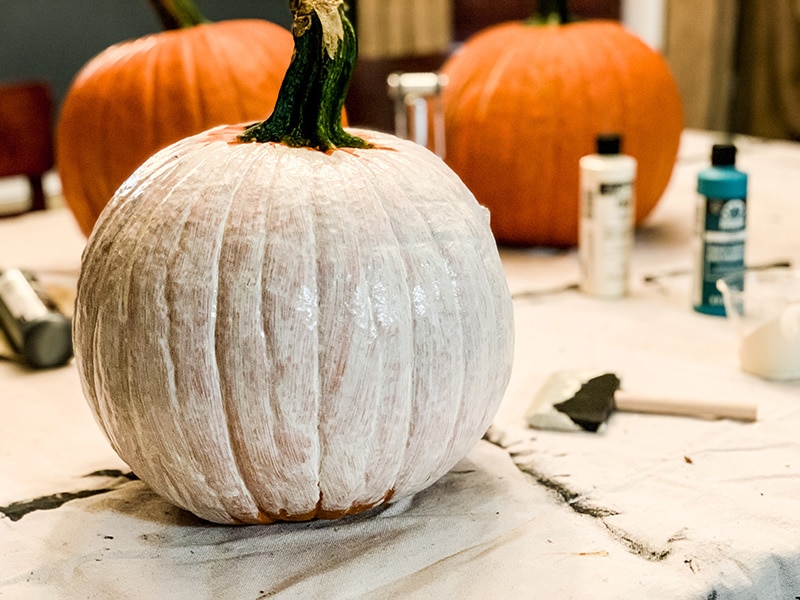
Paint Base Coat On Your Pumpkin
You can choose to put a sealant on first. I did not.
Instead, I went ahead and did my first coat of paint.
Personally, I found that my pumpkins needed two coats of paint to be fully covered. I went into the crevices of the pumpkin first and then went ahead and painted the remaining surface area.
Add A Design (optional)
I added a separate little design on one of my pumpkins. But It was not easy. I taped off the part I wanted to add the design too and it pulled off some of my base coat and I had to touch that up. And momma just doesn't have that kind of time.
Seal Things With A Sealer
I used polyurethane, cause I pretty much always have some of that on hand. The spray kind was the best and easiest for this project.
My pumpkins have started to shrivel because the sun beams directly on my porch. My husband seems to think that putting sunscreen on the pumpkins may have helped. I am doubtful, but hey, what do I know. If you give a try, lemme know how that works out for you. lol
I sat an old cardboard box out in the yard and sat the pumpkins on top. And then sprayed two coats allowing time to dry in between.
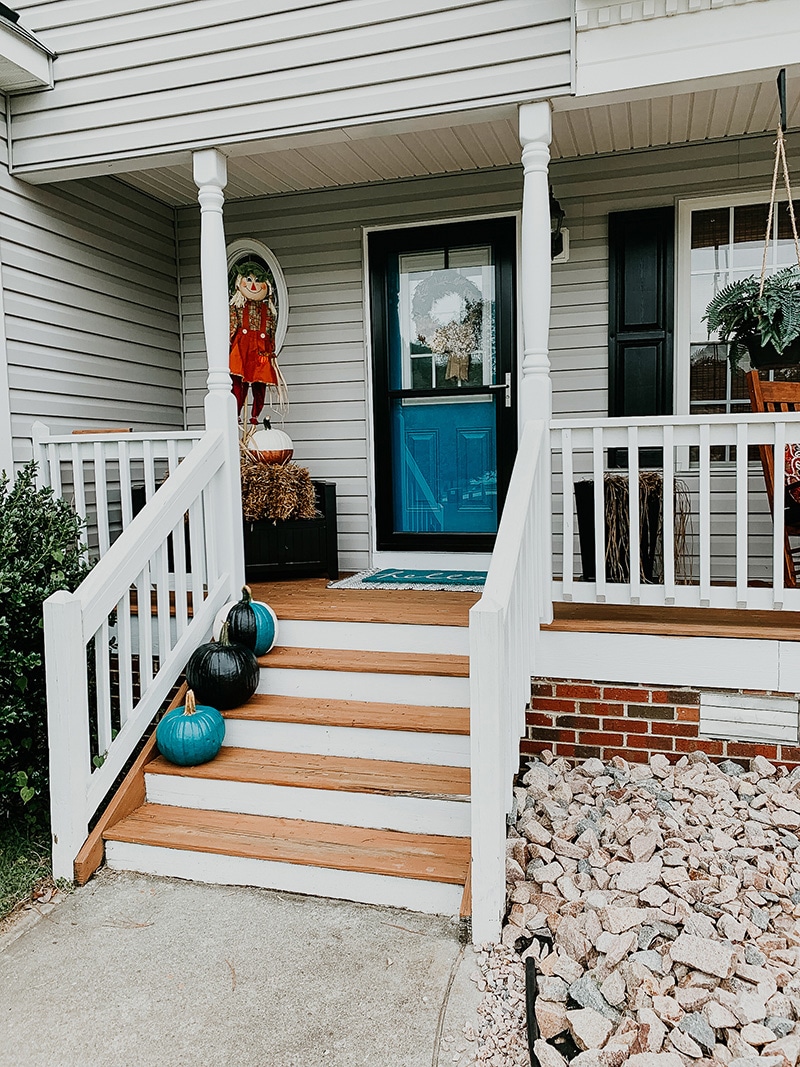
Enjoy Your Beautiful Craft Pumpkins
Creating these craft pumpkins were a great project to do with my little guy. Going forward this is most likely how we will be decorating our pumpkins.
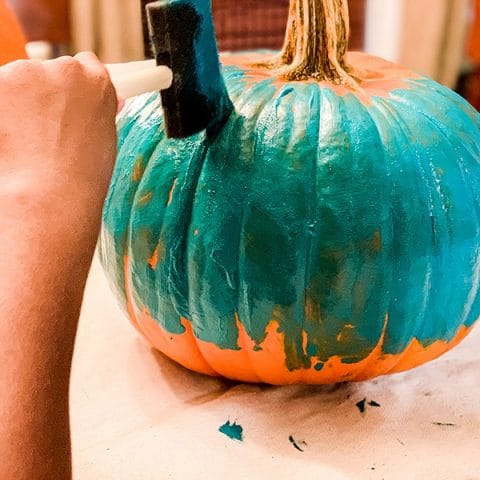
How To Paint a Pumpkin
Craft pumpkins in fall is a great activity in place of carving pumpkins. This is how to paint a pumpkin with kids for some cool fall craft fun!
Materials
- Pumpkins
- Plastic cups (to put paint in)
- Paint
- Dropcloth
- Tape (if you choose to do designs)
Tools
- Paint sponges
Instructions
- Choose your pumpkin
- Clean your pumpkin
- Gather supplies
- Paint base coat on your pumpkin
- Add a design (optional)
- Seal things with a sealer
- Enjoy!
See Also:
- Beyond Color | All The Things You Didn't Know & How To Choose Your Paint Sheen
- How To Decide on The Perfect Paint Color Using SureSwatch


