


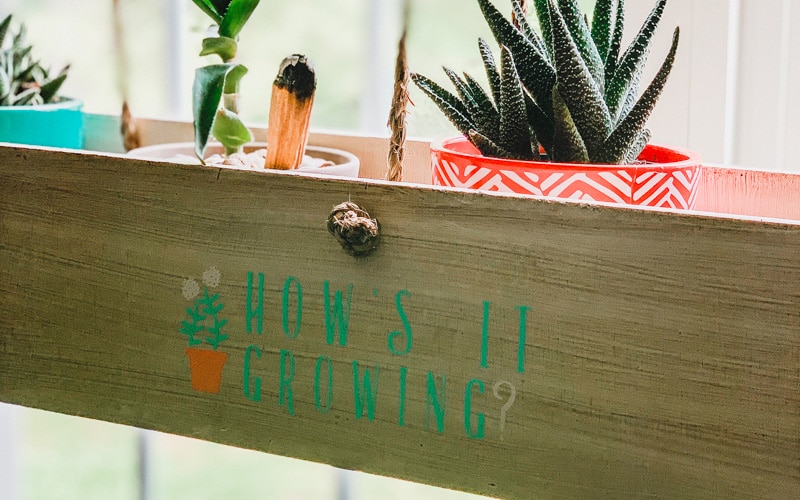


This DIY plant hanger was already an original, as it was done with spare wood I had around the garage and finished. But what makes it special is that it was finished off with a super cute saying using my newest Cricut machine.
This is a sponsored post written by me on behalf of Cricut. All opinions are 100% mine.

Do you love using your Cricut machine but find that sometimes you just need it done quick without all the hassle?
I think that is my favorite part about using the Cricut joy and the new smart vinyl.
You can skip the mat altogether and get all your vinyl projects done without even pulling out the computer or project mat.
And the fact that the Joy is so small means that you don’t have to be at your normal workspace to do the things.
For this project the materials I needed:
- My phone (with the design space app installed)
- Cricut Joy
- Smart vinyl pack – this is the one I used
- Weeding tools
- My DIY planter box – find the tutorial here
How To Make A Custom Decal Using The Cricut Joy
I started out by selecting a design from the Design Space library.
While I could have made my own, there are so many there to choose from that I didn’t need to. One less step!
After I chose my design, I chose which colors of the smart vinyl I wanted to use.
I needed three total for this project.
I cut them to the required sizes and then followed the directions for cutting them.
The Cricut Joy actually automatically sensed the vinyl when you insert it. And then you just hit the Go button.
When all pieces were done, I weeded each of them.

Maybe it’s just me, but that smart vinyl was pretty easy to weed.
I don’t mind weeding, but this was definitely easier.
From there I cut a piece of transfer tape and attached it to all the pieces of my design.
Then I transferred the design on my box. And because it made me feel better, I topped it with a spray coat of polyurethane and let it dry.
So easy.


I love it!

Vinyl Decal Using The Cricut Joy Project
Equipment
- [Cricut Joy]
- [Design Space]
Materials
Instructions
- Select this design from Design Space.
- Select colors of vinyl you would like to use. You will need three for this project.
- Cut pieces to the required sizes.
- Follow the instructions on the Design Space app.
- When all pieces are done, weed them.
- Cut a piece of transfer tape to transfer the design, and adhere all pieces.
- Adhere to your desired surface.
Video
