What do you do when your home is stocked with outdated marble sinks circa late 80’s and new sink tops just aren’t in the budget?
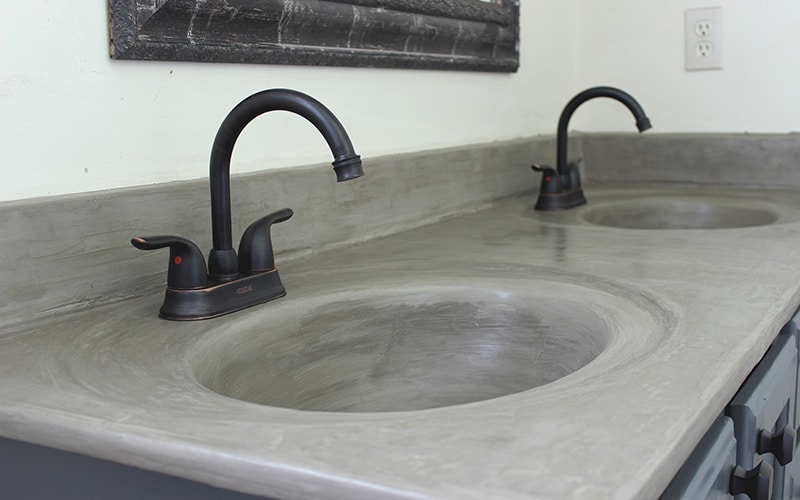
You make them over with concrete and look super stylish, super modern, and sound all kinds of fancy.
In my last home, I had the same problem. Structurally the sinks were intact. But they weren’t beautiful. And I need structure and beauty folks.
The budget would not allow for new sinks so I did one better. I took to the pinterweb (aka Pinterest) and discovered that I could give them a dope makeover without wiping my account out.
I bought a box of feather finish, used some water I already pay for anyway, some sealer and new hardware and while it wasn’t new. When it was all done, it was new to me. And that’s really all I need.
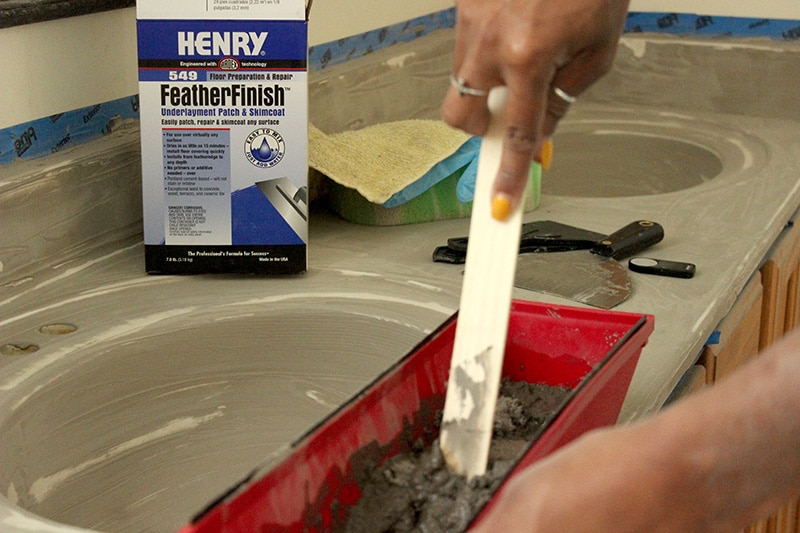
This DIY was so simple, I could probably let the kids do it. But even though I have one more bathroom to go, I won’t. The fact that is important here is, I could.
Let me tell you how I did it…
How To Update Your Cultured Marble Sink Using Concrete
Materials Needed
The products linked below are affiliate links. It has no impact on your shopping experience or price. You can read what that means and how it affects your experience here.
Henry’s Feather Finish (Amazon, Home Depot)
Drywall Tray (Amazon, Home Depot)
6 Inch Metal Drywall Knife (Amazon, Home Depot)
2 Inch Plastic Putty Knife (Amazon, Home Depot)
Electric Sander {this is optional and can make the sanding work easier. you can hand sand if you don’t have an electric sander} (Amazon, Home Depot)
Latex Gloves
Quikrete Acrylic Concrete Sealer (Amazon, Home Depot)
150 And 220 Grit Sandpaper (Amazon, Home Depot)
A Large Sponge
Steps For Marble Sink Update
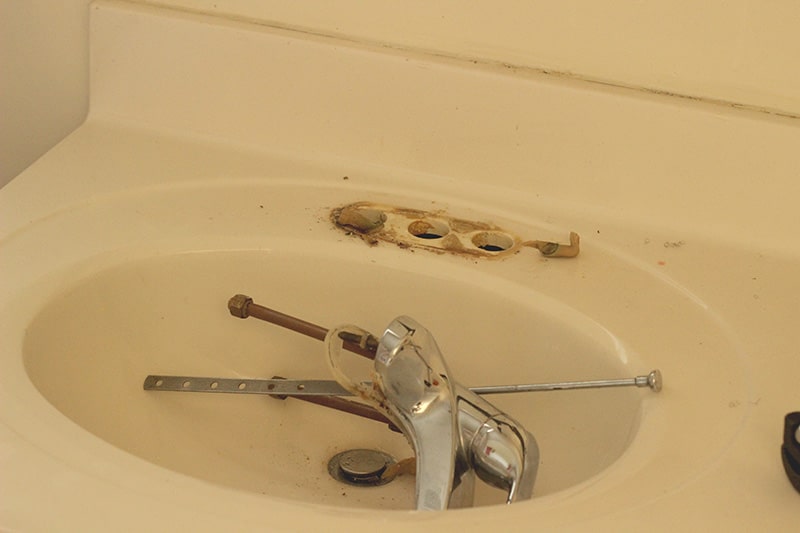
Prep. Remove hardware and tape the walls around the work area.
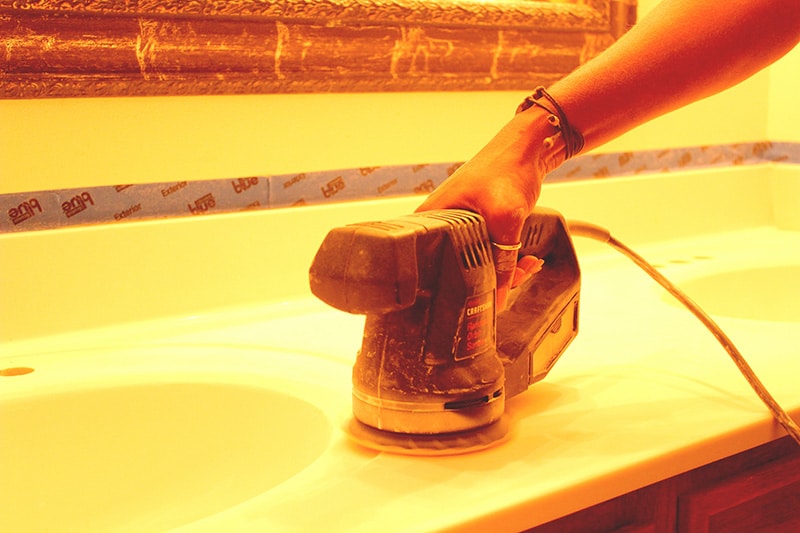
Sand. Sand the countertop and inside sink to create a rough surface. Do this using the 220 grit sandpaper.
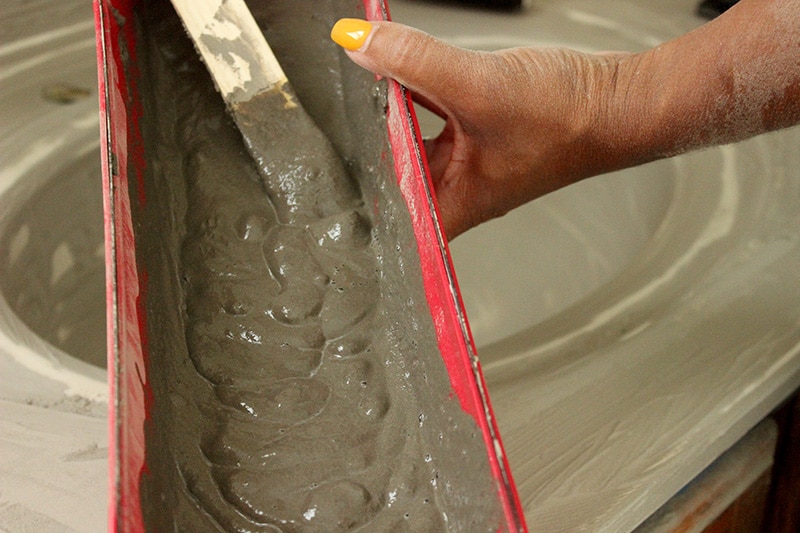
Mix. Mix your powder with water until it is the consistency of cake batter. There may be a few lumps. Smooth as best you can.
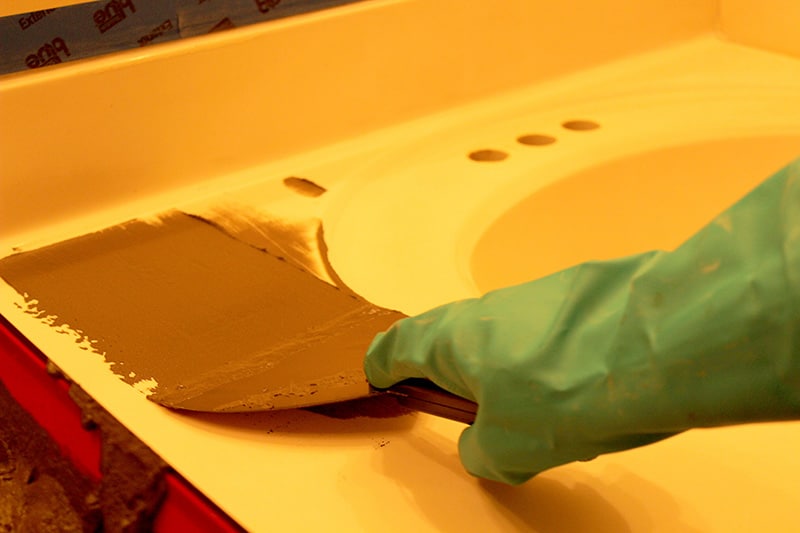
Coat. Using the drywall knife apply your first coat. It will not be full coverage. Think of this as your base coat for the second layer to be full coverage.
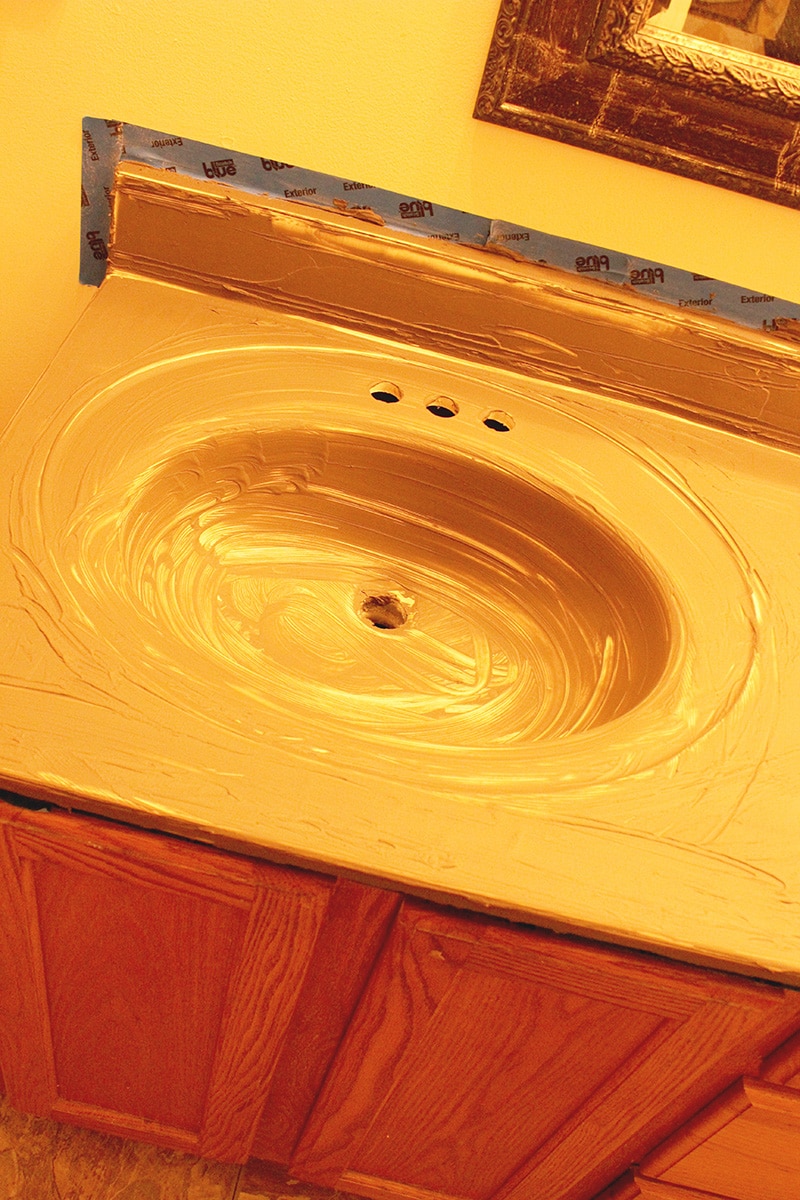
Use your fingers (with gloves) to get in the sink bowl and corners.
After it forms a bit (like 30-40 minutes for the first coat and 20-30 for those after) you can go over it with a damp sponge lightly to smooth the fingerprints.
Dry. Allow it to dry at least twelve hours. I worked on it in the evening and would go back to it the next day at some point.
Sand. Using a piece of 220 grit paper sand lightly removing minor imperfections. We’re gonna coat it again so it doesn’t have to be perfect. But you don’t want ridges or bumps. Smooth those out.
Repeat. Repeat steps 3-5 until you have achieved full coverage. I did three coats and then a minor touch up coat, which wasn’t a full application.
Smooth. Now you’ll want to smooth with 120 grit sandpaper. This will make everything nice and even and smooth. Sand by hand or using a hand sander until desired smoothness is achieved.
Clean. Remove dust. I used my shop vac to remove most of the dust and then a damp rag to wipe away excess.
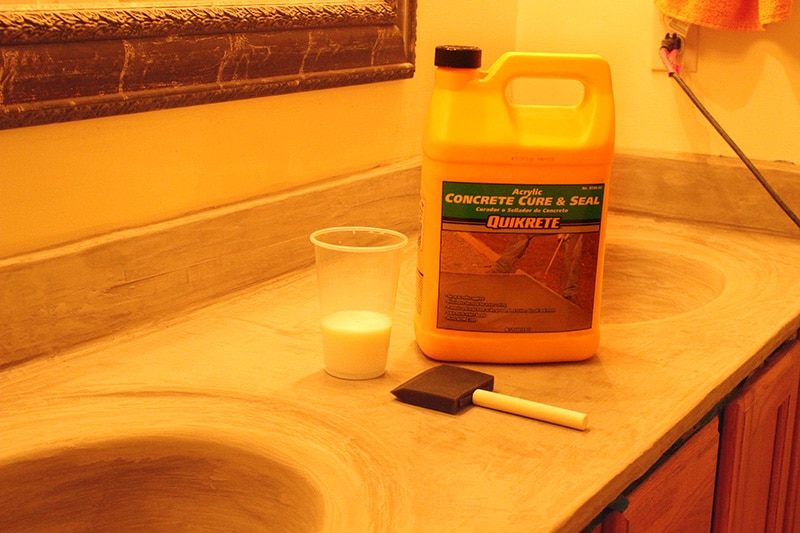
Seal. I used Quikrete acrylic sealant. I applied two coats using a paint sponge applicator. Allowing a few hours between each coat to dry. And then a third coat around the drain and where the hardware goes.
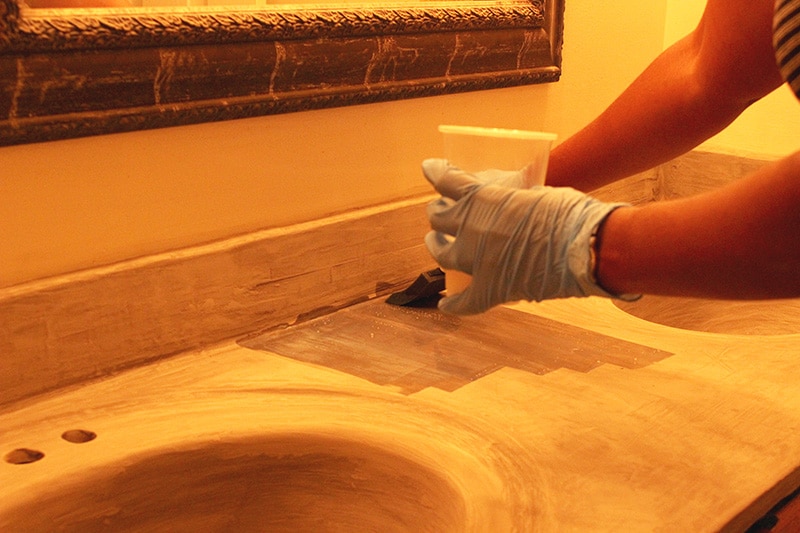
It goes on kind of whitish blue but will dry clear.
Make it pretty. After everything’s is dry and sealed you are free to install your hardware. Because mine was also outdated, I opted to get new hardware, making it look completely new.
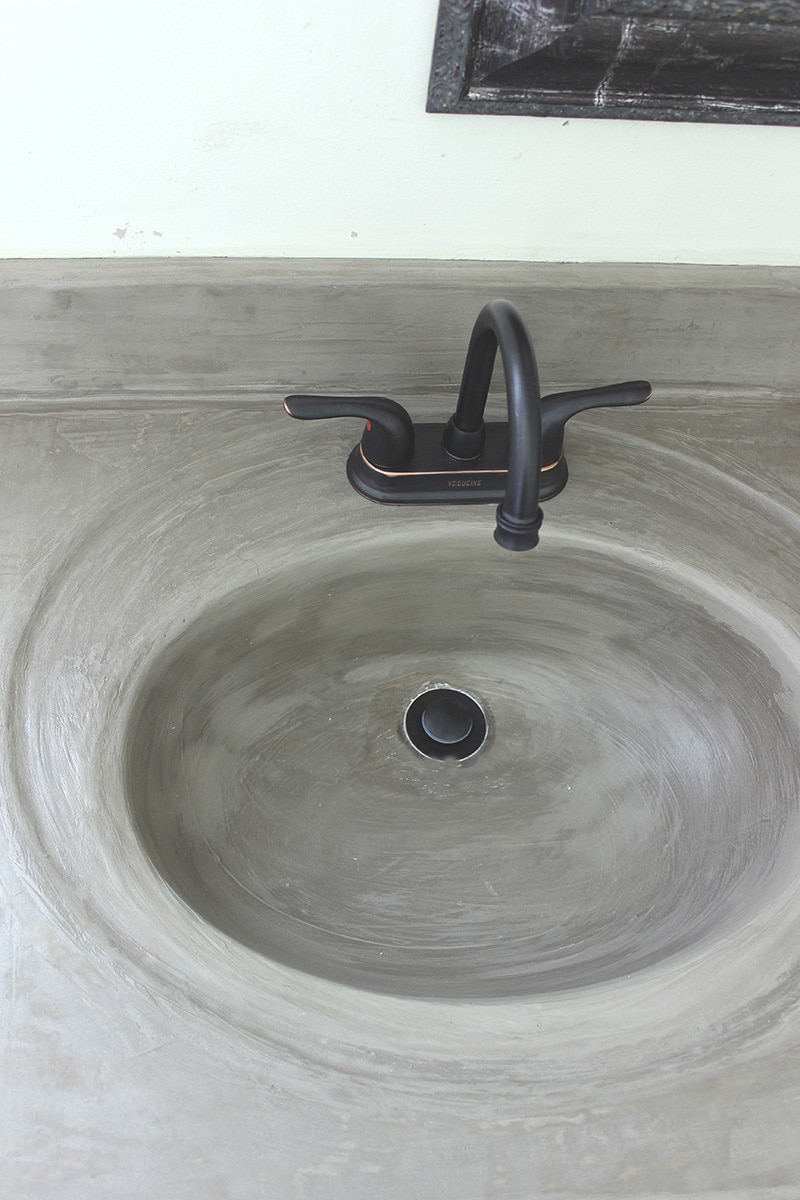
And that’s it folks! What appears to be a major upgrade took minimal time and won’t put a huge dent in your budget. Maybe just a sacrifice of your daily coffee purchase for a week.
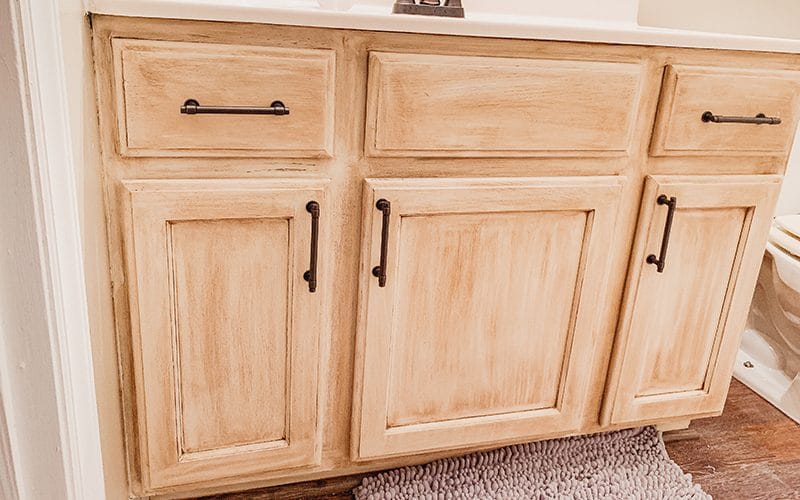
If you are in need of a full vanity makeover. Check out how I updated the vanity cabinet for a complete makeover here.


can you use the type finish on corian counter tops? I’m taking the plunge on a kitchen remodel, but am reusing the counter in another area, I would love for it to be a different color. That is another question. Can this Technique be a “pop” color like red, or black, or really dark gray?
Hey Kimberly! For your first question, I am really not sure. I have never worked with coriander. As for the cement, I have never attempted adding color to it. I really like the rustic look. But a google search came back with some ways that make it seem possible. Thanks for stopping by!
What or how do you clean it – what type of cleaner would you use for that?
Hey Gail!
I just use clorox wipes.
Looks amazing and this mom needs a new project (son went to college this fall and daughter is driving)! I’m a bit confused..do you mix the feather finish in with the quickset? We have 3 ugly marble countertops I’ve been wanting to redo but hubs said no go because of cost but it looks like I can handle this. Please help!
The feather finish is mixed with water. The Quikrete is your sealer to protect everything once it’s done.
And that is the same reason I did this because it was affordable and I didn’t need him (the old man) to help me. LOL.
Can you make it white or other colors?