They grow so fast but this DIY growth chart ruler will help you mark and remember just how fast it happened and how the years fly by.
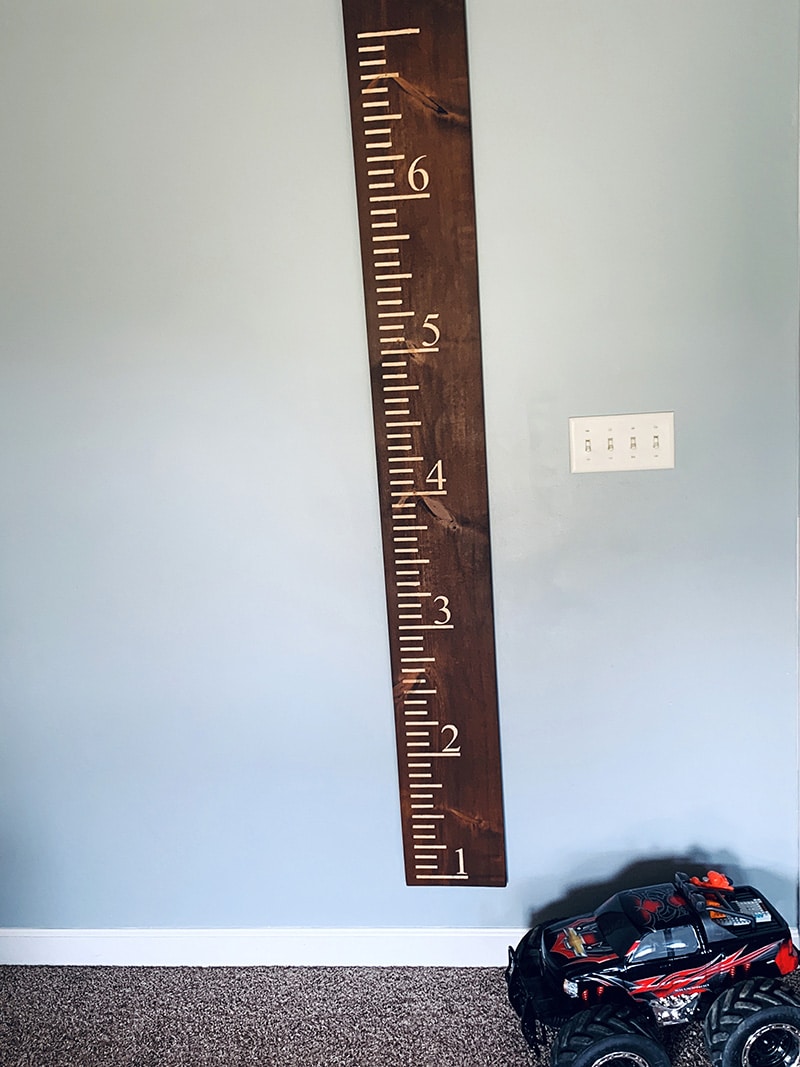
I look at my son who's now six and I swear it seems like he was just a baby in my arms. My daughter who's now 16 and I think where did all the years go.
I wish I had done this wooden growth chart sooner. So that I could have documented just how fast they grew. But you don’t have to feel that way cause I have this growth chart for you!
This is one of those functional decor pieces. I love decor that is also functional.
It looks really nice, but it serves a purpose.
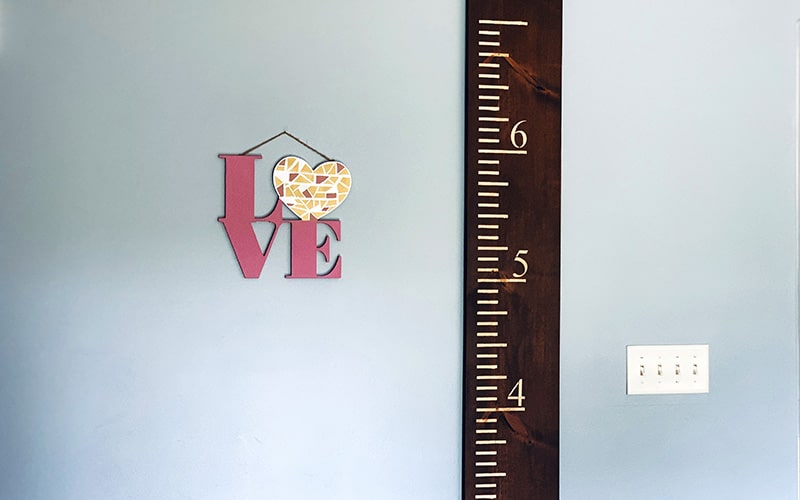
This growth chart, which is basically a giant ruler, allows you to see how fast the years go by. Mark off when they looked up to you and when they started bending over to give you a hug.
And they can take it on with them to use with their own children, in their own home, or just as a personal keepsake.
With the use of engraved wood, it’s truly a timeless piece that will most likely get better with age.
This project is a part of my At Home DIY Challenge. This months theme is making it cheaper than you can buy it. This growth ruler goes for FIFTY BUCKS at Hobby Lobby. And I made it for under a whopping $25.
And you can too!
I will say I had everything on hand except the piece of wood. But it will still be less than a storebought on if you have none of the materials on hand.
If you need the tools, that may be a different story.
Materials Needed For The Kids Growth Chart
- Stencil
- 8’ piece of pine wood
- Stain
- Paint (optional)
- Polyurethane or poly spray
- 120 grit sandpaper
- Tape
Tools Needed For The Ruler Chart
- Dremel (optional)
- Saw
- Sander (optional)
- Protective eyeglasses
How To Make Your Own DIY Ruler Growth Chart
I bought an eight-foot piece of wood. So I decided to cut it to 6 ½ feet. I did this because I started my numbers off at 1 with the intention to hang it a foot off the ground.
Cutting
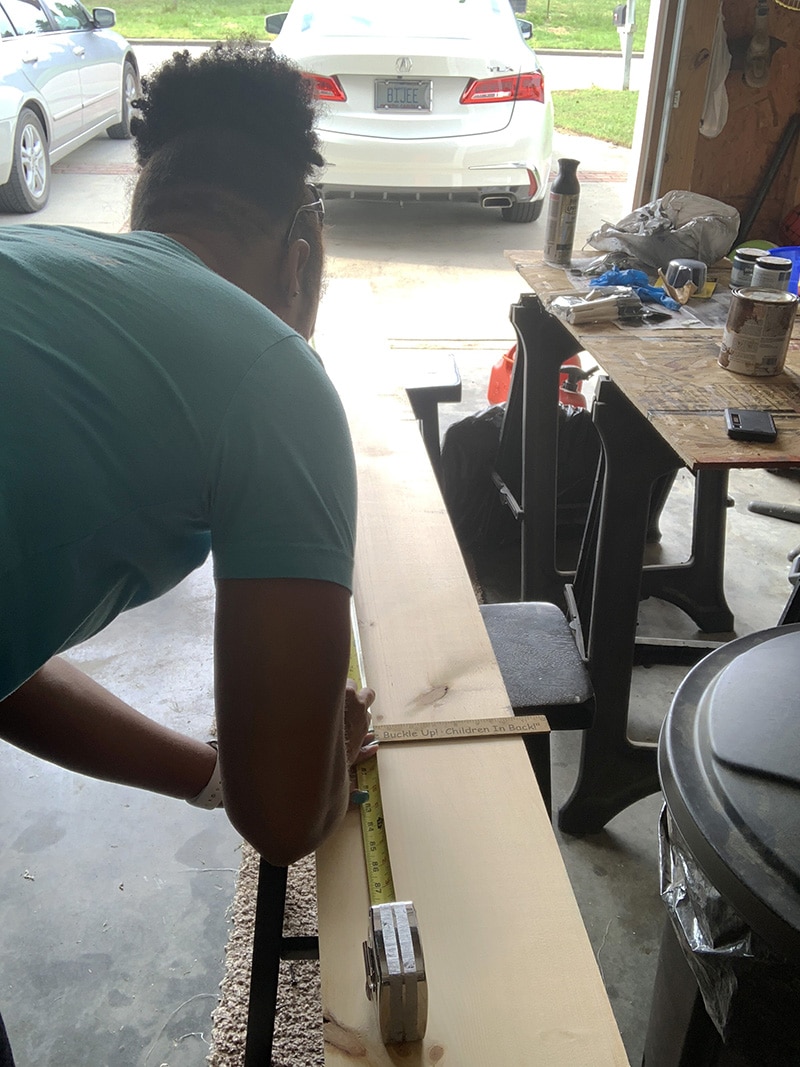
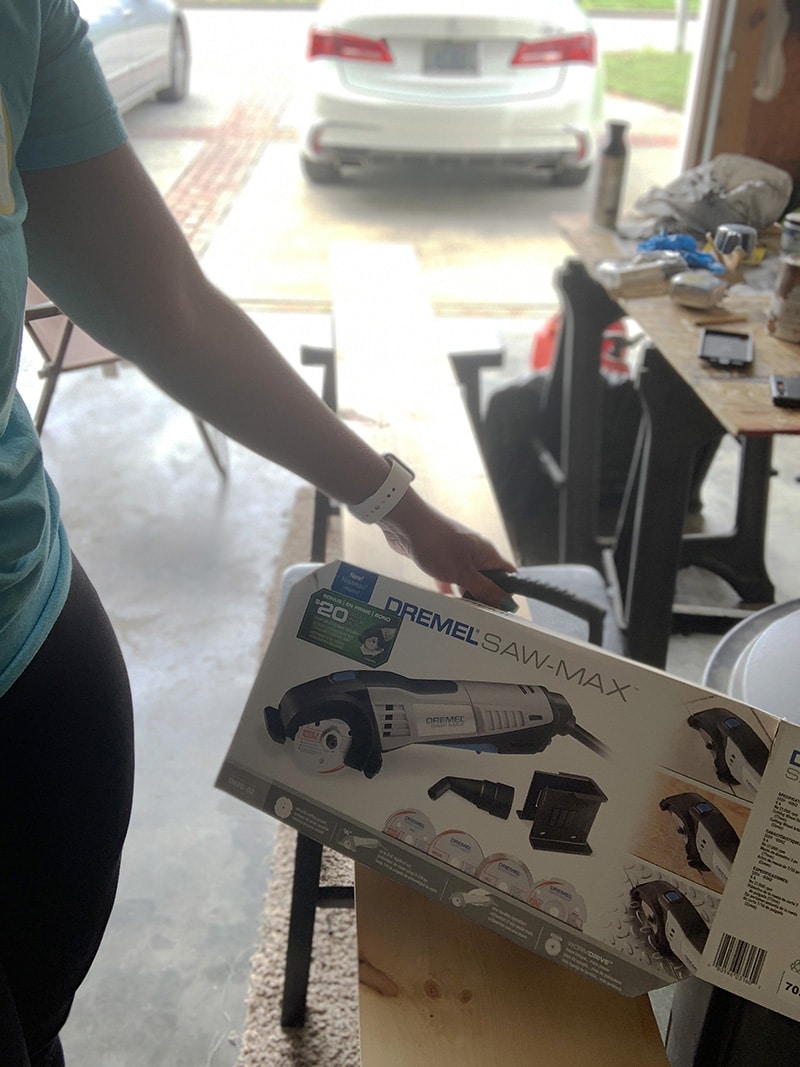
If you wanted to start at zero and hang it right at the floor I’d keep it full length.
Sanding
Then I sanded the wood using 120 grit sandpaper to give it a nice smooth finish.
You can do this using a hand sanding block or electric sander. Whichever works.
After you sand, clean away all sawdust to prepare for staining.
Staining
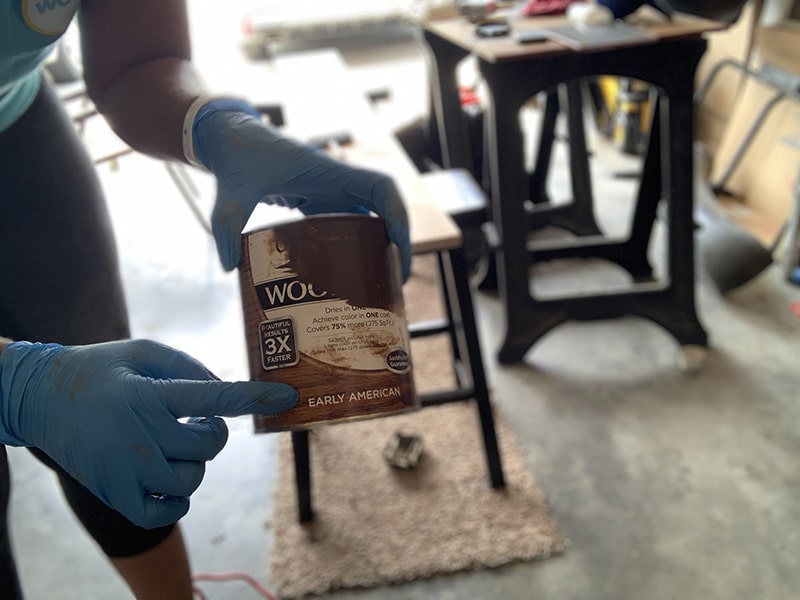
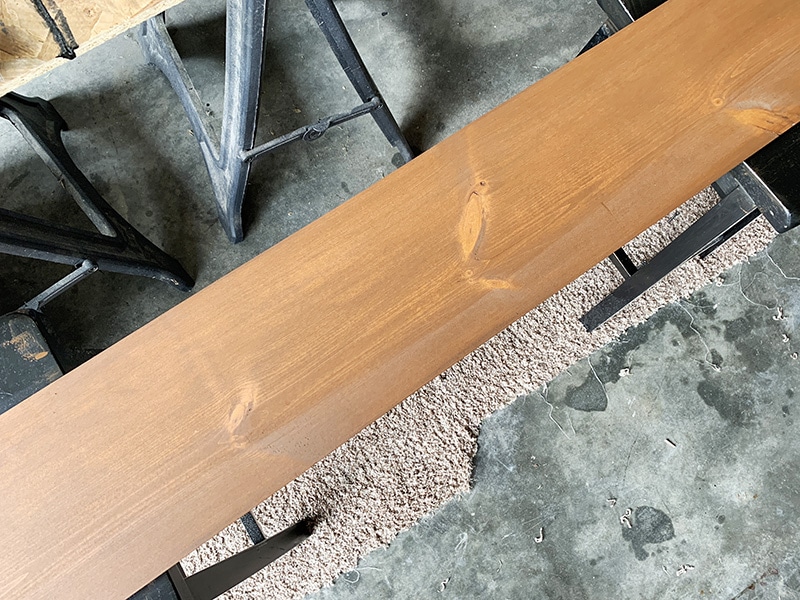
I stained mine using my favorite color, Early American from Valspar. You already know if you’ve checked out the dresser turned buffet, chalkboard, or pretty much anything else I've needed to stain how much I love this stain color.
Stenciling
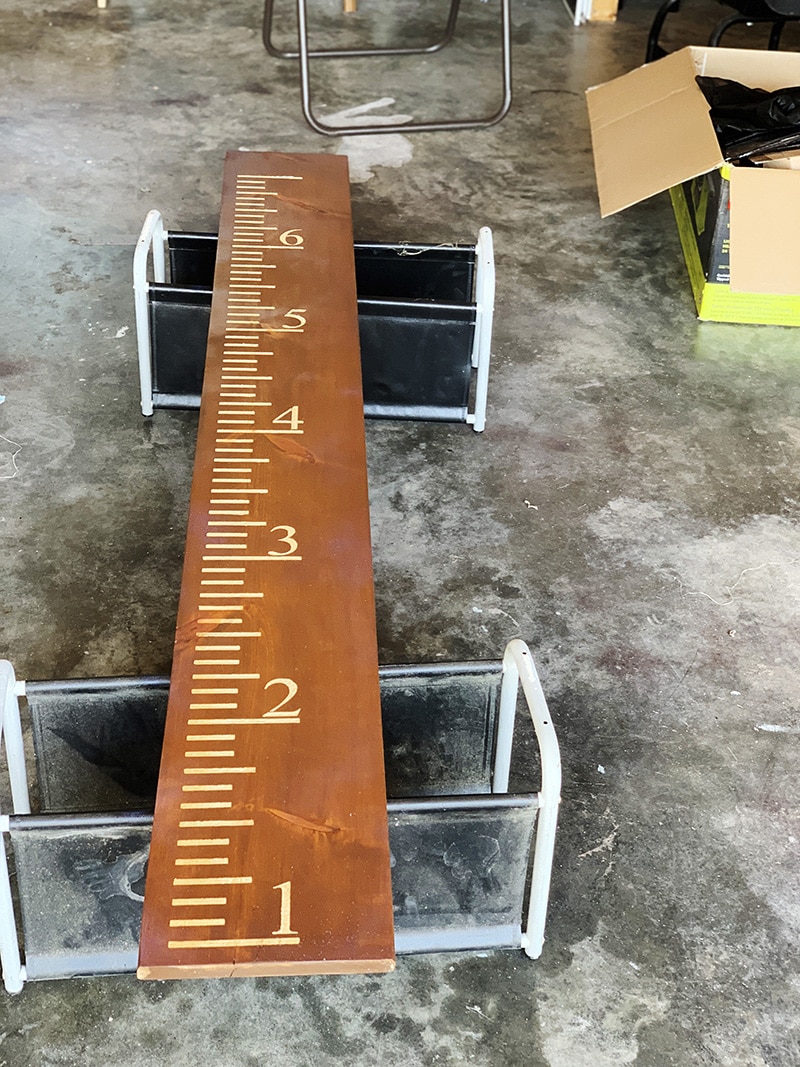
Using a growth chart template stencil I received from Stencil Revolution, an online stencil shop that has stencils for all kinds of projects in all kinds of sizes, I started with carving out my lines.
I used my Dremel Stylo Plus that I recently reviewed, to do this. As I’ve told you before, this thing is so soothing. And seeing how I’ve been a little stressed lately it was just the therapy I needed.
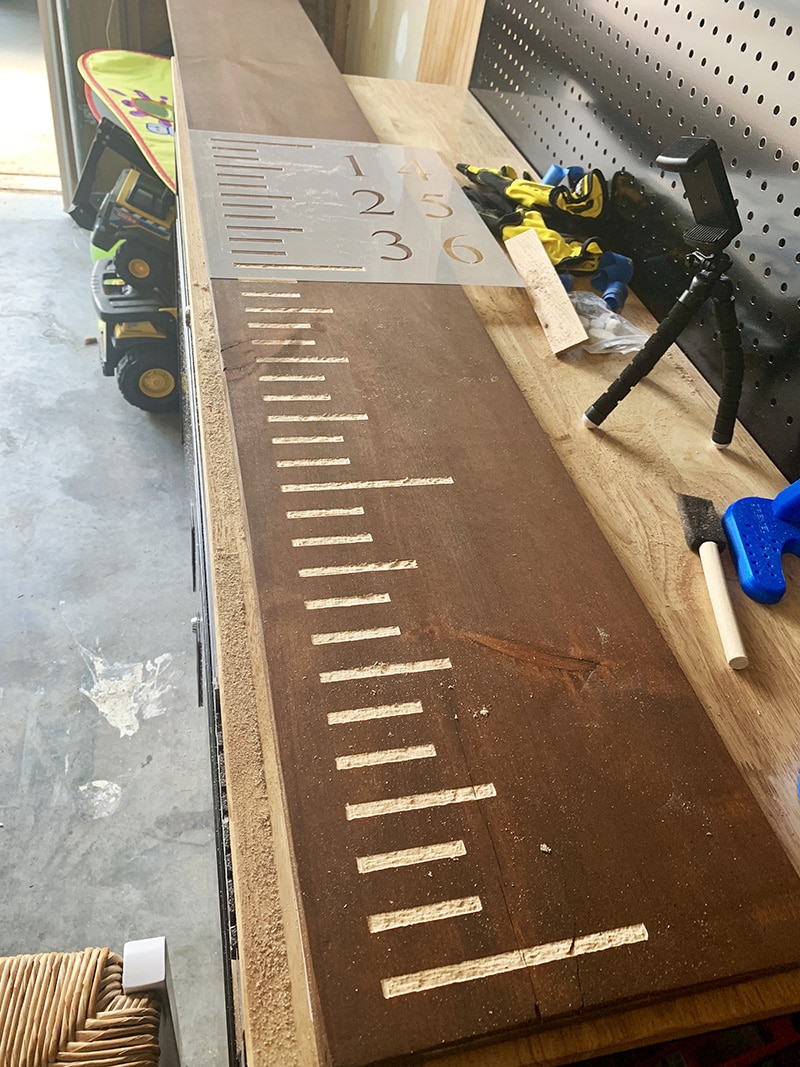
I started using the stencil at the bottom and then used the bottom line as a guide to align for the next set.
There are 12 notches in a foot. The stencil has 13 to help you align properly which is pure freaking genius!!
After I stenciled the lines I went back and stenciled the numbers.
If you opt not to use the Dremel you could also use paint. Chalk paint or even a nice metallic would look amazing!
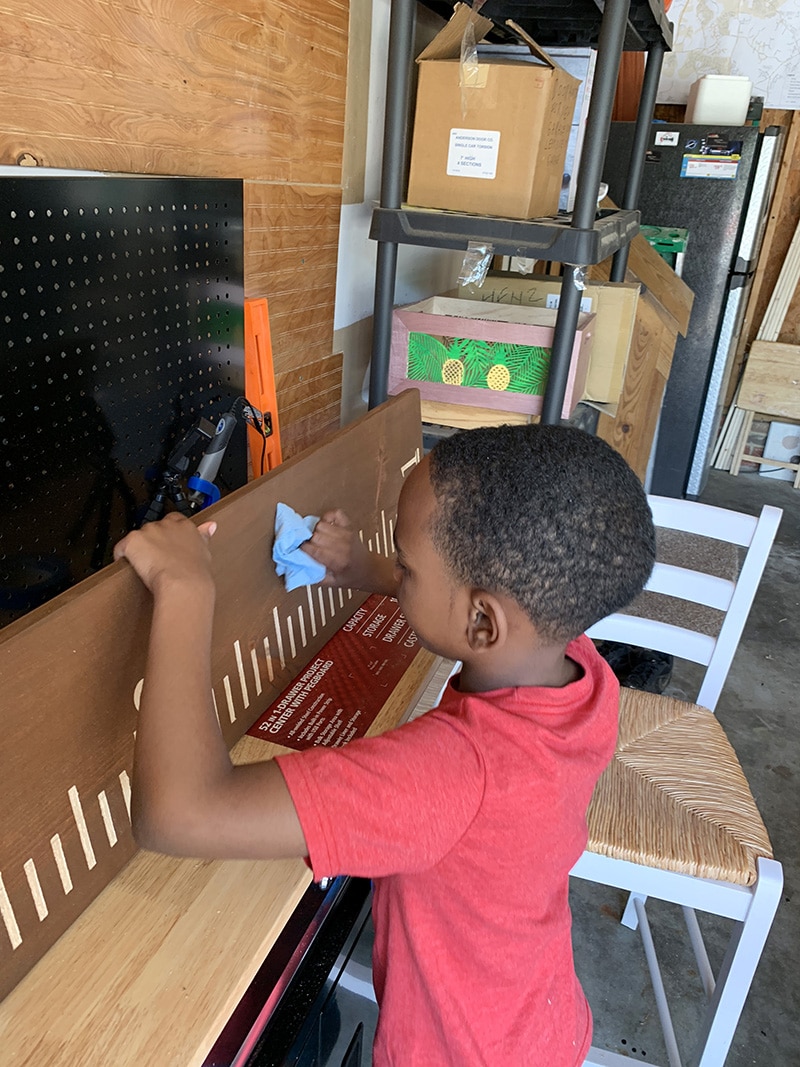
After all the lines and numbers were done I signed the back, “love mom”, my son cleaned again. He wanted to help, and the Dremel creates a decent amount of wood dust.
Protecting
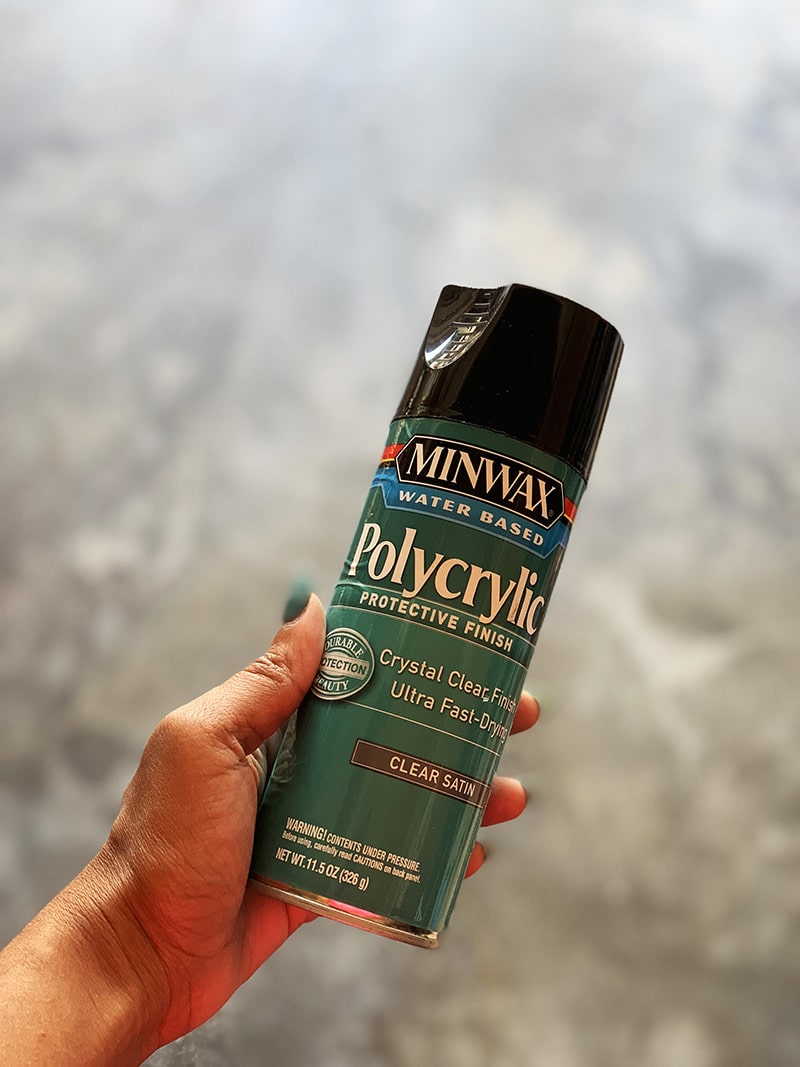
After all was cleared away, I sprayed it with a coat of polyurethane and it is simply beautiful.
The signature on the back is a reminder that it was made with love!
And voila. I can track my little guy's growth for the next 12 years. Marking ⅔ of his growth is better than none right?

DIY Kids Growth Chart Ruler Project
Equipment
- Dremel (optional)
- Saw
- Sander (optional)
- Protective eyeglasses
Materials
- Stencil
- 8 ’ piece of pine wood
- Stain
- Paint, optional
- Polyurethane or poly spray
- 120 grit sandpaper
- Tape
Instructions
- Starting with an eight-foot piece of wood, I decided to cut it to 6 ½ feet. (see notes below)
- Sand the wood using 120 grit sandpaper to give it a nice smooth finish. This can be done with a hand sanding block or electric sander.
- Clean away all the sawdust.
- Stain using your favorite color. I apply using a sponge brush.
- Align growth chart template stencil to prepare for making lines and numbers.
- Using the Dremel Stylo Plus I started at the bottom and then used the bottom line as a guide to align for the next set. There are 12 notches in a foot. The stencil has 13 to help you align properly. (see notes below)
- After I stenciling the lines go back and stencil the numbers on the longer lines.
- Clean and wipe away all dust again. The Dremel creates a decent amount of wood dust.
- Spray with a coat of matte polyurethane and allow to dry according to the instructions.
Video
Notes
- If you wanted to start at zero and hang it right at the floor I’d keep it full length.
- If you opt not to use the Dremel you could also use paint. Chalk paint or even a nice metallic would look amazing!

This DIY Ruler Growth Chart is a part of the At Home DIY project. Where the topic this month is a Make It Cheaper Than You Can Buy It Challenge. You can click here to see all the other awesome Homemade furniture and decor projects from a host of amazing blogger friends.



Love the look you created with the Dremel! That’s so neat!