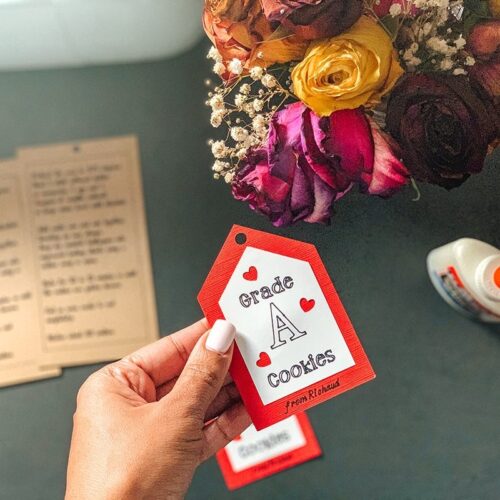
How To Make Cardboard Hanging Tags With The Cricut Explore Air 2 Project
Layered cookie jar gift tags, with a cute slogan and the cookie recipe to go on cookie mix jars that are perfect for valentine’s day gifts for the kids’ teachers.
Equipment
- Cricut Explore Air 2
- Cricut Light grip mat
- Cricut Black 0.4 fine tip pen
Materials
- White cardstock
- Twine cardstock
- Red Wagon cardstock
- Glue
- Tweed rope or string
- Cricut Design space files
Instructions
- Design Space
- You will need Cricut Design Space to use the files that I have already created for you.
- You will need to edit the name area to include your child’s name.
How to edit the name in the Design Space file:
- Launch Design Space
- Open the Cookie Tages + Instructions file
- Click Customize. It may take a little time for the file to load because it is a large file.
- Click on the Text line, and then detach.
- Double click the text to edit the name.
- Now your file is ready to cut and print.
- Cutting your design
- Cut out the different pieces using the Explore Air 2. Use cardstock to print out all the layers
- White - smallest tag with the Grade A cookies slogan on it
- Red - larger tag with signature line
- Brown - instructions tag.
- Click Make It in Design space to prepare everything for printing.
- Follow instructions on the screen in design space.
- After all of your cuts are done, you are now ready to assemble all of the parts.
- Assembling the tags
- Apply preferred adhesive to the back of the white layer and align it so that it is below the cut hole and above the signature line on the large tag.
- Set the tags aside and cut your twine.
- Arrange the tags and thread the twine through tags.
- Wrap the twine around the jar and create a bow. And place the cap on top of the jar.
Video
Have questions or thinking about trying this project?Let me know know what questions you have or how it turns out!