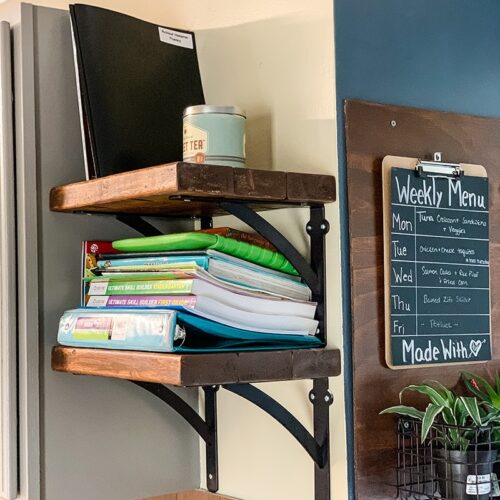
How To DIY Wood Simple Shelves Project
A simple tutorial for creating simple shelves using 2x4's that can be used for any space and for almost anything.
Equipment
- [Kreg jig]
- [Drill]
Materials
Instructions
- Making The Shelf
- Start by cutting the three 2x4’s to the desired width.
- Using the Kreg jig combine the pieces of wood to make a single shelf by creating pocket holes.
- Once your shelves are formed, sand them down with 180 grit sandpaper first.
- Then use 220 grit to finish them and make them nice and smooth.
- Once all smooth I blew it with air from the air compressor and wiped it down real good to get rid of the sawdust. Do whatever works for you to get rid of the sawdust as much as possible.
- Stain shelves with your stain color of choice.
- Top them with a coat or two of polyurethane, or use polyurethane spray and it is ready to install.
- Installation of Shelf
- If not hanging directly in a stud I strongly suggest the use of anchors. Install anchors to hang the brackets.
- After installing the brackets, place the shelf and screw it into place with screws under the shelves!
- Enjoy!
Video
Have questions or thinking about trying this project?Let me know know what questions you have or how it turns out!
