
6 Painting Mistakes You Absolutely Need to Avoid + GIVEAWAY
Painting a room is one of the most cost-effective, minimal effort ways to update a room quickly. But while painting a room may seem like a simple job, there are a variety of things that can go wrong.
The links in this post may be affiliate links. That means that if you click them and make a purchase, this site makes a commission. It will have no impact on the price you pay or the experience of your purchase.
From visible paint lines to messy spills, painting mistakes can cause some big problems, and even more so if you're not exactly a DIY person.
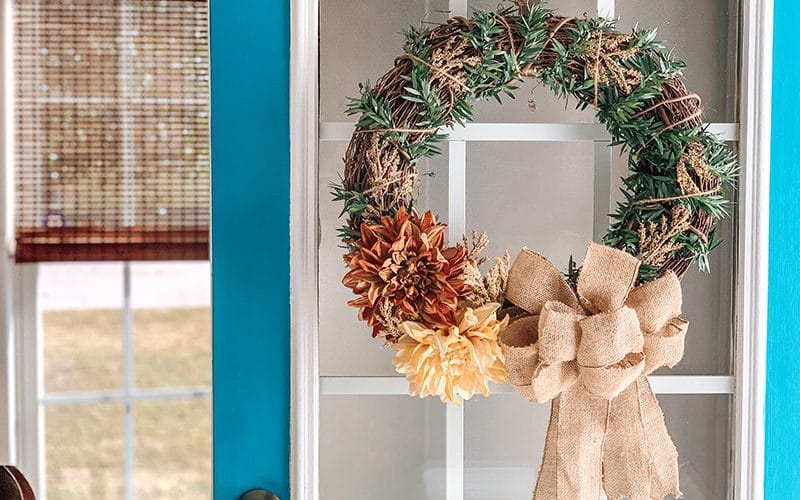
The good news is, most of these mistakes can be avoided if you take the proper precautions. Time to discover the 6 painting mistakes you should definitely avoid when you're all set to paint your room. Also, if you're curious about trying your hand at DIY home decor projects, you might want to give this a read!
6 Common Painting Mistakes You Could Be Making
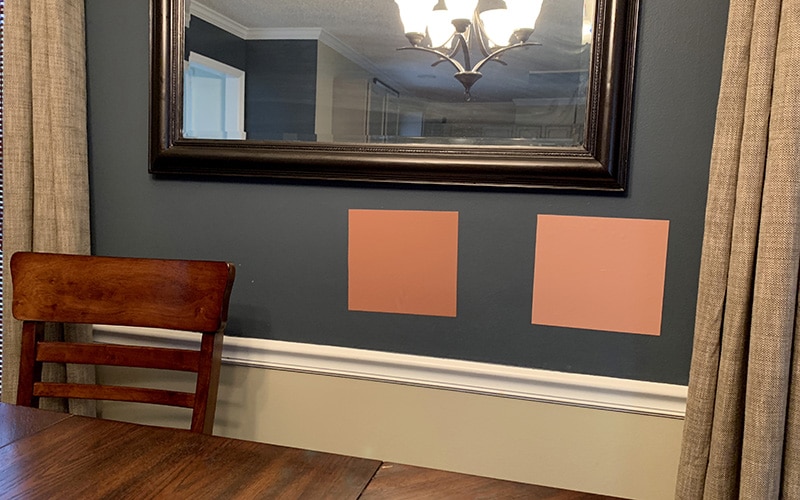
Not Testing Out Your Color
I understand this mistake probably the most out of all of them. For as long as I have been painting, I never tested out the color in the room I planned to paint. And I have been painting roughly ten years now, at least.
To me it felt like just another step, more money spent, and really why bother.
If you are like me, you find out the hard way. Paint on the walls does not look like it does on the swatch at the well-lit hardware or local Home Depot store.
It wasn’t until recently, while at Home Depot, that I discovered SureSwatch I finally started avoiding this mistake. These are paint sample adhesives that allow you to test out the paint!
Do you know how mad I would have been if I painted the wall and had to repaint it the color it was before?
But worse, do you know how much side eye my husband would be giving me?
I have had to repaint many walls because I did not love the color in my home. I want to help you to not make that mistake too. Stay tuned to the end of this post to find out how.
This is also especially helpful to make sure you pick the right sheen of paint as well. Different sheens work better in different areas of the home. While flat paint may be cheaper. It can be nearly impossible to clean. You definitely would not want it in a high traffic area.
If you are unsure about the sheen you should use for the different areas of your home, I have a guide to help with determining what sheen works where.
Not Prepping
Painting can be a messy job, which is why prepping for the project is so important.
Proper prep work for a paint job includes cleaning the walls, repairing cracks or uneven wall surfaces, applying high-quality painter’s tape, and covering anything you don’t want to get paint on.
Failure to do these things can leave you with walls that don’t come out as you planned, a less than ideal finish, pulling the paint off of your newly painted walls due to the use of cheap tape and improper technique. Or even damaging other items in your home with paint.
I may or may not have personally experienced some, or all, of these things.
Take my word for it, I know. Do the prep work. The job goes way smoother that way.
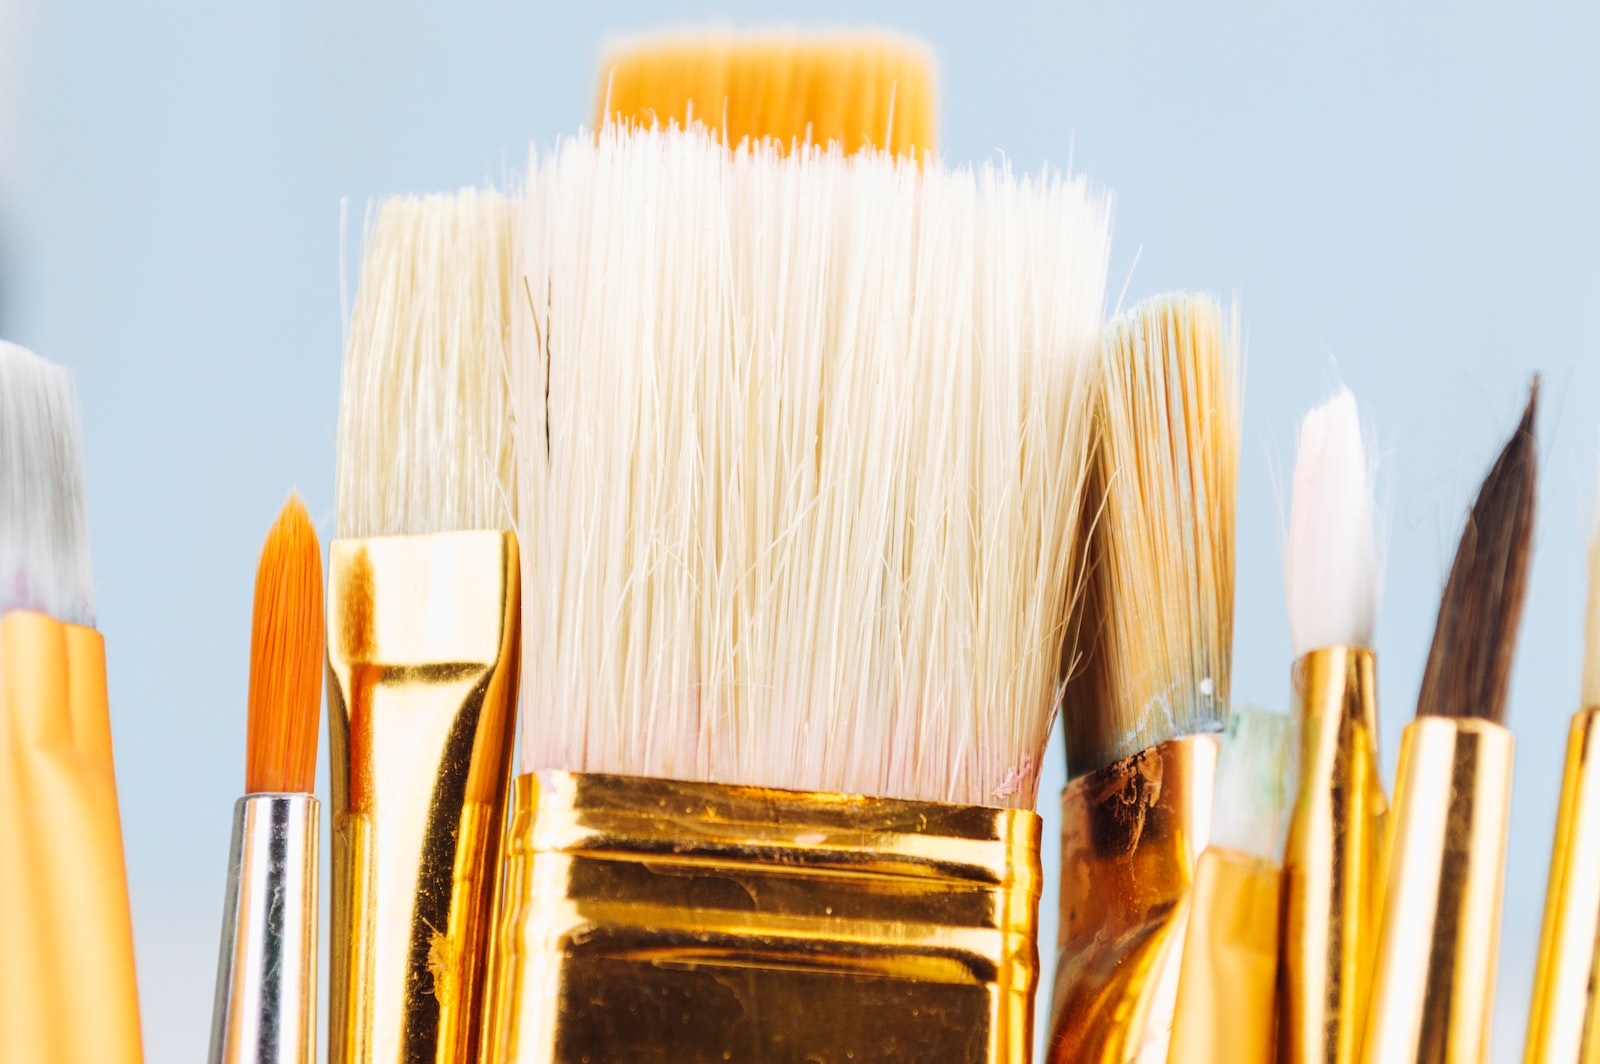
Using Cheap Brushes
Purchasing cheap brushes may seem like a simple way to save money on your paint project, but it could prove to be one of the biggest painting mistakes you could make. These low-quality brushes will cost you time and energy in the long run than you would like!
Good brushes and rollers will give you better coverage and help you conserve paint as you work, making them essential to a good paint job.
What are the signs of a good quality paint brush you ask?
Type
The first thing to know is that paint brushes come with natural or synthetic bristles.
Natural bristle brushes are best used when working with oil-based paints. While synthetic bristle brushes are better suited for water-based paints.
Trying to apply latex paint with a natural bristle brush will cause the bristles to absorb the water in the paint and become limp.
This makes it really hard to get the paint to spread.
It is always best to just check the packaging of the brush to make sure it's suited for the paint you are planning on using.
Width
While you may think that you can apply more paint with a wider brush, you should always take into account the job at hand. Brushes come in a variety of widths and can range between 1 to 5 inches.
You do not want the brush to match the exact width of your project. This can cause the paint to drip and a mess to be made. Instead, opt for a brush that is a little shorter. May require a few more strokes, but it will definitely help keep down on the mess made.
Shape
Most paint brushes available today are square-cut brushes. They can apply paint on to just about any surface.
But, square-cut brushes don't provide as much control when painting into hard to get spaces like corners, or along narrow edges or surfaces.
Slanted brushes allow for more control in these instances. Slanted brushes will make it easier to get into tight spots, like corners, around trim, etc.
Skipping The Primer
Primer is an essential step in the painting process, and skipping on this one is again, one of the biggest painting mistakes most people tend to make.
Not only does a high-quality primer help cover flaws on your walls, but it also gives you a smooth finish that allows the paint to adhere more easily to the surface.
If you’re painting a new surface, like unpainted drywall or porous wood, primer is even more important. Because it allows the surface to absorb the primer and not your paint.
Again, you can learn from my mistakes. I have tried skipping primer on more occasions than I care to admit. In all cases, it ended up costing me more money, time, or both than I had budgeted for the project.
Random Strokes
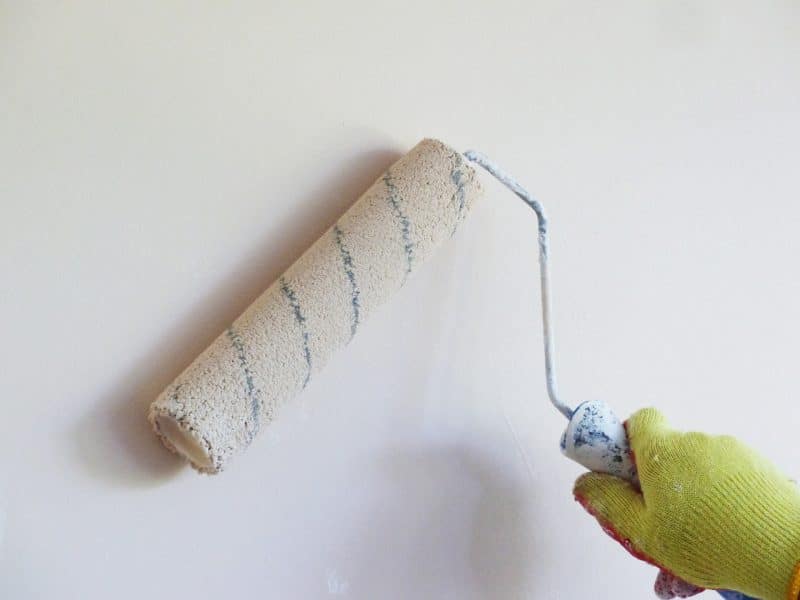
Make a plan for painting your room before you start.
Aimlessly painting the walls results in an uneven coat and visible brush strokes.
The most effective method for painting a room is to start near the ceiling and work your way down the walls.

For this reason, the Home Right EZ Twist paint roller has become one of my favorite painting tools. Because it allows you to not have to go back and dip in the paint continuously. And reach higher spaces on the wall too!
I even prefer to go around the edges first which are harder to get to, and then fill in the main portion using a V-stroke for even coverage.
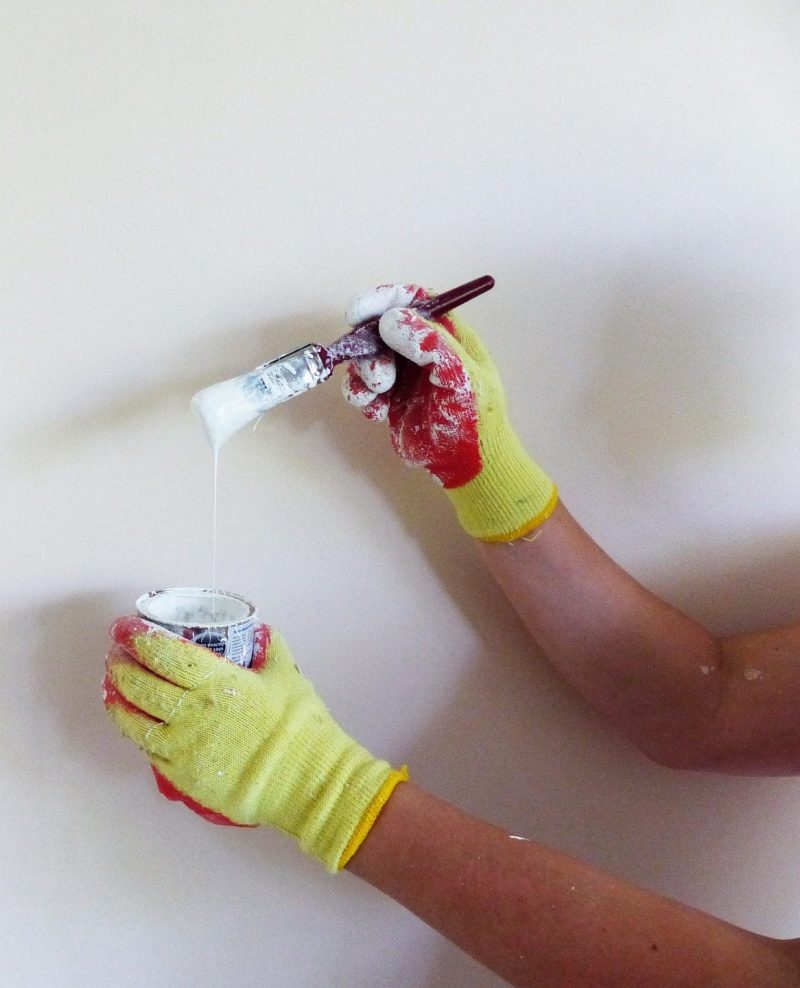
Using Too Much Paint
It may be tempting to dunk your brush or roller into the paint and soak up as much as you can. Instead, using too much paint can cause unsightly drips and an uneven coat.
Instead of fully submerging your brush into the paint, dip your brush only a third of the way into the paint. This will give you a clean stroke and make cleaning your paintbrush so much easier when you’re finished.
Which leads me right into my next point.
Avoiding Cleanup
Cleaning and protecting your brushes and other painting equipment after you’re finished will make your next paint job so much easier, and even save you money.
Insert my husband's eye roll here.
I will do the job, but he has historically gone in and cleaned up after me. The couple times he didn't, we ended up with brushes that were ruined and had to be thrown away because I didn’t take the time to clean them.
How To Clean Your Paint Brushes
To clean, start by cleaning your brushes and rollers with warm water. Some people add dish soap.
I prefer to use mineral spirits which help to remove the paint from the brushes. Then follow by rinsing the brushes until the water runs clear. After that, allow them to air dry.
Mineral spirits are for water-based paints. Because that is what I typically use, I am not sure if there is an oil based paint equivalent.
As the last step and to preserve the brushes, wrap up the brushes. You can do this in plastic wrap, a Ziploc bag, or aluminum foil. This keeps the bristles from drying out.
Avoiding these amateur painting mistakes can turn you into an expert painter, save you time and money, and ensure your paint job comes out as planned every single time.
The Giveaway
Together with one of my new favorite brands, Sure Swatch, we are going to help you get your painting life together. Enter below for a chance to win.
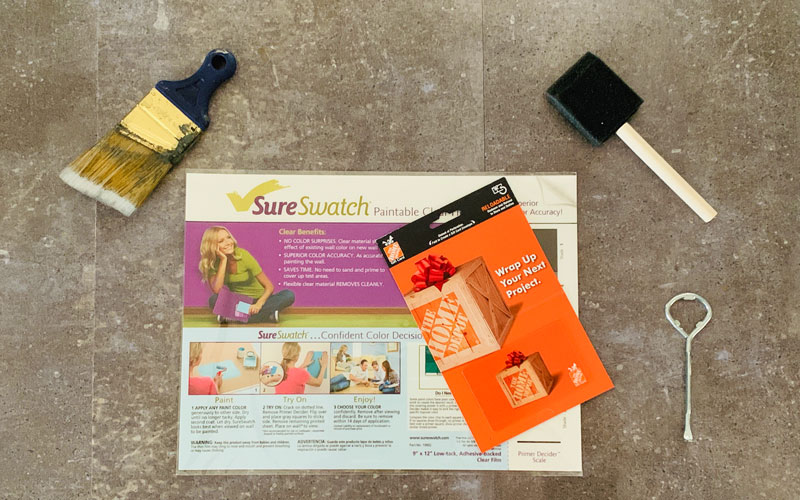
The top prize includes a packet of the Sure Swatch adhesives and a $30 dollar Home Depot gift card toward your next gallon of paint. Two runners up will also get Sure Swatch adhesive packets to try out for their next paint job as well.
Sure Swatch was started by Jamie Peltz, an entrepreneur by way of being down-sized. She started Silsby Road, a company that works to assist companies in developing their product pipeline, refine products already in development or
launch products into new markets.
When she decided to branch off into creating her own products she created first, Forget Me Spot Stain Patch Spot Remover. Then came Sure Swatch, which is available at Home Depot & ACE Stores.


The worst part about cheap paint brushes is that they shed bristles like a dog in the summer heat. I don’t mind textured walls, but I don’t want it textured with paint brush fibers!!!
LOL! Tis true and I could not agree more. I learned that lesson on my first paint job. It was a complete mess!
I’m certain I have made everyone of these mistakes and then some in the past!
Same, Dawn, Same! You live and learn though right?? lol