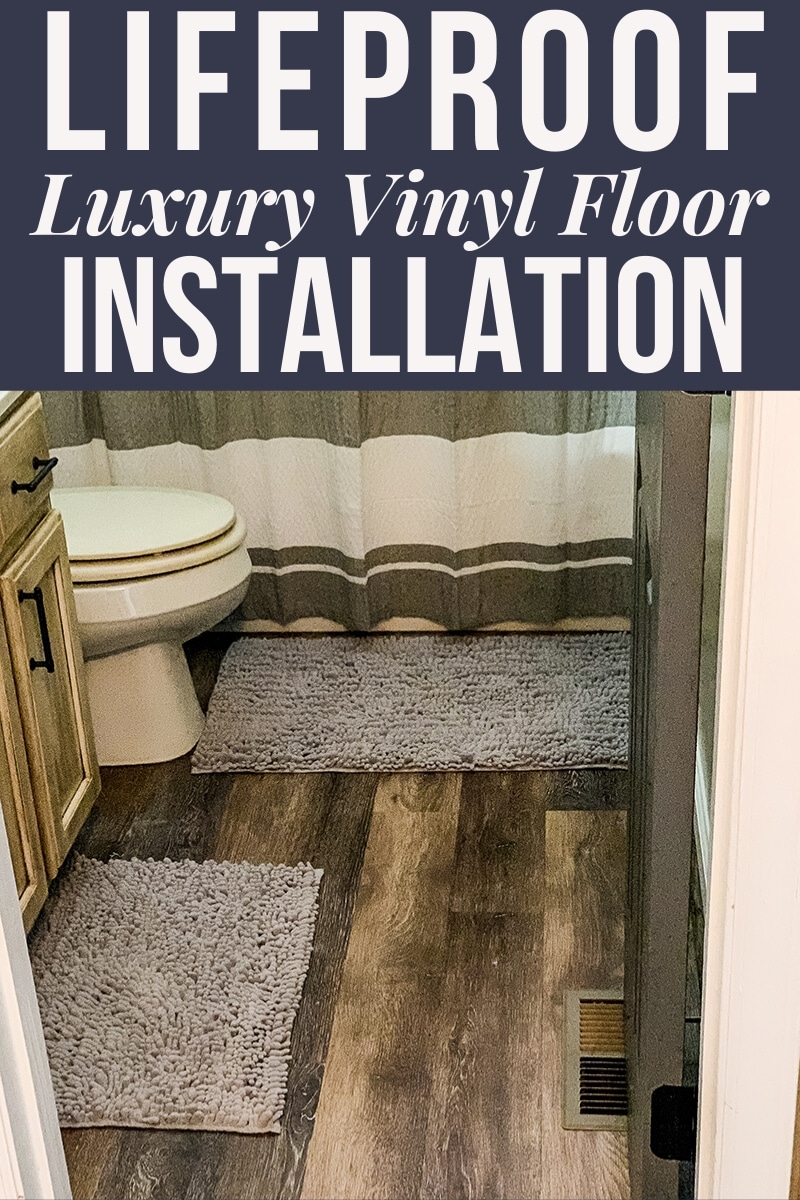
Lifeproof Vinyl Floor Installation In Our Bathrooms
The tell-all about our LifeProof Vinyl Flooring installation in our bathrooms. The how and why behind our decision and some of the things we learned along the way.
The links in this post may be affiliate links. That means that if you click them and make a purchase, this site makes a commission. It will have no impact on the price you pay or the experience of your purchase.
You've been thinking about updating your floors, but don't know where to start. With so many wood floor options, you don't know which one to choose.
I went with LifeProof floor in our bathrooms for so many reasons, and it actually was not that hard to install. I am sharing how we installed our LifeProof vinyl flooring over a weekend and how much we love our new bathroom floors.
It’s only been forever for us to update our bathrooms in this house. Something I have wanted to do since we got here. But a combination of time and money has put us at the three-year mark of being in the house before we have finally gotten around to it.
Better late than never, right?
I had my eye on the Lifeproof flooring almost every time I went into Home Depot. And seeing how much time I spend there, that meant I was swooning often. It did not help that they have it on an end cap in the main aisle way that I could not seem to avoid almost every time I was there.
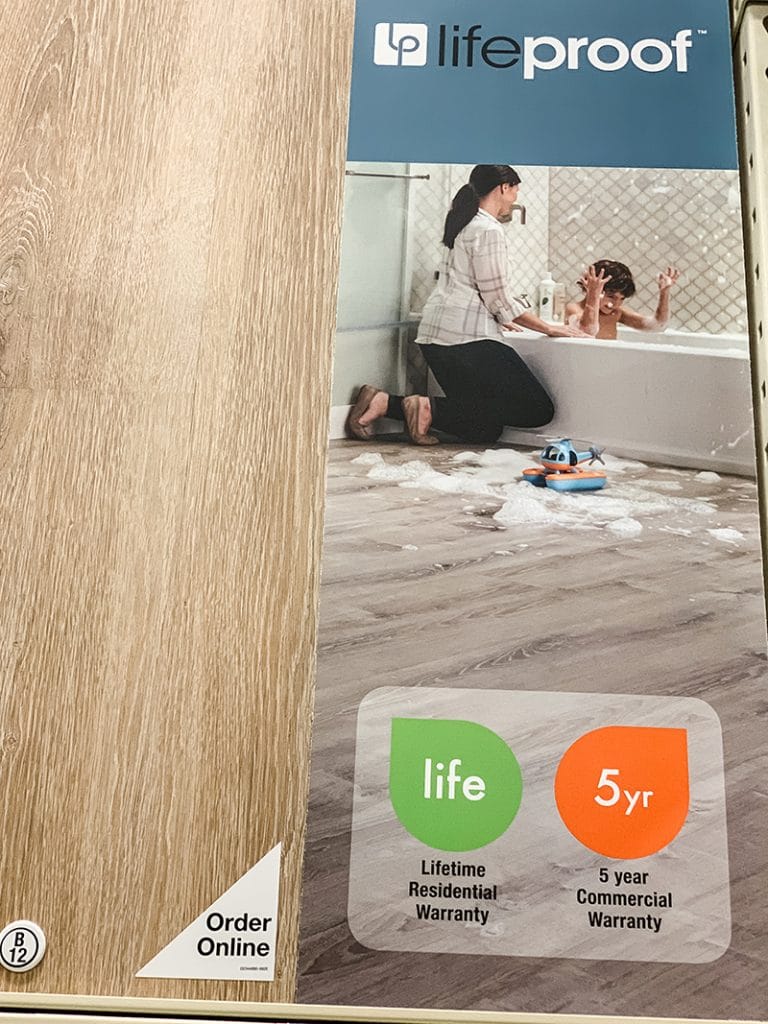
I researched it a bit and discovered that it not only comes with an amazing warranty but that it would be durable enough to stand up to my kids. Which is really important, especially for that little one.
We started with our master bedroom last summer. And just finished up the other two bathrooms in our home. And now that we have completed the cabinet painting updates in the last two, I am happy to report that all three bathrooms are now more modern and up-to-date.

While the master came out really good, there were some lessons learned. I’ll share those in a bit. But first I want to share how we installed our LifeProof vinyl plank flooring in our bathrooms.
Tools Needed To Install LifeProof Vinyl Flooring
Cutting the plank pieces
- Carpenters square
- Quick square
- Utility knife
- Measuring tape
- pencil or marker
- Caulk gun
Optional Tools:
- Saw – we used the Dremel SawMax, but can also use a jigsaw
- Finish nailer
Laying the planks
- Rubber mallet
- Oscillating multi-tool – we used the Dremel MultiMax
For Your Protection
- Eye Protection
- Knee pads
- Utility Gloves
Materials Needed To Install Flooring
- Lifeproof Vinyl Floor Planks
- Trim – if what you took down needs to be replaced
- Doorway transition strip
- Caulk
Optional materials:
- Quarter round
How To Install LifeProof Flooring In The Bathroom
Calculations and ordering your floor
Calculate the square footage of the space where you are laying the floor.
HOW TO CALCULATE SQUARE FOOTAGE
Square footage is simply the length times the width of the room. In a perfectly square area, it is really as simple as that.
But when you start dealing with odd-shaped rooms it can be a little tricky. This tutorial from Home Depot is a good guide for calculating the square footage of your working space.
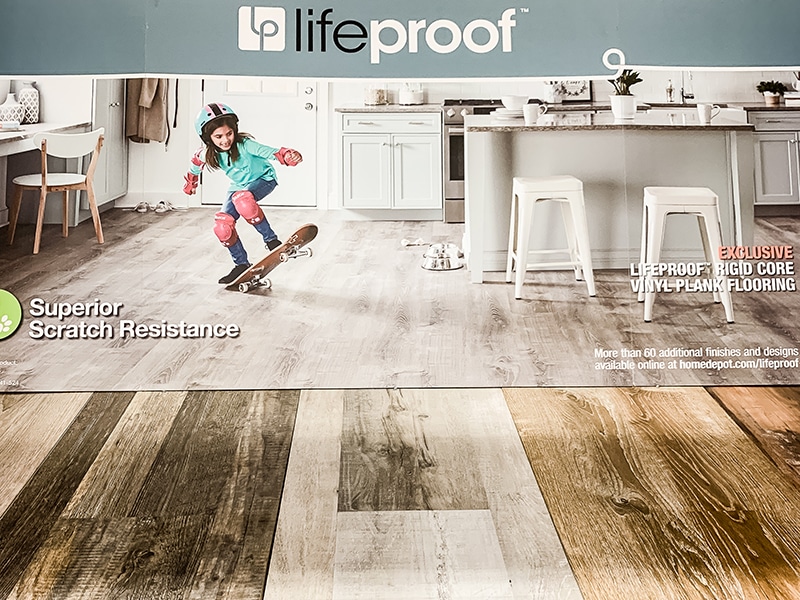
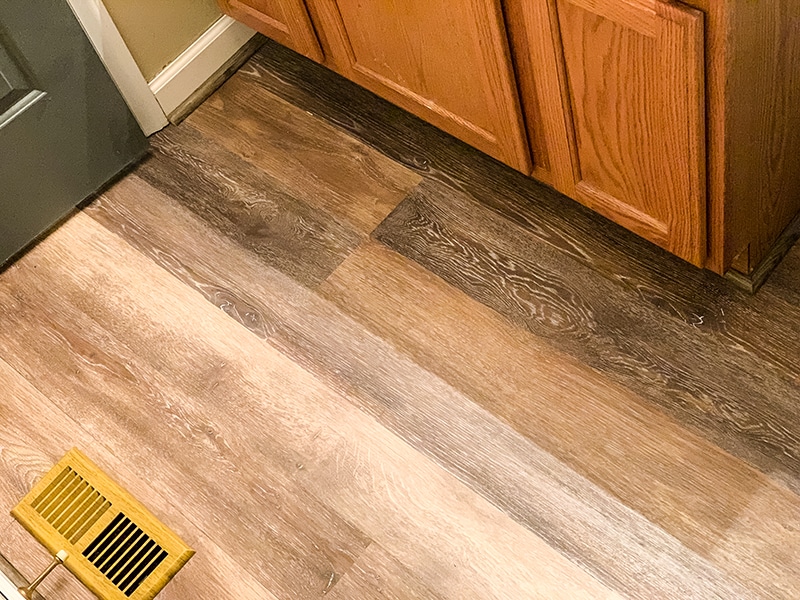
Lifeproof flooring comes in a nice variety of options. You can check out all of the options of the Lifeproof planks offered here. We decided on the Walton Oak.
My home has a Greige (Gray + Beige) vibe, so I loved the Grey and Tan tones in the Walton Oak.
The thing about Lifeproof is that some are stocked in stores and some require that your order online. If you are using one that needs ordering, I suggest over ordering and returning what you don’t use. Home Depot allows you to return any unused boxes you may have.
This way you do not have an unexpected delay in the project if you end up running out of the floor and have to order more.
You can order online and pick up in-store or have it delivered directly to your home.
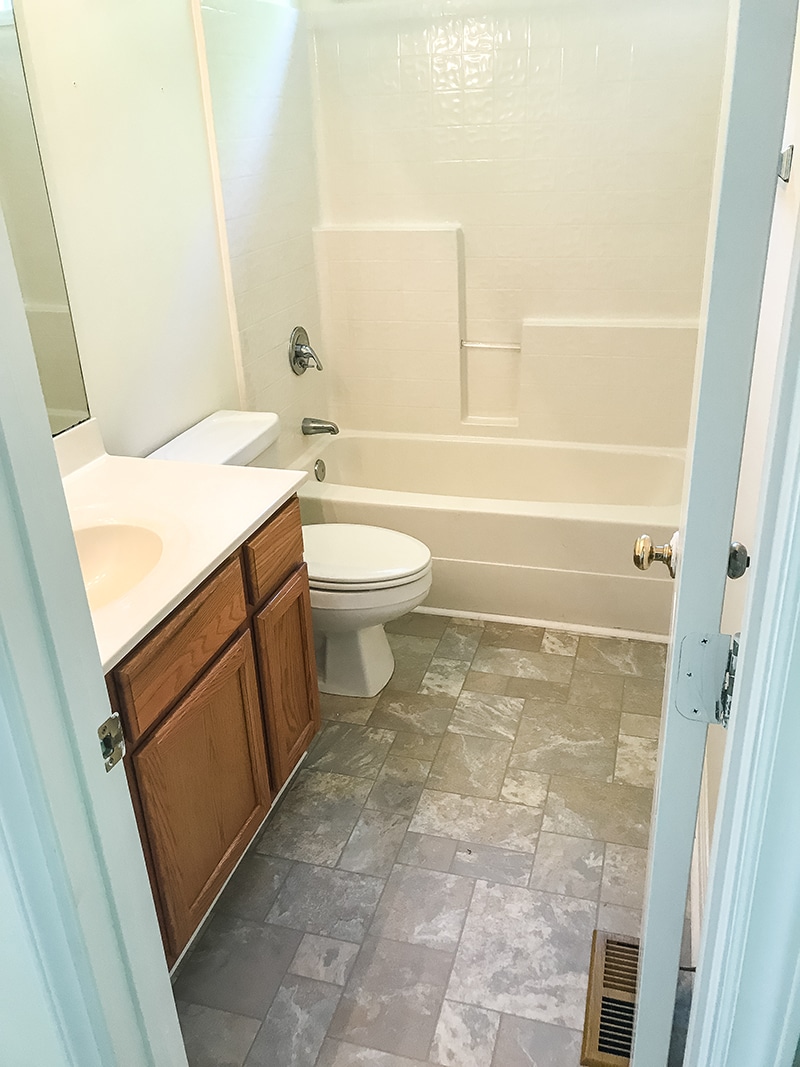
Prep work before installation
Start out by removing the trim
Depending on the kind of floor you have down, you may want to remove that first. This may also include subfloor.
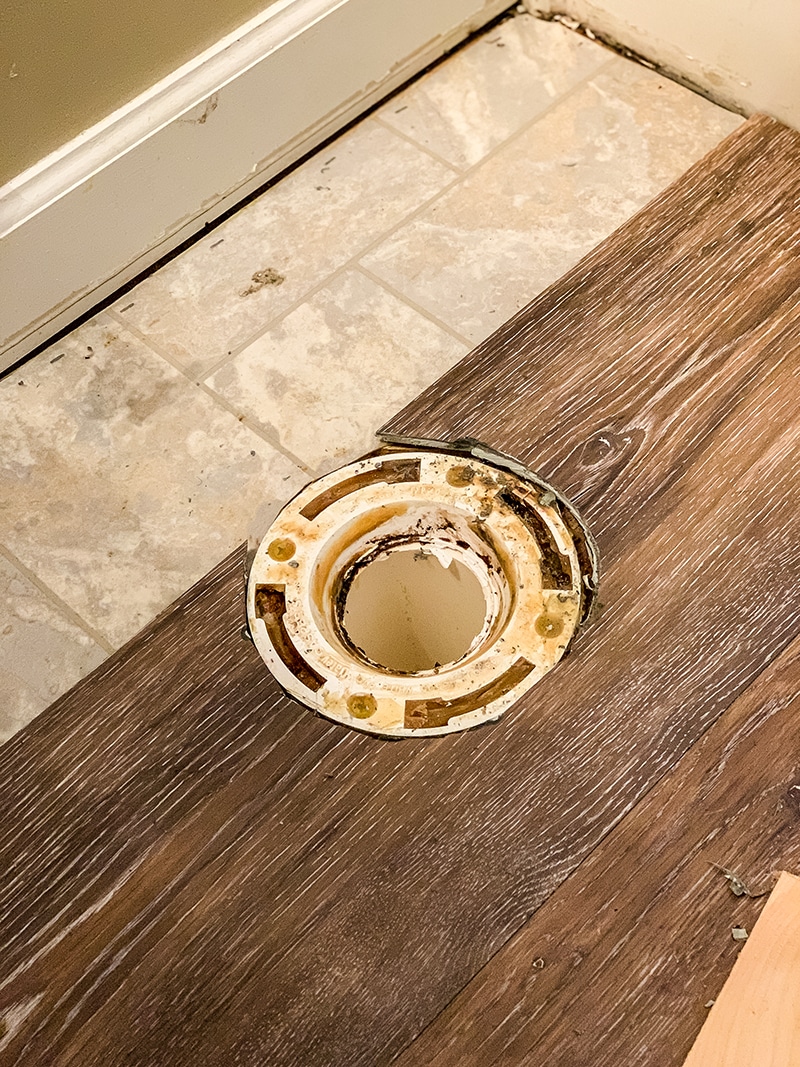
We installed it in all three of our bathrooms. In one we went down to the subfloor and replaced the subfloor because there was damage. The other two we installed over what was there – tile and linoleum.
If this is also a bathroom install, remove the toilet.
Clean away debris and particles for a clear workspace.
Installation
Each box has a variety of shades, so if you have space, you may want to lay out the planks to see how to make things flow to your liking.
If you choose a design that has multiple widths, you will need to factor that into the layout as well.
Choose a corner to start in. Every install will be different because there are several factors at play. In the lessons learned section below, I will explain our rationale for how we started. Stay tuned!
Measure your space again and cut planks to size for the first row
If you are installing over the existing floor, you may have to trim the bottom of the door molding to fit the plank under. I can not express how the multi-tool is EXCELLENT for this.
You can use the score and snap method for installation. To do this, we recommend using a utility knife to cut the length of the planks by marking the spot with a quick square or carpenter square.
Use the knife to score along the mark and simply snap the plank to get the desired length.
Alternatively, you can also use a handheld saw like the Dremel SawMax for cuts as well. We used both methods and they both work well. It just depends on your preference.
Once the first row is laid, start the next row at a different position and fill in the gaps.
Start the second row maybe ⅓ or ½ of the way down from where you started the first row.
Continue the third row by starting at yet another position, creating a more natural, “staggered” look.
Keep sweeping and removing debris as you go to have a fairly neat work area.
After the floor is laid
Remove scrap pieces and sweep to straighten things up and clean your work area so you can do the finishing touches.
After cleaning up a bit, reinstall your trim using a finishing nailer. And if desired, install quarter round also with the finishing nailer.
As a final step, paint to cover up the nails and caulk around edges for a clean finish.
Lessons Learned After The First LifeProof Floor Installation
Choosing Where To Start
In the case of laying the floor in our bathrooms, we chose the entryway corner for three reasons, all dealing with having continuity. But every application will be different.
These were our reasons for choosing the entryway as our start point:
- It allowed us to start off with full planks without having to cut as much
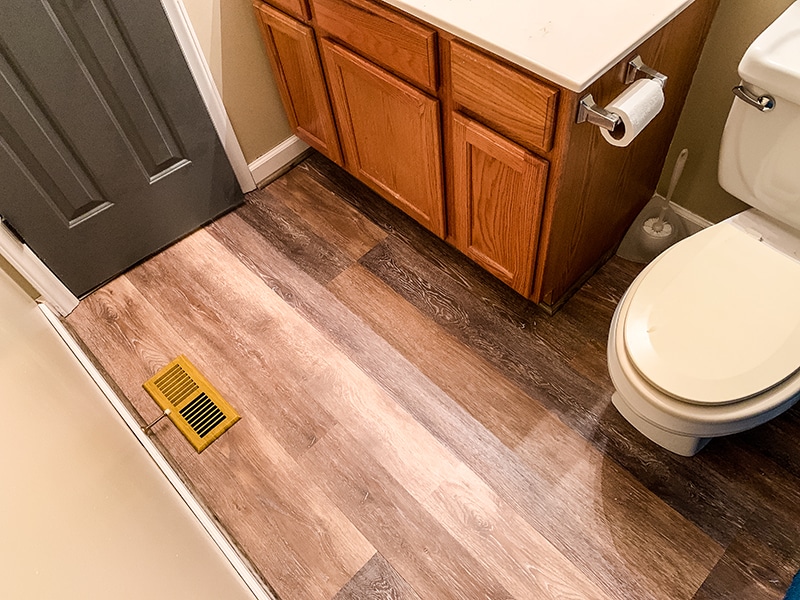
- Our heat vents are on the floor near the entry and it was easier to cut a hole in one of the wider planks. Starting from the other side, we wouldn't know which plank we’d have to use by the time we got there.
- By the time we get to the opposite wall where the toilet and cabinets are, any imperfections will be mostly hidden.
Cutting The Planks
You can use a saw for this but you will make a mess and/or waste a lot of time by running back and forth to your workspace. And it creates more mess to clean up.
We did use the saw at some point, it was easier when cutting around the vent and the toilet, but not for cutting the lengths of the planks. But do what works for you.
You can also use the multi-tool for those “odd” cuts as well if you like.
Toilet Removal/Reinstallation
Keep in mind that toilets are not lightweight. You may need another person to help you.
Turn off and disconnect the water supply and be sure to drain as much water out of the toilet as possible.
If possible, sit the toilet in the tub or shower as it will likely still drain the water once it’s removed. But if you can’t do that, you probably want to sit in any place where draining water won’t cause damage or issue.
When you reinstall the toilet, you will need to install a new wax ring.
Depending on whether you installed the LifeProof flooring on top of the old floor or if you stripped it down and installed it on the subfloor, you will want to choose your wax ring accordingly.
The objective of the wax ring is to get a tight seal so that water goes directly from the toilet to the drain.
Depending on your flooring, you cannot achieve that with a regular wax ring and you may need a thicker one or an extender. This is the wax ring we used to account for the higher floor.
Finished Bathroom After LifeProof Floor Installation
If you want to see the installation in progress, tools, and tips, check out my live installation highlights here. And to see how I updated that outdated counter to bring the bathroom even more to life, check out this chalk paint update.