
How To Make Valentine’s Day Hanging Cardboard Cookie Jar Tags Using the Cricut Explore Air 2

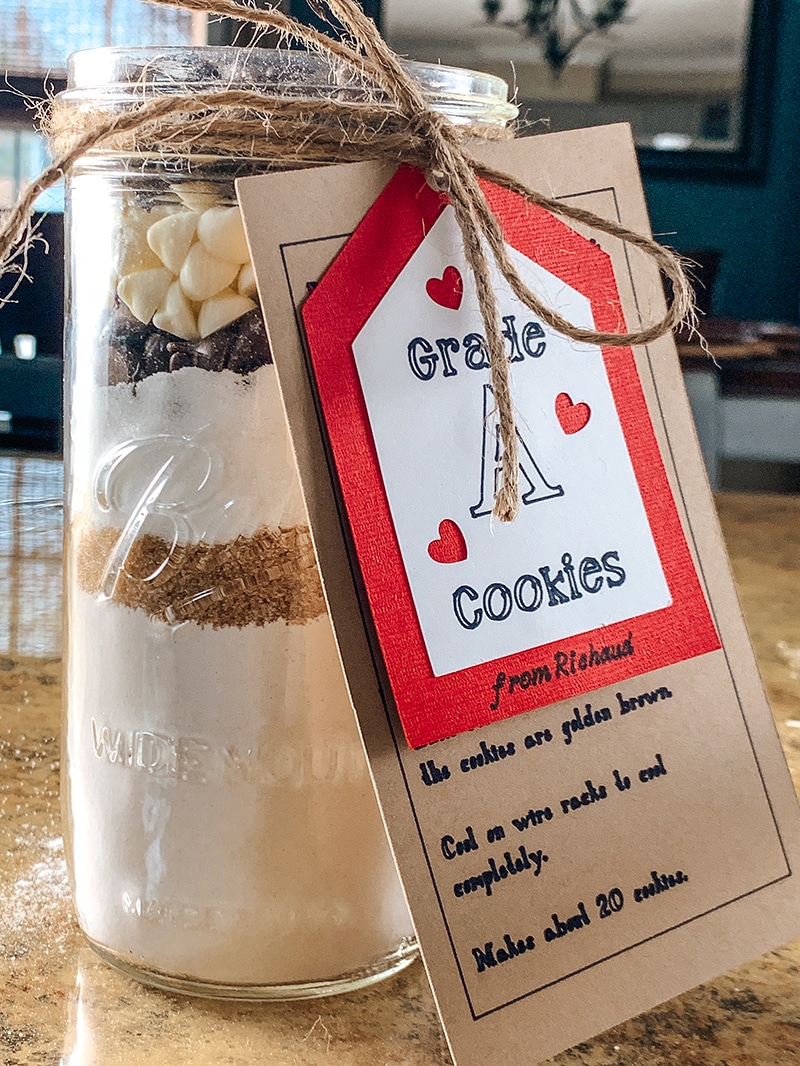
Layered cookie jar cardboard hanging gift tags, with a cute slogan and the cookie recipe to go on cookie mix jars that are perfect for valentine’s day gifts for the kids’ teachers.
The links in this post may be affiliate links. That means that if you click them and make a purchase, this site makes a commission. It will have no impact on the price you pay or the experience of your purchase.
This is a sponsored conversation written by me on behalf of Cricut. The opinions and text are all mine.
Can I just tell you I am in love with my new Cricut. There are so many things I can do with this thing, and I am just getting started.
If you are not familiar with all that the Cricut Explore Air 2 can do, you will want to check out the full review I did on it.
For this project, I was able to cut all the layers needed to cut these adorable tags and drawing the lettering out on them.
Today, I am sharing how to make these super cute tags to put on your very own cookie mix jars for your kids’ teacher or teachers.
I’ll be gifting my son’s teacher and tutor with these.
In full transparency, As a Cricut Ambassador, my Cricut Explore Air 2 was provided to me by Cricut.
Supplies Needed to Make Grade A Cookie Jar Gift Tags
- Cricut Explore Air 2
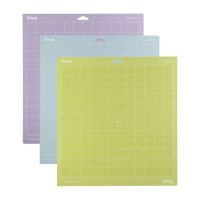
- Cricut Light grip mat
- White cardstock
- Twine cardstock
- Red Wagon cardstock
- Cricut Black 0.4 fine tip pen
- Glue
- Tweed rope or string
- Cricut Design space files (linked below)
How to Make Cardboard Hanging Cookie Jar Tags
Design Space
You will need Cricut Design Space to use the files that I have already created for you.
The only thing you need to do is edit the name to include your child’s name.
How to edit the name in the Design Space file:
Launch Design Space.
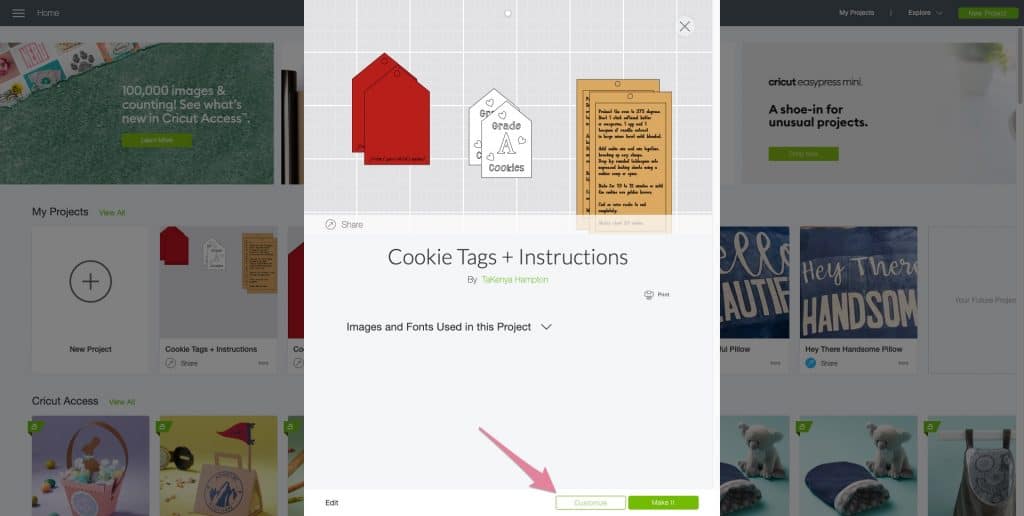
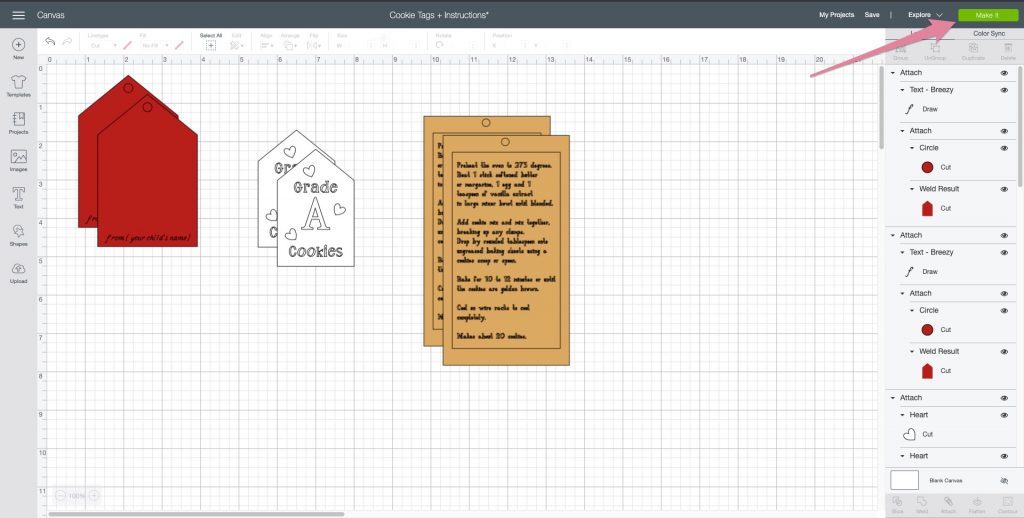
Open the Cookie Tags + Instructions file
Click Customize. Beware that it may take a little time for the file to load because it is a large file.
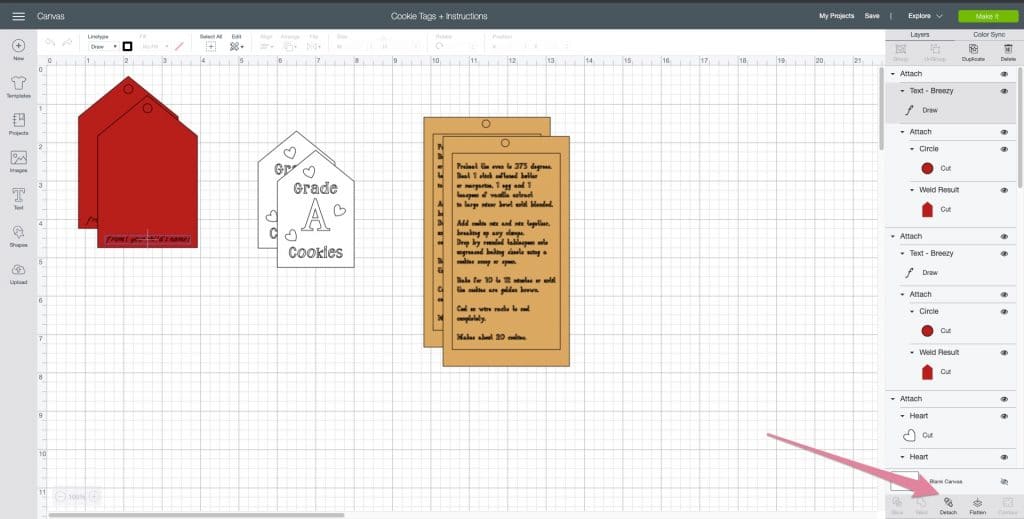
Once the project opens and loads, click on the text line, and then detach.

Double click the text to edit the name.
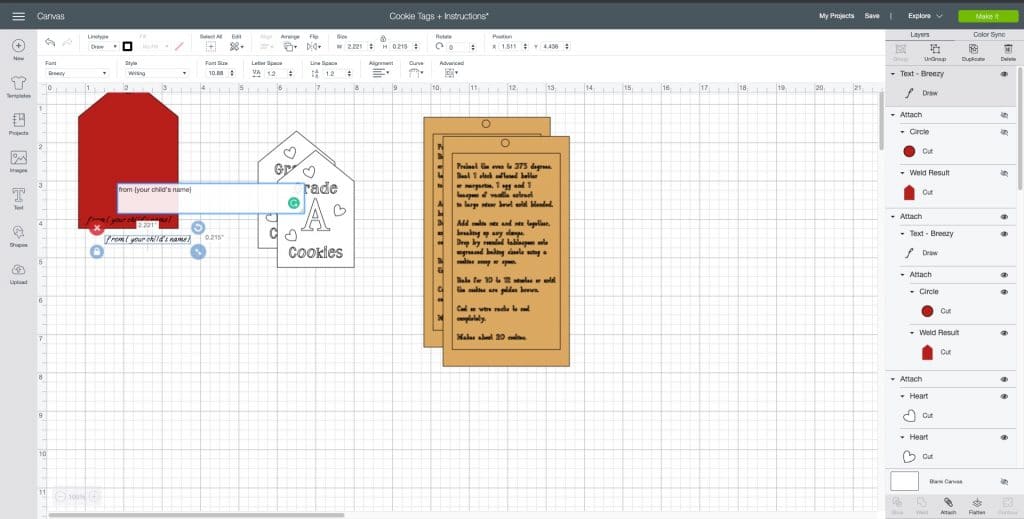
You will need to do this for both of the larger tags.
You will need to reattach the pieces for each tag after you have updated the name. If you are not sure how to do attach things together, check out this tutorial here.
Now your file is ready to cut and print!
Cutting your design
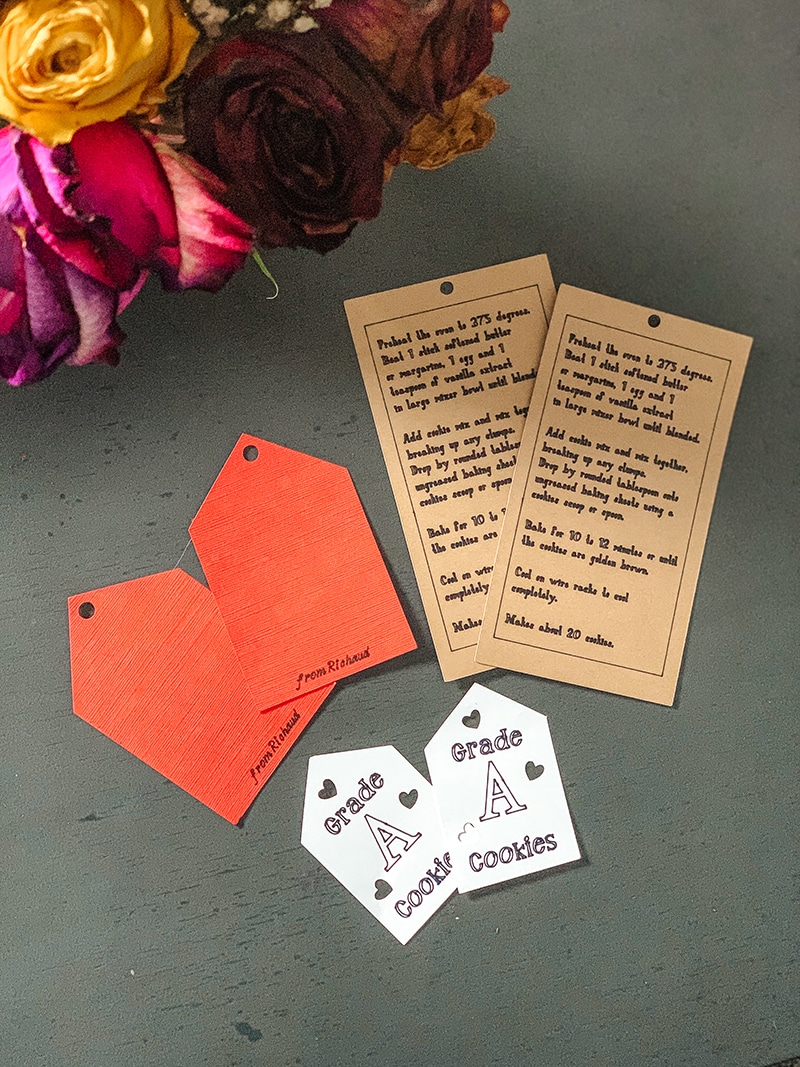
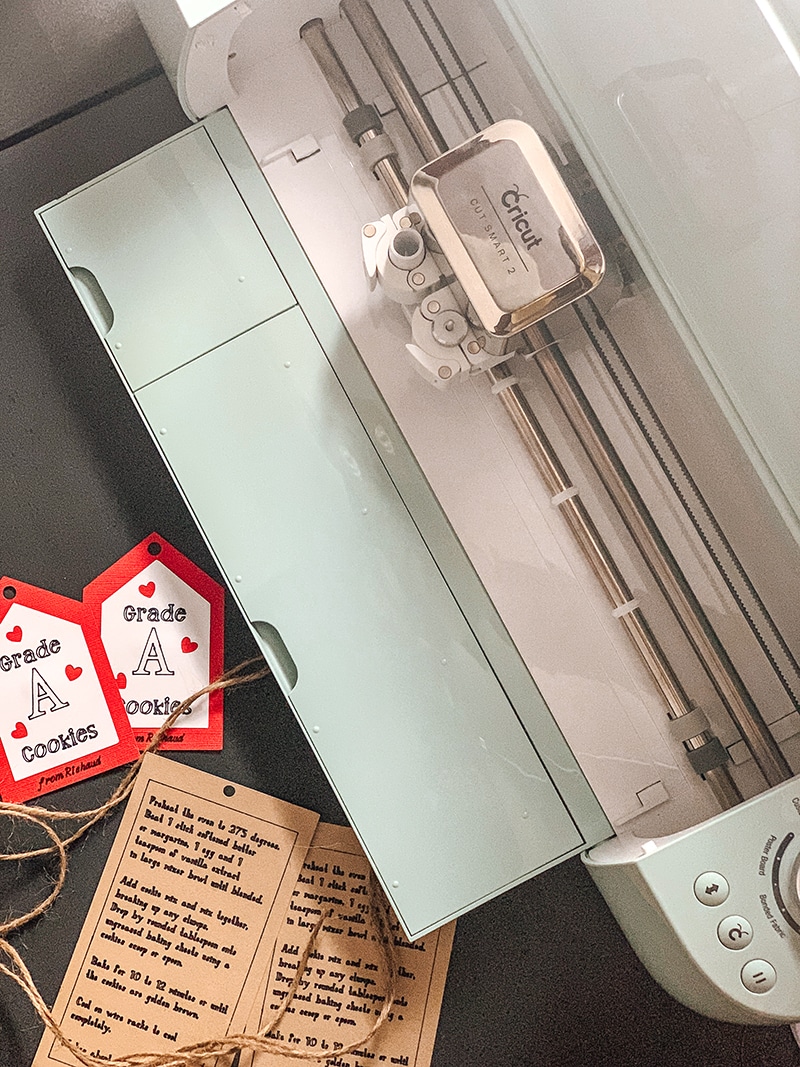
Use the Cricut Explore Air 2, Printing Mat and Design space to cut out the different pieces. I used cardstock to print out all the layers – white to cut the smallest tag with the Grade A cookies slogan on it; Red to print the larger tag; Twine colored cardstock to print the instructions tag.

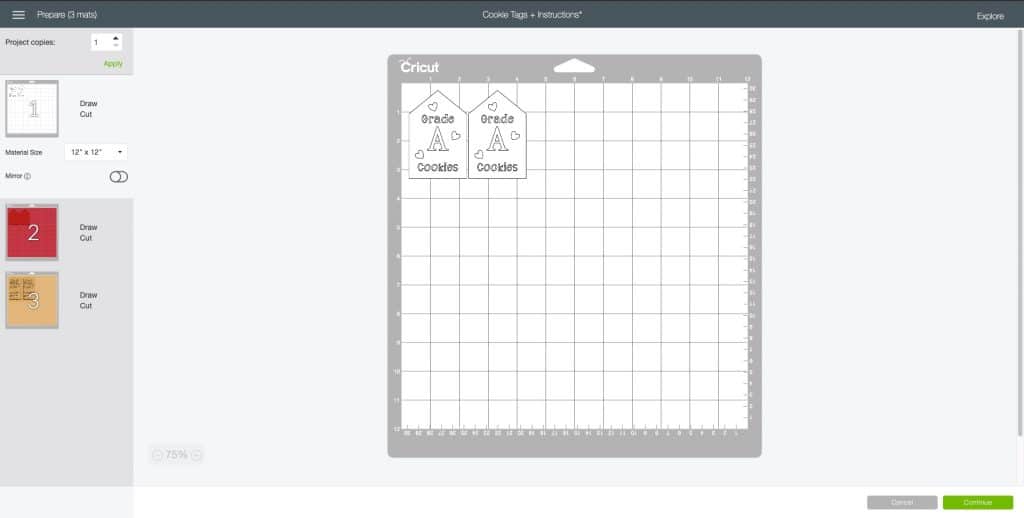
Click Make It in Design space to prepare everything for printing.
The next screen will show you that you need to prepare 3 different mats for cutting/printing. If you only have one or two mats, the machine will pause between each set to allow you to prep the next map for cutting.
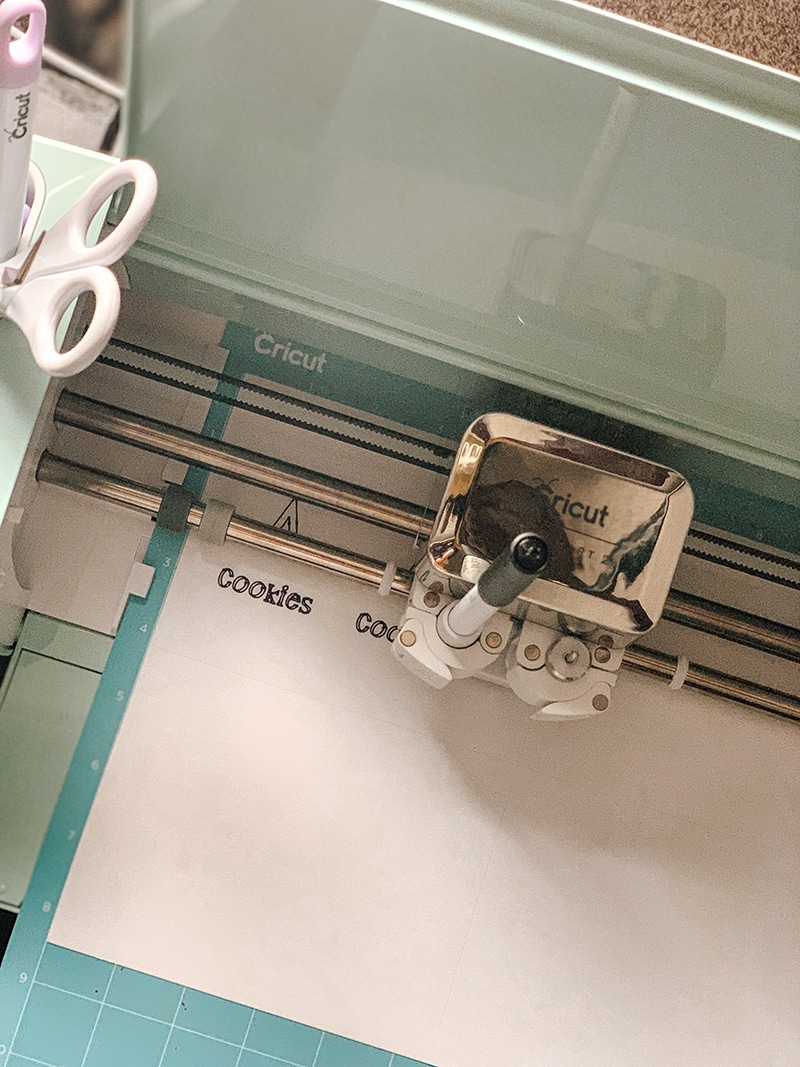
Once your machine has cut all your tags, you will need to remove them from their mats.

After all of your cuts are done, you are now ready to assemble all of the parts.
Assembling the cardboard hanging tags
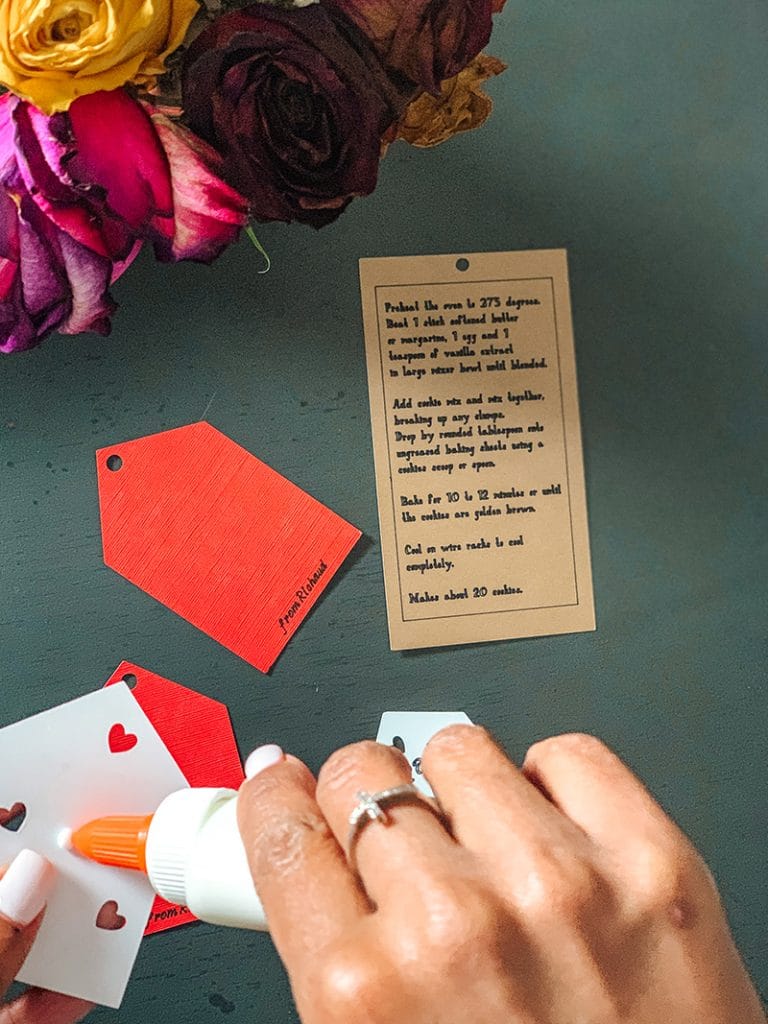
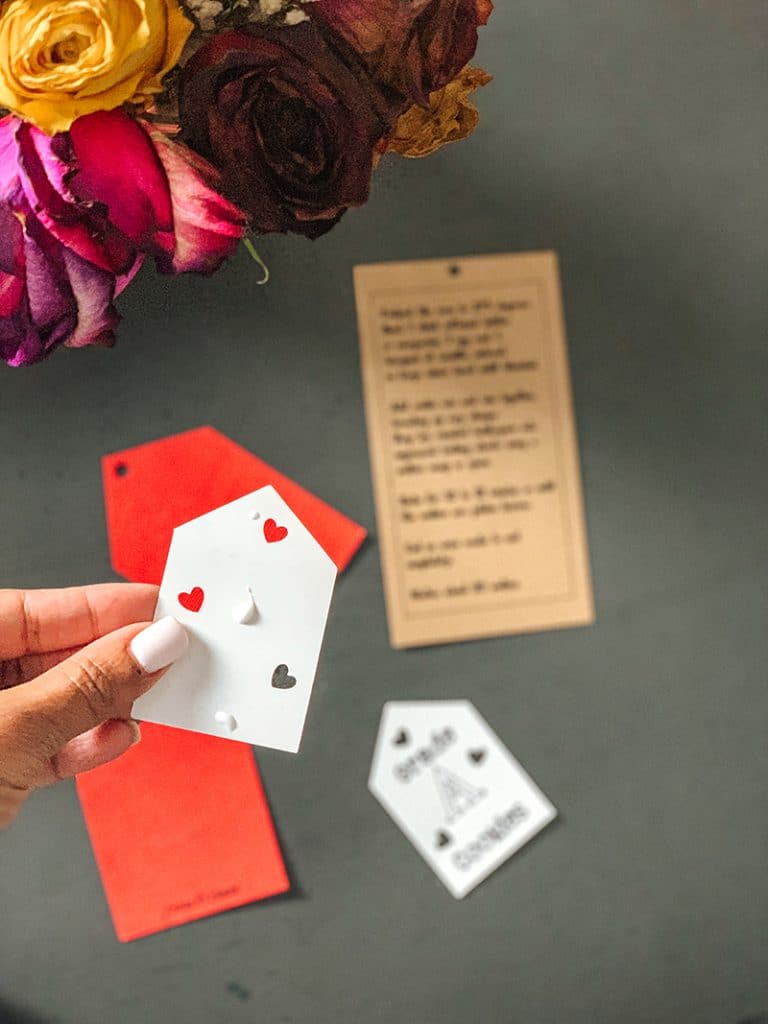
Apply adhesive, I used just good old fashioned Elmer’s glue because I could not find my craft glue, to the back of the white layer and align it so that it is below the cut hole and the signature line on the large tag.

You can set the tags aside and cut your twine.

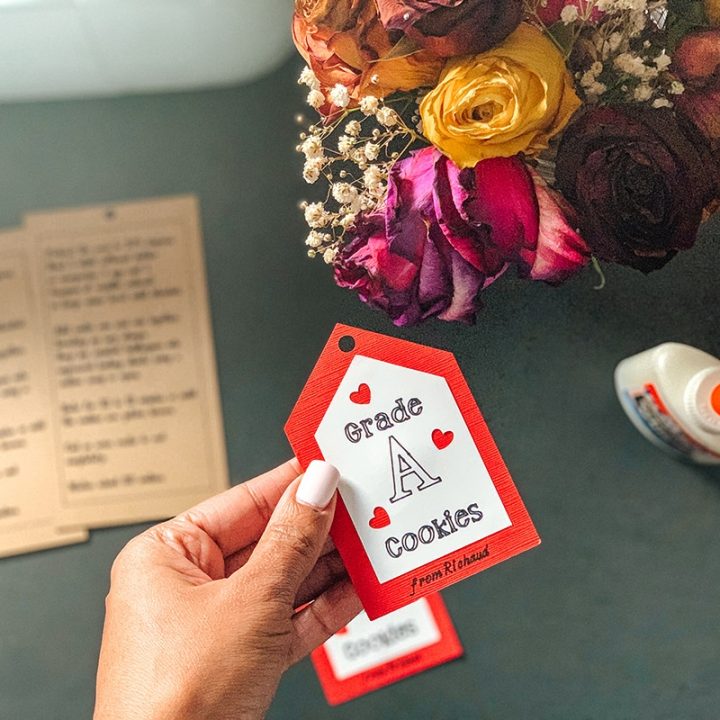
Arrange the tags and thread the twine through tags. Wrap the twine around the jar and create a bow. And place the cap on top of the jar.
And just like that, you are done!

If you want to learn how to make the triple chocolate chip cookie mix for the jars, I got you covered for that too!
How To Make Cardboard Hanging Tags With The Cricut Explore Air 2
Layered cookie jar gift tags, with a cute slogan and the cookie recipe to go on cookie mix jars that are perfect for valentine’s day gifts for the kids’ teachers.
Materials
- White cardstock
- Twine cardstock
- Red Wagon cardstock
- Glue
- Tweed rope or string
- Cricut Design space files
Tools
- Cricut Explore Air 2
- Cricut Light grip mat
- Cricut Black 0.4 fine tip pen
Instructions
Design Space
- You will need Cricut Design Space to use the files that I have already created for you.
- You will need to edit the name area to include your child’s name.
- How to edit the name in the Design Space file:
- Launch Design Space
- Open the Cookie Tages + Instructions file
- Click Customize. It may take a little time for the file to load because it is a large file.
- Click on the Text line, and then detach.
- Double click the text to edit the name.
- Now your file is ready to cut and print.
Cutting your design
- Cut out the different pieces using the Explore Air 2. Use cardstock to print out all the layers
- White - smallest tag with the Grade A cookies slogan on it
- Red - larger tag with signature line
- Brown - instructions tag.
- Click Make It in Design space to prepare everything for printing.
- Follow instructions on the screen in design space.
- After all of your cuts are done, you are now ready to assemble all of the parts.
Assembling the tags
- Apply preferred adhesive to the back of the white layer and align it so that it is below the cut hole and above the signature line on the large tag.
- Set the tags aside and cut your twine.
- Arrange the tags and thread the twine through tags.
- Wrap the twine around the jar and create a bow. And place the cap on top of the jar.
Recommended Products
As a Amazon Associate and member of other affiliate programs, I earn a comission from qualifying purchases.


Thank you! Having just received my Cricut last month I am still figuring things out- even though I’ve learned a lot, I wouldn’t have realized that I needed to detach the text in order to edit it.